23
After approximately 6 seconds the Alphanumeric
Display returns to indicate the Source Selection and
Volume Level.
Mute
Press the MUTE Push-button, on the C52 Front Panel
or on the Remote Control, to Mute the Audio in all
outputs (Main, Output 1, Output 2 and Headphones)
except the FIXED OUTPUT. The Front Panel Infor-
mation Display will indicate the Source Name and
the word MUTE in place of the actual volume setting.
Refer to figure 80.
Pressing the Mute Push-button a second time or
adjusting the volume control (either the Front Panel or
Remote Control) will unmute the C52.
Equalizer
Press the Front Panel EQUALIZER Push-button to
activate the C52 Equalizer Circuitry for the currently
selected Input Source. The LED above the EQUAL-
IZER Push-button will illuminate. To bypass the
Equalizer for the currently selected Input Source press
the EQUALIZER Push-button. The LED above the
EQUALIZER Push-button will extinguished.
Refer to figure 60. The C52 remembers for each se-
lected Input whether the Equalizer Circuitry is active
or bypassed.
Note. The audio signal present at the FIXED OUT
Jacks is unaffected by the Equalizer Circuitry.
Equalizer Controls
The C52 Equalizer has eight Frequency Controls
which will raise or lower by 12dB, the amplitude of
the band of frequencies centered at the frequency
marked above the controls. The center frequencies
of these controls are at 25Hz, 50Hz, 100Hz, 200Hz,
400Hz, 1,000Hz, 2,500Hz and 10,000Hz. Both Left
and Right Channels are affected. At the center detent
or flat position of the controls, the tone circuit compo-
nents are removed from the signal path.
Referring to figure 85 on page 24, the illustration
shows the fundamental frequency range of acousti-
cal musical instruments and the human voice. It also
shows the range of adjustment of frequencies for each
of the Equalizer Controls of the C52 at the +6dB and
-6dB points.
Output 1 and 2
Press the Front Panel OUTPUT 1 or OUTPUT 2
Push-button or use the Remote Control and press the
SETUP/BLUE Push-button followed by the OUTPUT
1 or OUTPUT 2 Push-button, to send audio to sepa-
rate Power Amplifiers connected to the rear panel
OUTPUT 1 or 2 Jacks. It also activates the POWER
CONTROL TRIGger 1 or 2 Jacks on the rear panel of
the C52. To stop the Audio and Power Control Signals
from going to the separate Power Amplifiers, press the
same Push-button(s) a second time.
Trim
Momentarily press the Front Panel INPUT Control to
activate the C52 Trim Functions. Rotate the INPUT
Control to select the desired Trim Function and then
use the VOLUME (adjust) Control to change the Trim
setting. Refer to figure 60. The Remote Control TRIM
and LEVEL UP / DOWN- Push-buttons may also be
used. Approximately 6 seconds after Trim Function
Selection and/or adjustments have stopped, the C52
will switch the Trim Mode Off.
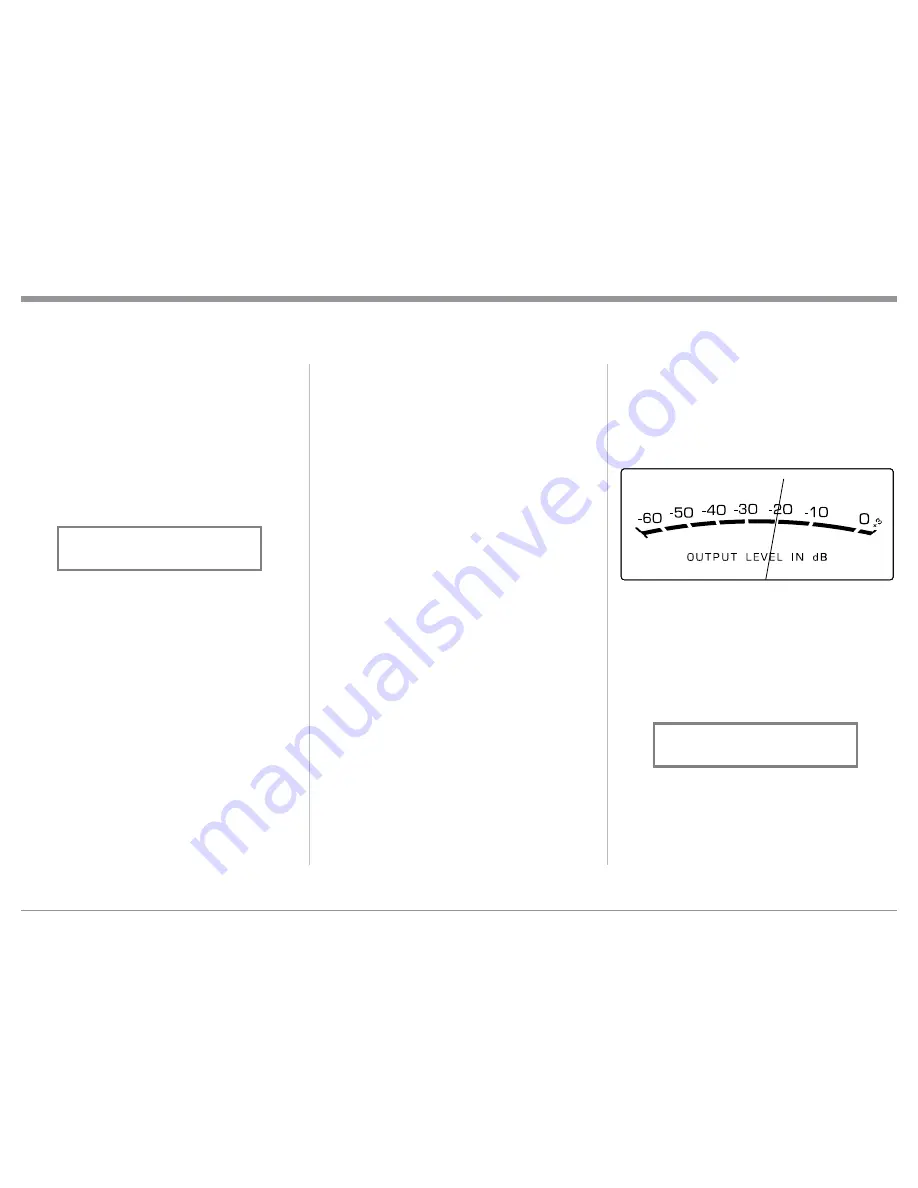
Output Meters
The C52 Output Meters indicate the Output Level in
Decibels (dB) available at the MAIN and OUTPUT 1,
2 and 3 Connectors/Jacks to drive Power Amplifiers.
Refer to figure 81. The Meters are calibrated in dB
(decibels) and respond to all the peaks contained in the
musical information. A meter reading of 0dB indicates
the C52 is delivering its rated output.
Passthru
The C52 will automatically turn On and switch to the
previously setup Passthru Input when the McIntosh
A/V Processor or Multichannel Surround Decoder is
turned-on. The Audio Preamplifier Front Panel Alpha-
numeric Display will indicate “PASSTHRU”. Refer to
figure 82.
The C52 OUTPUT 1 and 2 along with the EQUAL-
IZER Front Panel Push-buttons are active when in the
Passthru Mode. The other Front Panel Controls and
Push-buttons are deactivated as long as the Passthru
Mode is active.
How to Operate the C52, con’t
Figure 80
INPUT: BAL 1
MUTE
Figure 81
Figure 82
PASSTHRU


