27
Control Panel Settings
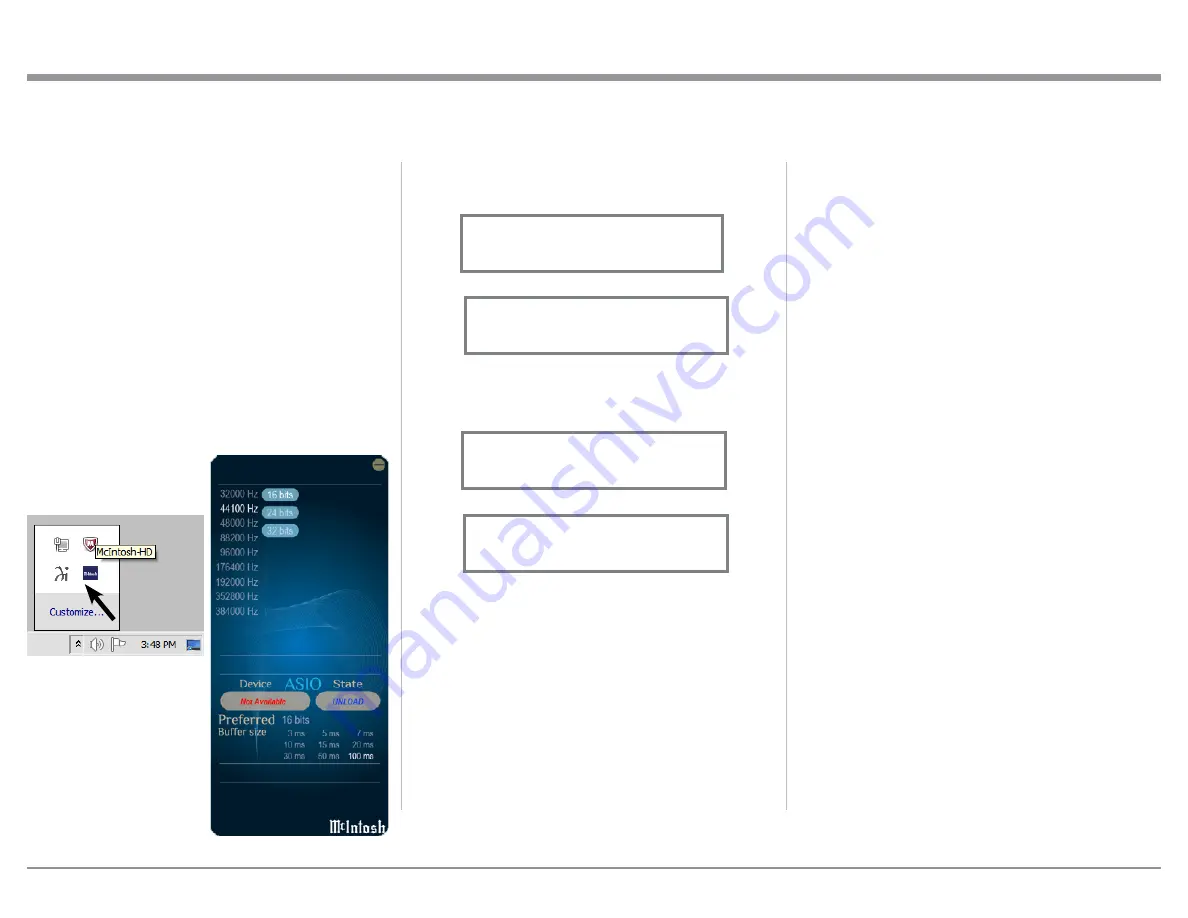
To activate the McIntosh-HD USB Audio Control
Panel Click on the “McIntosh Icon” (located in the
Windows notification area on the right side of the Task
Bar) or click on the Windows “Show hidden icons”,
then select the “McIntosh Icon”. Refer to figures 107
and 108.
Notes: 1. It is not necessary for the McIntosh-HD USB
Audio Control Panel to be running, unless it is
desired to make changes to the default settings.
2. The McIntosh-HD USB Audio Control Panel
displays the current Sampling Rate, Bit-Rate
and Buffer Size for the music streaming from the
computer into the C49.
3. When the Media Stream Program on the com-
puter is set to output in the “ASIO” format, the
McIntosh -HD USB Audio Control Panel allows
for changing the
settings parameters
on the fly.
USB Music Playback
When the USB Input is selected on the McIntosh C49,
the Front Panel Display indicates the Sampling Rate
(refer to figures 109 and 110 for PCM Signals).
Figures 111 and 112 indicate a Sampling Rate of 128
or 256 times the Sampling Rate of a CD Disc for the
incoming DSD Digital Audio Signal.
The Sampling Rate and the Bit Rate are determined
by the original recording, the Application Output
Format (when available) and the McIntosh-HD Control
Panel Settings.
Note: In general, when the original music is recorded
at a higher Sampling Rate, the result is usually
more detail in the music. However, this higher
rate results in consuming larger amounts of stor-
age space. The Sample Rate usually should be set
to match the Sample Rate of the music recording
being played back.
There are many third party Applications (besides Ap-
plications like Windows Media Player) for steaming
music from the computer to McIntosh C49 USB Input.
Figure 107
Figure 108
Figure 109
USB 46%
44.1kHz
Figure 110
USB 51%
352.8kHz
Figure 111
USB 46%
DSD128
Figure 112
USB 51%
DSD256
How to Operate the C49, con’t
An example of just one of the available applications is
“JRiver Media Center”.
Reset of Microprocessors
In the unlikely event the controls of the C49 stop func-
tioning, the microprocessors can be reset by perform-
ing the following:
1. Press and hold in the STANDBY/ON Push-button
until the LED above the STANDBY/ON Push-
button illumination is extinguished. Then release
the STANDBY/ON Push-button.
2. To switch the C49 back On, press the STANDBY/
ON Push-button.
Note: This can be performed with the C49 On or in the
Standby Mode.


