Page 4 of 20
–
Open the main gas valve (yellow status frame = instrument under pressure)
–
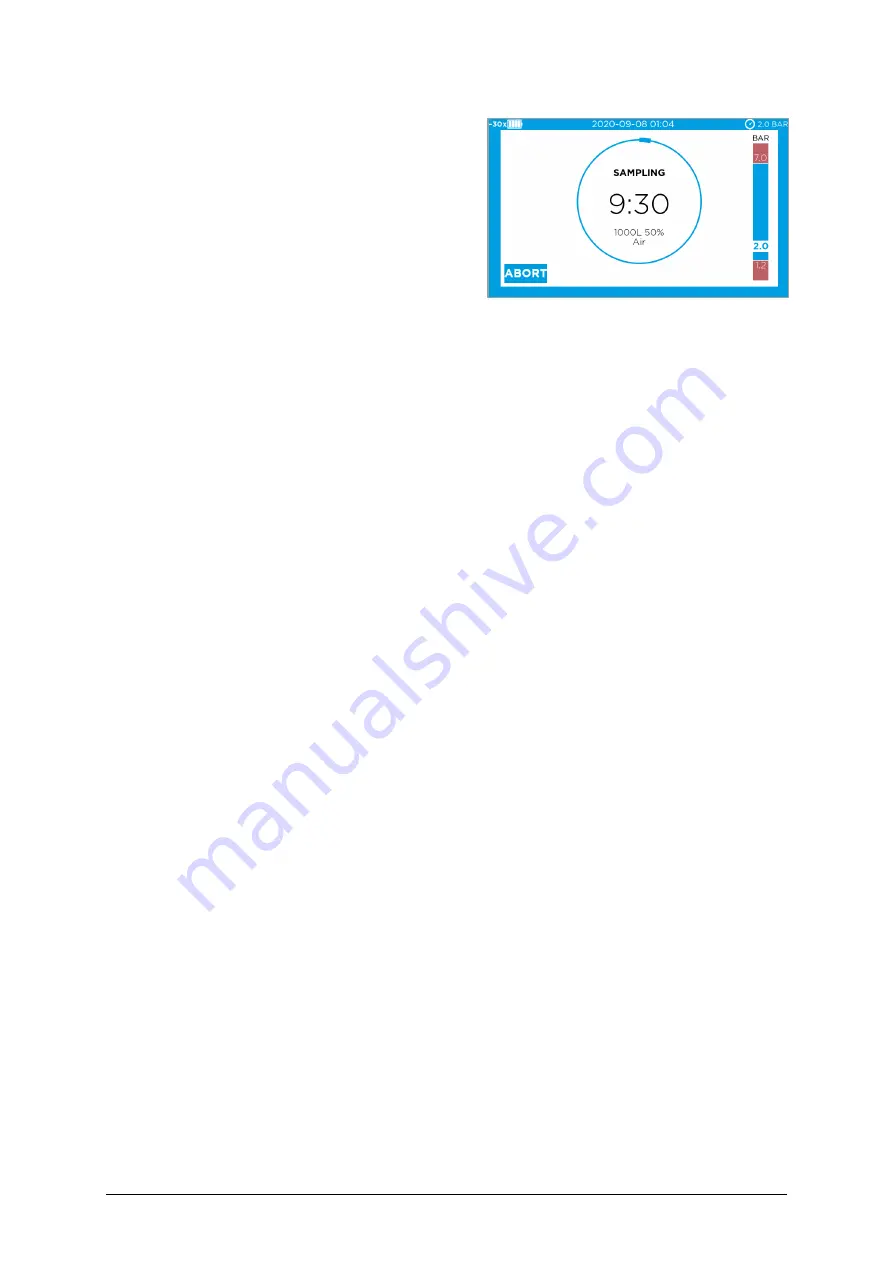
Start the sampling. The status of the sampling
as well as the current pressure on the instru-
ment are displayed on the screen.
–
Close the main valve after the sampling cycle
is completed and start the automatic decom-
pression cycle.
–
Remove the nutrient plate for incubation and
analysis and close the sampling head (turn
clockwise)
–
Continue with your next sampling location.
ADVANCED FUNCTIONS
ACCESS THE BROWSER-BASED USER INTERFACE (SEE USER MANUAL CHAPTER 2.10.
–
Connect the instrument (USB-C) to a computer (USB-A)
–
Open a browser window and enter the IP address
http://192.168.254.1
(no internet
needed)
–
For login, present the black system administrator hardware key to the key reader and
define a personal PIN
INSTRUMENT CONFIGURATION
Refer to chapter
4.1
«Setting up the instrument configuration» in the user manual. Open the
submenu
‘Instrument settings’
and set your preferences.
DATA REPORTING
All data generated by the instrument and by user events are stored in the audit trail of the
instrument. Depending on the intended use, the data can be directly transmitted to LIMS or
EM systems, viewed in the browser or exported. See all available options in the user manual
chapter
3.4
«
Data reporting
»
.
OPTIONAL USE CASES: 21 CFR PART 11 SUPPORTING MODE AND DATA INTEGRITY
The instrument offers two optional instrument modes for a use case with or without LIMS
or EM system, that can support a workflow that needs to be compliant with 21 CFR Part 11
and needs to meet data integrity requirements (for configuration see user manual chapter
4.3 «
21 CFR part 11 supporting instrument modes
»
).


