8
DC Manual Positioner
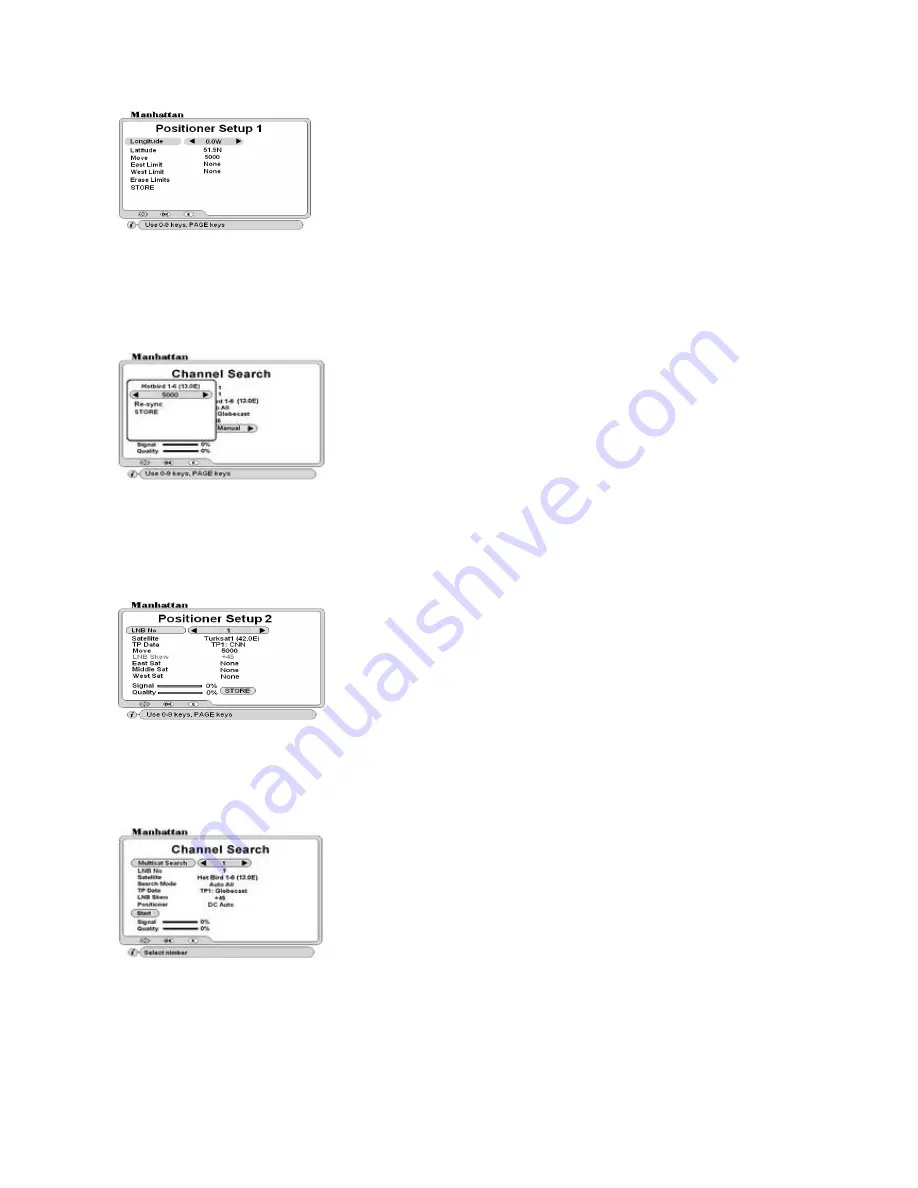
East Limit:
After furthest East move 10 counts back then press OK on East Limit to enter the limit here.
West Limit:
After furthest West move 10 counts back then press OK on West Limit to enter the limit here.
Erase Limits:
To clear limits press OK.
STORE: After above settings move to store and press OK key
.
The Channel Search menu will appear again. Select the satellite and move down to DC Manual and press OK. A sub menu
will appear to move antenna, find position manually and store the position.
DC Auto Positioner
NOTE: To use the DC Auto positioner, both Positioner Setup 1 and 2 must be configured prior to any channel
search. Configure Positioner Setup 1 as above and follow below steps for Positioner Setup 2.
In INSTALL menu, go to Channel Search and move down to Positioner. Now select DC Auto and press OK. Positioner
Setup 1 will appear. If this is already configured, move down to STORE and press OK. Positioner Setup 2 will appear.
Middle Sat:
After locating the Middle satellite move down to this line and press OK to enter the settings
West Sat:
After locating the Western most satellite move down to this line and press OK to enter the settings.
STORE: After above settings move to store and press OK key
. The Channel Search menu will appear again.
CHANNEL SEARCH -- Automatic Scan and Search
Search Mode:
Select search option for each satellite. See below for options. Options with
+ D
will also
include data channels
Auto All -
All TP, Video and Radio channels.
Auto All + D -
All TP, Video, Radio and Data channels.
Auto FTA -
All TP for Free To Air Video and Radio channels.
NIT All –
All TP, Video and Radio channels with Network Identification Table.
NIT All + D –
All TP, Video, Radio and Data channels with Network Identification Table.
NIT FTA --
All TP for Free to Air Video and Radio channels with Network Identification Table.
Using DiSEqC
USALS
or DC Auto menu you can search and download up to 40
satellites automatically at a time. Follow settings below.
Multisat Search:
Set index numbers for each satellite you wish to search.
LNB No:
If you are using more than one LNB, select LNB reference as
configured previously. If you are using one LNB then this may remain as 1.
Satellite:
Press OK and select satellite name. Remember that you have to
select a different name for each index number.
In INSTALL menu, go to Channel Search and move down to Positioner. Now
select DC Manual and press OK.
Longitude:
Not used in manual mode. If using Auto mode enter using 0-9,
page up/down keys
Latitude:
Not used in manual mode. If using Auto mode enter using 0-9, page
up/down keys
Example: London – Longitude = 0 and Latitude = 51.5N
Move:
Move antenna furthest possible East or West then enter the limits as
below.
5000:
Move antenna East or West a few counts at a time and find the optimum
Signal and Quality for the required satellite.
Re-sync:
If you need to re-synchronize satellite positions, first find one satellite
then move down to ‘Re-sync’ and press OK.
STORE: After above settings move to store and press OK key.
NOTE:
Without storing the position, you will not be able to do channel search.
Please also refer to Channel Search menu for other settings.
NOTE
: For automatic scan and search it is necessary to define the Eastern
most, Middle and the Western most satellites in this menu.
LNB No:
Select the LNB you have configured.
Satellite:
Select satellite name
TP Data:
Select TP that has signal for the required satellite
Move:
Move antenna and find the maximum Signal and Quality for the satellite
East Sat:
After locating the Eastern most satellite move down to this line and
press OK to enter the settings.


