


76
First Print
In the Pegasus Software/Gcode folder you will find „Hollow_Cube_ABS_Pegasus.gcode“
and „Hollow_Cube_PLA_Pegasus.gcode“ Copy both
onto an SD Card and install the SD Card into the left
side of your LCD Screen.
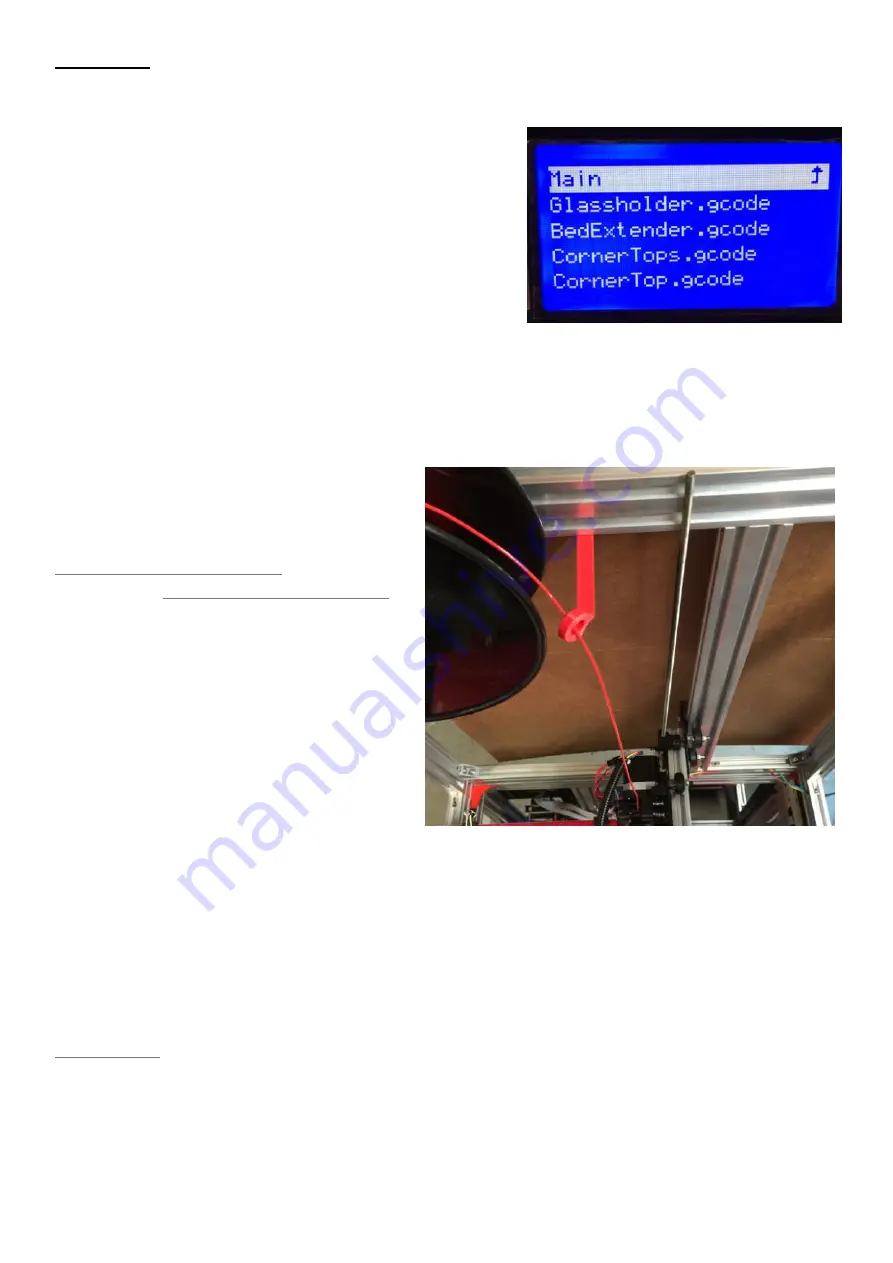
Now push the LCD knob and select „Print from SD“
then „Hollow_Cube_ABS_Pegasus.gcode“ if you have
abs filament loaded into your printer or the
„Hollow_Cube_PLA_Pegasus.gcode“ if you have PLA
loaded. You should see your heat bed start to heat,
then the hot end (once heat bed has reached the target temp) after that your printer should
start printing. Once the print finishes let the heat bed cool to around 50c, then if the print
hasn‘t popped off of the glass you can try to hold onto the glass around the print and with the
other hand quickly pull the cube in one direction to pop it off of the glass.
(If you have a dual extruder you can now try to print the dual extruder gcode you created
earlier)
Next lets print a Filament Guide, you can
use either the ABS Gcode here:
or the PLA
Gcode here:
Copy this gcode onto your SD Card and
print it. Then Install the guide as shown on
the picture on the right.
To generate gcode for a single extruder or
to only print with one extruder from your
dual extruder setup do the following:
Open slic3r then click File and Load
Config either the ABS or PLA folder in the
Pegasus Software\Slic3r\Slic3r 0.9.9 Configs\12 Inch Pegasus. Next click File, Quick Slice
and select one of the stl files in the Pegasus Software\Printed Pegasus Parts\Direct Drive
Extruder\ then save them to your sd card and print them out as spares.
Your Slic3r will now slice the stl into Gcode which you can copy onto an SD Card and print
directly from the LCD interface or you can load the Gcode into Pronterface and print simply
by Opening Pronterface, connecting to the printer clicking Load File then Print.
Note: if you upgrade your slic3r version to something other then 0.9.9 and if you don‘t use
the slic3r configs from this guide you will have print problems.
Содержание Pegasus 12
Страница 1: ...Updated 6 19 17 ...
Страница 5: ...5 ...
Страница 6: ...6 ...
Страница 19: ...19 Installl the two Z motors into the Z mounts using 4 M3x6mm bolts on each motor ...
Страница 41: ...41 Belts 4 x Zip Ties 2 x M3x25mm Bolts 2 x M3 Nylon Lock Nut 1 x GT2 Belt ...
Страница 47: ...47 For the Endstops follow the endstop guide by clicking on the Picture below ...
Страница 48: ...48 This page intentionally left blank ...
Страница 49: ...49 Optional LCD 1 x Wood LCD Mount 4 x M3x25mm Bolt 4 x M3 Lock nuts 1 x LCD Interface ...
Страница 52: ...52 Then install the LCD using the 3 bolts ...
Страница 54: ...54 Extruder Click on the image of the Extruder you have to open the build guide for that Extruder ...
Страница 63: ...63 Next plug in the Z Motors Now plug in the Y Motor ...
Страница 69: ...This page intentionally left blank ...
Страница 70: ...This page intentionally left blank ...
Страница 71: ...This page intentionally left blank ...
Страница 72: ......