Español
Français
English
– 34 –
EN
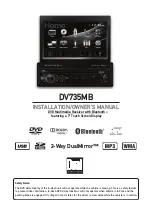
VCR to DVD
4
Use
[
K
/
L
]
to select “VCR DVD”, then press
[OK]
.
Dubbing Mode
VCR DVD
DVD VCR
Press
[SETUP]
to exit.
5
Press
[DVD]
, then press
[REC MODE]
repeatedly to
select a desired recording mode.
6
Press
[VCR]
, then press
[
B
]
to find the point where
you would like to start dubbing.
7
Press
[
F
]
when you come to a desired start point.
8
Press
[D.DUBBING]
.
• VCR to DVD duplication will start.
9
Press
[
C
]
to stop the dubbing.
DVD to VCR
4
Use
[
K
/
L
]
to select “DVD VCR”, then press
[OK]
.
Dubbing Mode
VCR DVD
DVD VCR
Press
[SETUP]
to exit.
5
Press
[VCR]
, then press
[REC MODE]
repeatedly to
select a desired recording mode.
• Rewind or fast forward the tape to the point where you
would like to start recording.
6
Press
[DVD]
, then press
[
B
]
to find the point where
you would like to start dubbing.
7
Press
[
F
]
when you come to a desired start point.
8
Press
[D.DUBBING]
.
• DVD to VCR duplication will start.
9
Press
[
C
]
to stop the dubbing.
Notes for DVD to VCR duplication
• This function is available for audio CDs, but not CDs with JPEG files.
• The recording mode for VCR cannot be displayed in step
5
when using an HDMI / Component / S-Video connection. To display the
VCR recording mode on the screen, the unit must be connected through the VIDEO OUT jack and the TV’s input select should be set
to the appropriate external input channel.
Notes for VCR to DVD duplication
• After starting VCR to DVD duplication, the picture may be distorted because of the auto tracking function. This is not a malfunction.
Play the tape until the picture is stabilized, then set the starting point where you would like to start recording, and start VCR to DVD
duplication.
• This unit will automatically stop the duplication if playback with no image is detected for more than 3 minutes during VCR to DVD
duplication.
• Playback sound mode of the dubbed contents is determined by the playback sound mode of the VCR at the point of dubbing.
To prevent the accidental recording, editing, or erasing of the
titles, you can set disc protection in the “DVD Menu”.
1
Press
[SETUP]
.
2
Use
[
K
/
L
]
to select “DVD Menu”, then press
[OK]
.
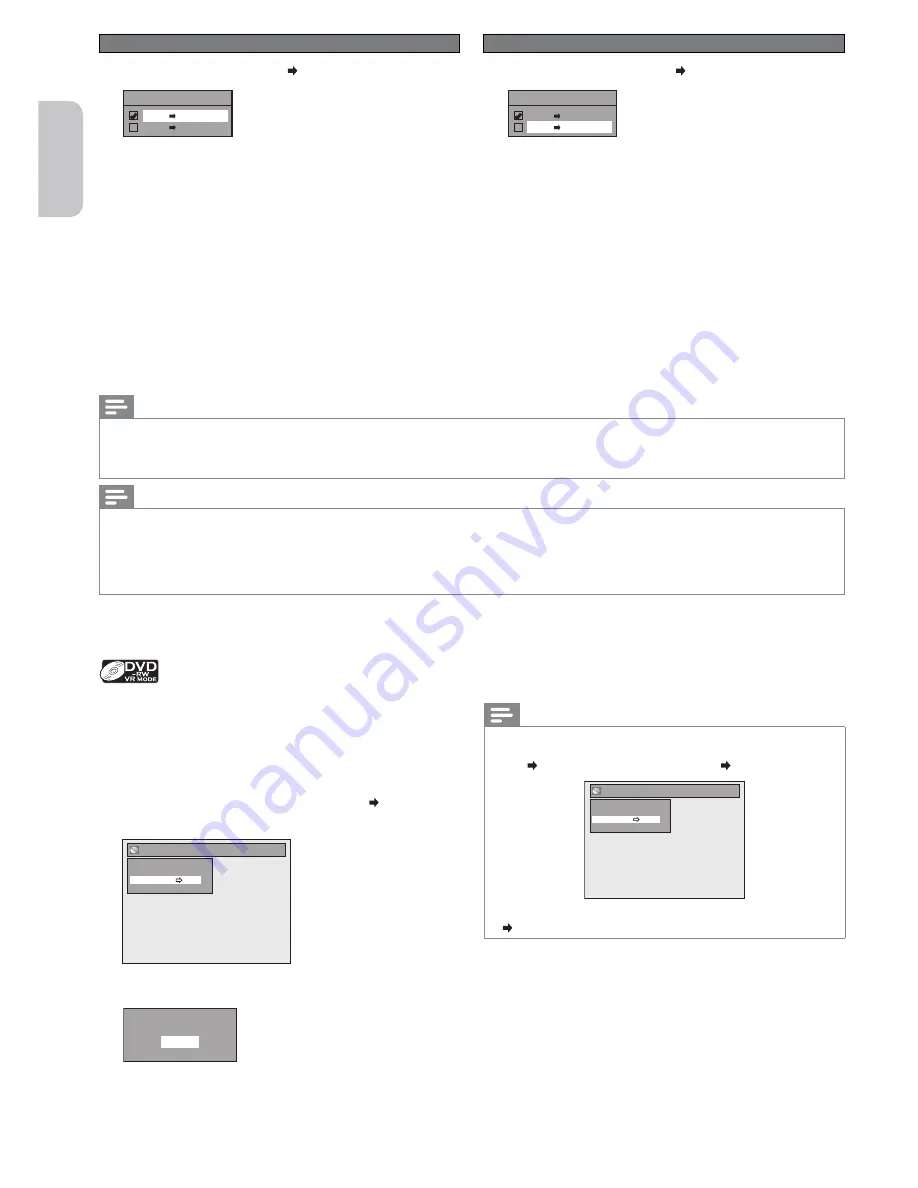
3
Use
[
K
/
L
]
to select “Disc Protect OFF ON”, then
press
[OK]
.
DVD Menu
Format
Make Edits Compatible
Disc Protect OFF ON
Delete All Playlist
4
Use
[
K
/
L
]
to select “Yes”, then press
[OK]
.
Protect this disc?
Yes
No
• The disc will be protected.
•
This operation may take a while to complete.
Note(s)
To cancel the disc protect:
• When you insert a disc protected with this unit, “Disc Protect
ON OFF” will appear instead of “OFF ON” in step
3
.
DVD Menu
Format
Make Edits Compatible
Disc Protect ON OFF
Delete All Playlist
• To release the protection for the disc, select “Disc Protect ON
OFF” in step
3
, then follow rest of the procedures.
Protecting a Disc