English
Français
Español
EN
– 25 –
Continued on next page.
Note(s)
• This unit cannot record to CD-RW or CD-R.
• All high definition pictures will be down-converted to standard
definition pictures when they are recorded on this unit.
• DVD-RW/-R and CD-RW/-R recorded on a PC or a DVD/CD
recorder may not be playable if ...
- the disc is damaged or dirty.
- there is condensation on the player’s lens.
• Discs recorded on a PC may not be playable on this unit
depending on the recording settings of the authoring software.
Check with the software publisher for details.
• Because recording on this unit is in Variable Bit Rate (VBR)
mode, the actual remaining time for recording may be shorter
than the estimated remaining time which is displayed on screen.
Recording Restrictions
You cannot record copy-protected programs on this unit.
Copy-protected video signal is included in DVD videos, some
satellite broadcasting, some pay-per-view programs, and some
“premium” stations.
If copy-protected material is detected, recording will pause
or stop automatically and an error message will appear on
screen.
“Copy-once only” video can only be recorded to CPRM
compatible DVD-RW formatted in VR mode.
What is “CPRM”
CPRM is a copy protection technology with a scramble
system for the recording of “copy-once” broadcast programs.
CPRM stands for Content Protection for Recordable Media.
This unit is CPRM compatible, which means you can record
copy-once broadcast programs, but you cannot make another
copy of those recordings. CPRM recordings can only be made
on CPRM compatible DVD-RW formatted in VR mode, and
CPRM recordings are only playable on DVD players that are
specifically compatible with CPRM.
Making discs playable on other DVD players (Finalization)
For DVD-RW/-R, it is necessary to finalize the disc after
recording in order to make them playable on other DVD
players. (Refer to pages 35)
When a video mode disc is finalized, the title menu will be
created. This unit cannot finalize the discs created on other
DVD recorders.
Before Recording
Auto Chapter Setting
You can set a specified time for chapter marks.
1
Press
[SETUP]
, then use
[
K
/
L
]
to select “General
Setting”, then press
[OK]
.
• The “General Setting” menu will appear.
2
Use
[
K
/
L
]
to select “Recording”, then press
[OK]
.
• The “Recording” menu will appear.
3
Use
[
K
/
L
]
to select “Auto Chapter”, then press
[OK]
.
4
Use
[
K
/
L
]
to select a desired time option, then press
[OK]
.
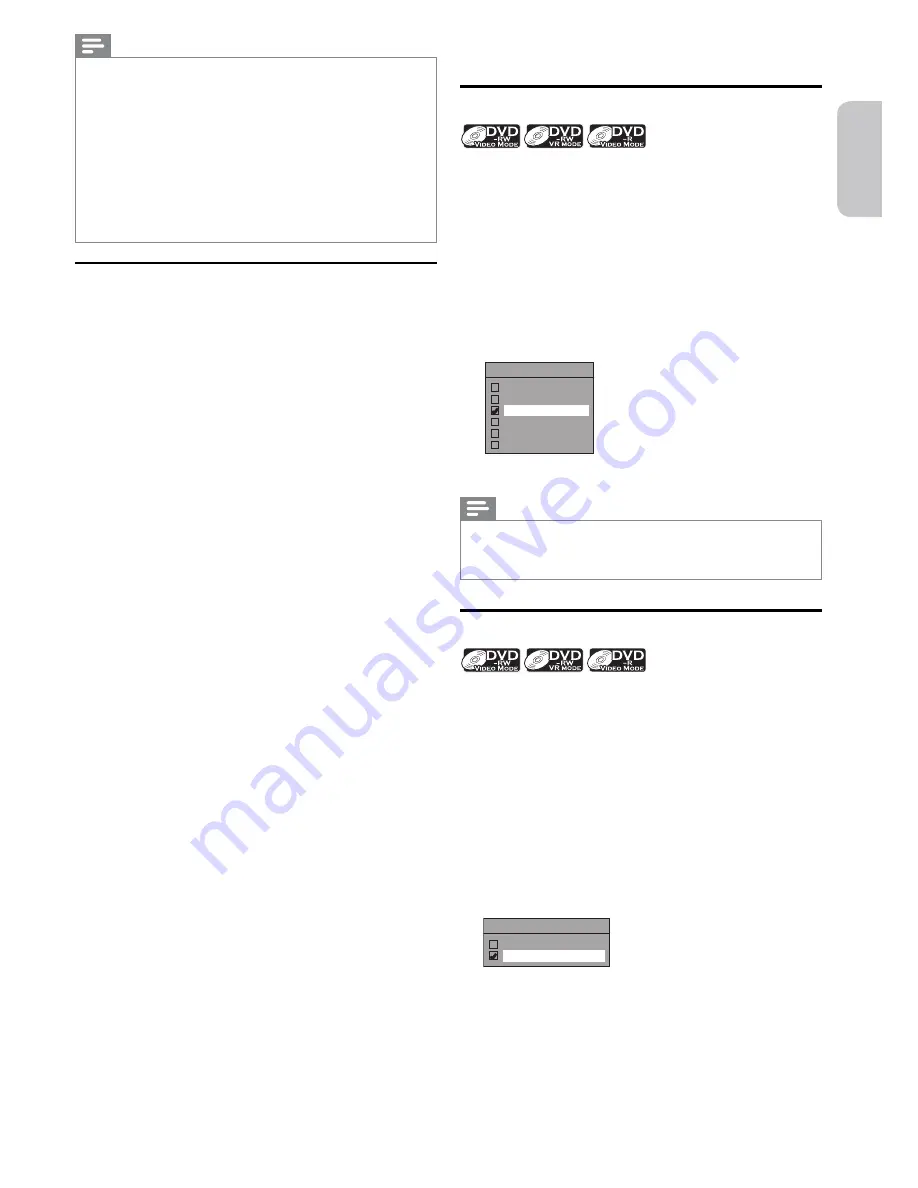
Auto Chapter
OFF
5 minutes
10 minutes
15 minutes
30 minutes
60 minutes
5
Press
[SETUP]
to exit.
Note(s)
• The interval for auto chapter may be up to two minutes
different from the time option you set.
• A blank chapter may be created depending on the remaining
time of the disc.
Recording Audio Select (XP)
You can enjoy high quality sound recording. This function
works only when the recording mode is set to XP.
1
Press
[SETUP]
, then use
[
K
/
L
]
to select “General
Setting”, then press
[OK]
.
• The “General Setting” menu will appear.
2
Use
[
K
/
L
]
to select “Recording”, then press
[OK]
.
• The “Recording” menu will appear.
3
Use
[
K
/
L
]
to select “Recording Audio Select (XP)”,
then press
[OK]
.
4
Use
[
K
/
L
]
to select “PCM” or “Dolby Digital”, then
press
[OK]
.
Recording Audio Select (XP)
PCM
Dolby Digital
PCM
Records PCM audio for the best sound quality.
Dolby Digital
Records Dolby Digital audio for good sound quality.
5
Press
[SETUP]
to exit.


