PM150-CO2 Portable Gas Monitor
REV – 1.0
[34-2900-0211-5]
17
|
P a g e
9.1.1
Read
The “Read” button (upper-left side first icon) allows a user to retrieve the stored data.
9.1.2
Write
The “Write” button (upper-left side second icon) has one of the most important roles in this software interface.
All configurations and customized settings will be saved by clicking “Write” button. When a user configures the
instrument`s settings, “Write” button must be clicked and a message will pop-up. Click “Yes”.
9.1.3
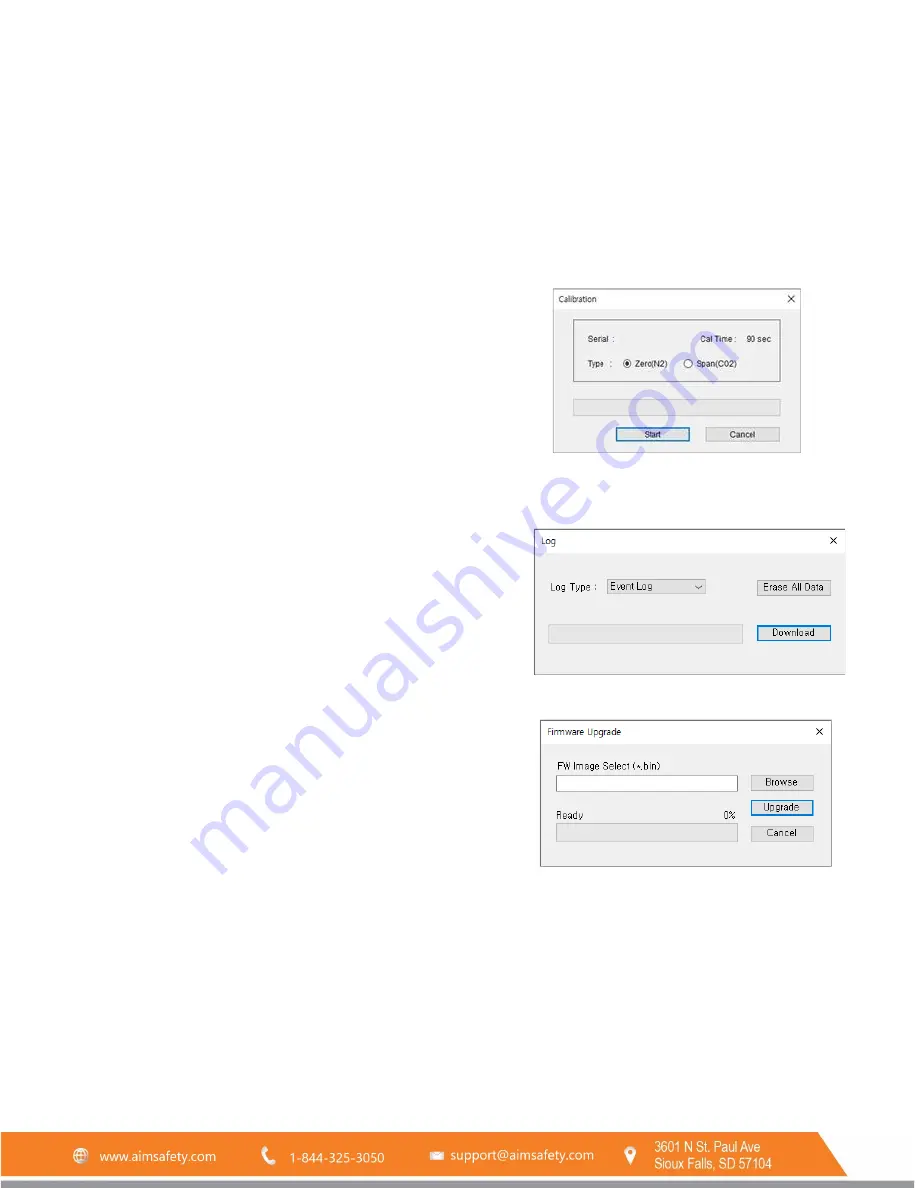
Calibration
To perform the calibration using the software:
1.
Connect the unit to the PC using
instrument’s USB-C cable.
2.
Attach the calibration cap and connect with zero (N
2
) or CO
2
gas cylinder.
3.
Open the software and click “Calibration” (middle- left side icon)
to open the calibration wizard.
4.
Choose the calibration gas type and click “Start” and turn on
the cylinder valve.
5.
The zero (N
2
) and span (CO
2
) calibrations each take 90
seconds.
9.1.4
Log
The most recent 30 logs will be stored in the device are
automatically erased one by one the earliest logs when new
events occur. There are
two types of logs, “Event Log” and “Event
+ Data log”, available to download. Choose the log and click
“Download” button. The log files will
be downloaded named with
the unit`s Serial number in a “.csv” format. Clicking the “Erase”
button will remove all the logs from the device’s memory and
cannot be recovered.
9.1.5
Firmware Upgrade
To upgrade the latest firmware version of PM150-CO:
1.
Click “Browse” button and navigate to the firmware file
location
2.
Select the new firmware file and click the “Open” button
3.
Click “Write” to begin the firmware upgrade process
4.
When upgrade is complete, power off the device and turn it
back on
5.
The “F-UP”
→
“boot” message will be displayed up and the upgrade is complete.
Note:
Pressing “Cancel” button during the upgrading process will cancel and close the Firmware Upgrade Wizard.


