10
11
your recorded video.
After entering the menu, a requester appears,
allowing you to select the film that is to be
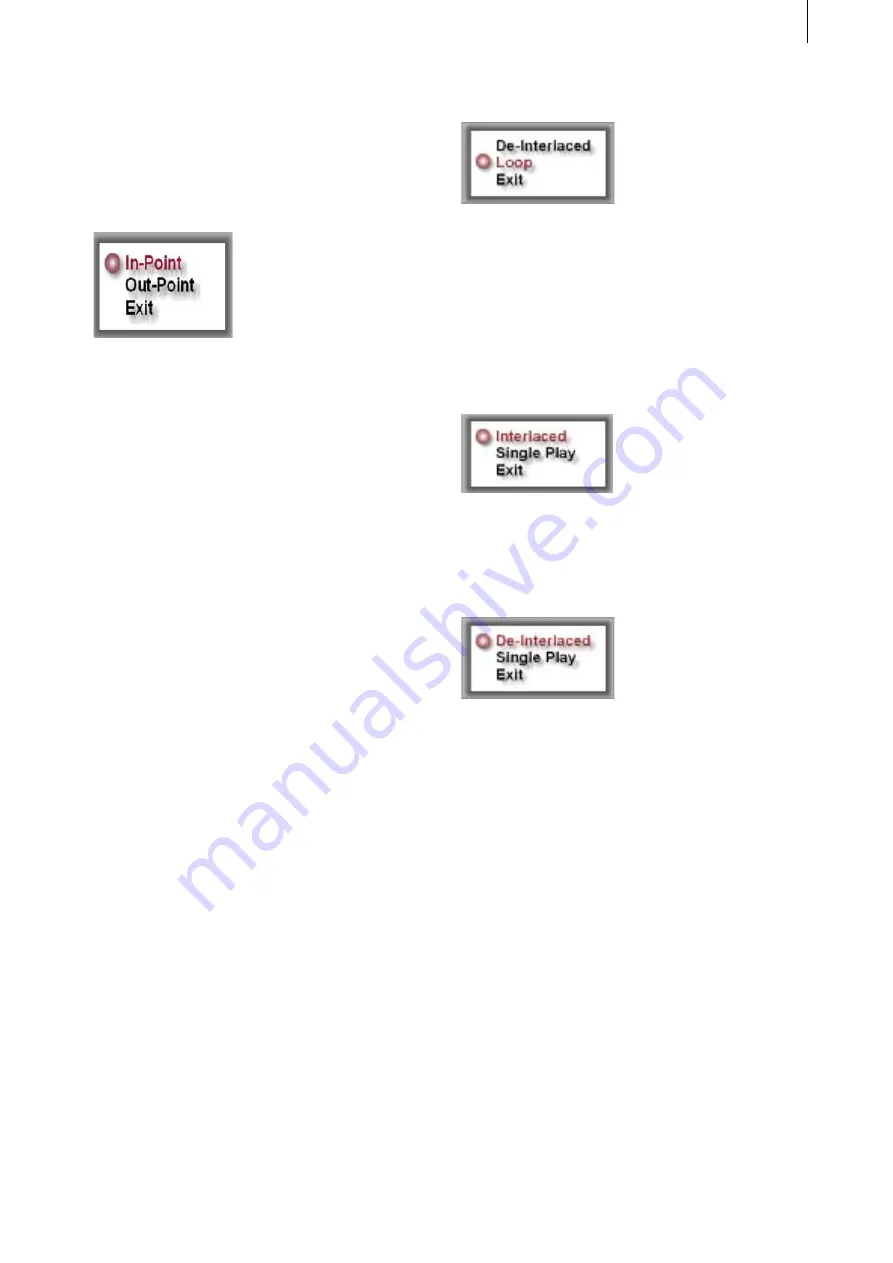
trimmed. After selecting, the trim menu appears:
In the background, you can see the first frame of
the footage. Use the key
arrow up
to select the
function
In
(for the In-point). The selection turns
red.
(If there is still material to be played back, a
fitting screen text/question will appear asking
you if the playback is to be stopped.)
Now you can use the right arrow key to navigate
through the video in 0,5 second steps in order to
find the right position for the start of your video.
Once you have found the first frame, press the
Ok
key.
Next, press the arrow down key to select the
item
Out
-Point. You should now see the very
last frame of your video. Use the
left arrow
key
to select the desired position for the end of the
video and confirm with the
Ok
key.
To exit the menu, select the
Exit
function and
press
Ok
to confirm and use the trim points.
In the sequent playback/sending, the video will
be played with the confirmed In and Out points.
Note
: The recording is not actually cut, but
simply trimmed. This means that you can return
to the In and Out point selections anytime and
set the anew.
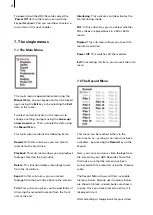
7.7 The Preference Menu
In this menu, you can use the
arrow up
and
down
keys to select either `
De-Interlaced
´ or
`
Loop
´.
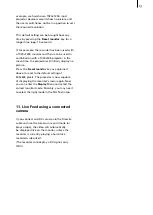
If you select ´
De-Interlaced
´, you can now further
determine between
Interlaced
and
De-Interlaced
using the left and right arrow keys.
The `
Interlaced
´
mode plays back the video
with no changes at 25 or 30 frames (Hz) on
the monitor. During movements, interlacing
artefacts looking like a comb-effect.
The `
De-Interlaced
´ mode removes these
`combed line effects´ and the video is played at
double the frame rate (see
Super De-interlacing
Chapter 8
).
Activating the `
Loop
´ function allows you to
select between
Loop
and Single-Play.
Loop
plays
films in a loop, meaning that they are repeated
after ending.
Single-Play
stops playback once
the film ends and returns the system to the
normal operating status (for example live feed, if
a camera is connected).
Содержание HDV Recorder HDD/RT
Страница 1: ...User manual...
Страница 14: ...260 04 06...


