Hydra LAN User Guide
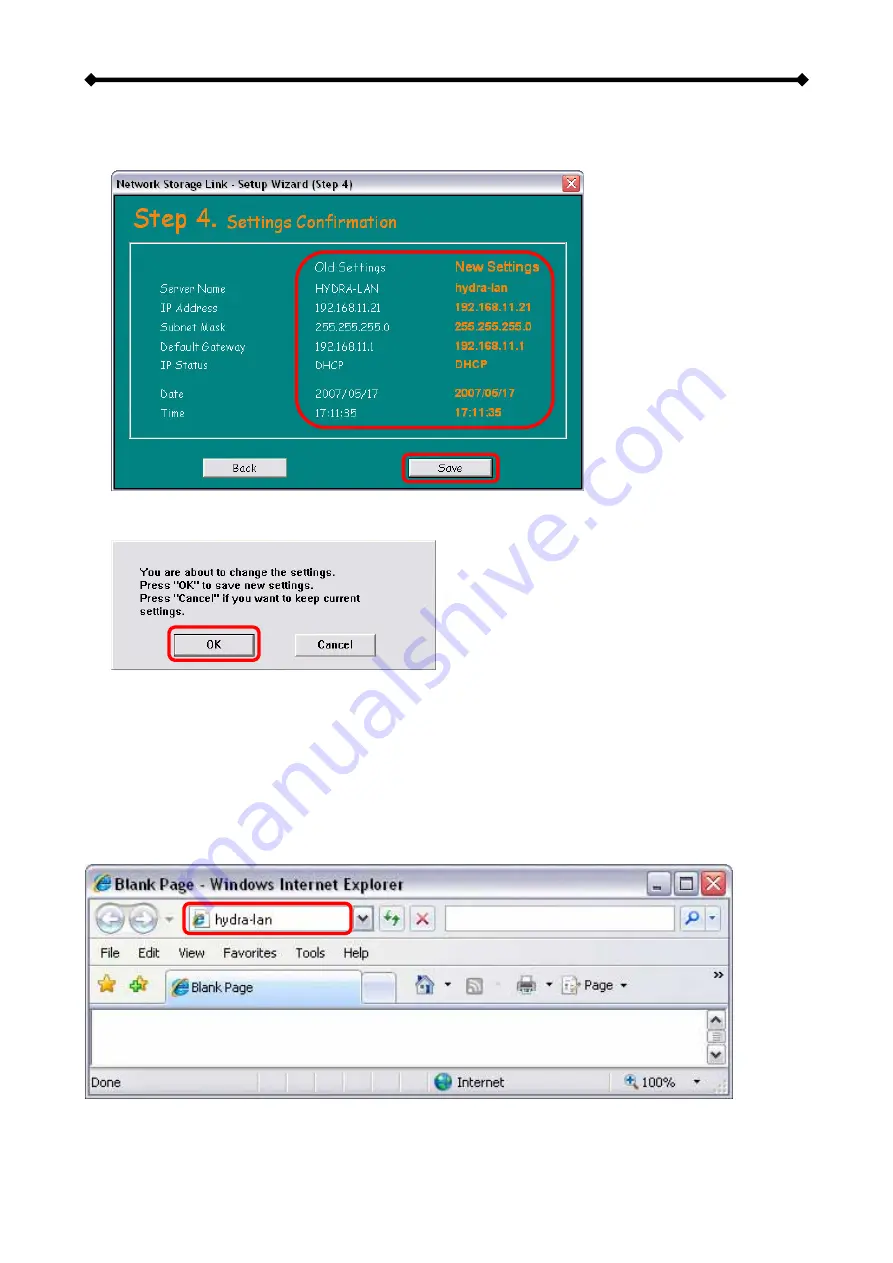
8. In step 4, you can compare your new settings with the previous configuration. If you
find a mistake, go back to make changes but if everything is OK, press “Save”.
9. The setup wizard will remind you that the previous settings will now be updated with
the new configuration. Press OK to finish the setup wizard.
Note: Alternatively, you could also write down the IP address in the first step of the setup
wizard, input that number into the URL field of our web browser and then access the web
configuration interface of your Hydra LAN.
2.2.2 Device Name & Web Browser
Use the device name, which by default is “hydra-lan”, enter that into the URL field of our
web browser and then access the web configuration interface of your Hydra LAN.
1
2
Note: This only works for Windows but not for a Mac!
Page 12 / Chapter 2 - System Setup


