Assembly
18
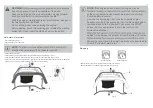
WARNING!
The product must be fully assembled before
operation! Do not use a product that is only partly assembled
or assembled with damaged parts!
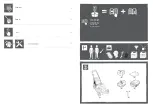
Follow the assembly instructions step-by-step and use
the pictures provided as a visual guide to easily assemble
the product!
Disconnect the spark plug connector (14) from the spark plug!
Remove the battery pack (31) from the battery docking port!
Reconnect them after assembly!
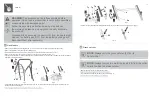
01
Handle bars
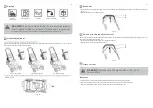
• Remove the pre-assembled mounting sets (7b, 7c, 7d, 7e) from the handle supports (7a) and keep them handy.
• Remove the protection covers from the lower handle bar (7).
•
• Make sure the wires (5, 6) and electric cord (23) run on the upper side of the handle bars (4, 7).
• Align the lower handle bar (7) with the handle supports (7a). Make sure the mounting holes in the lower handle bar are aligned
with those in the supports (Fig. 2).
Fig. 1
Fig. 2
8a
4 23
5
6
7
7
7a
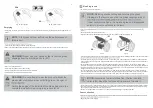
• Fix the lower handle bar (7) with the mounting sets (7b, 7c, 7d, 7e) to the handle supports (7a). Tighten the nuts (7c) with a
suitable wrench afterward (Fig. 3).
•
19
19
Fig. 3
Fig. 4
7b
7d
7e
7c
8a
4
• Fix the wires (5, 6) and electric cord (23) with the clips (9, 22) to both sides of the lower handle bar (7) (Fig. 5).
Fig. 5
22
9
02
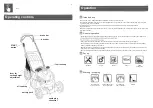
Grass catcher
NOTE:
Always carry the grass catcher (20) by its
handle (20a).
NOTE:
Always remove the mulching insert (28) from the outlet
before hooking the grass catcher.
• Remove the protection covers from the hooks (20c).
•
• Align the hooks (20c) with the rod (20d) to hang it onto it (Fig. 6).
•

