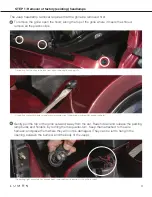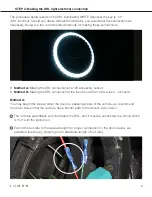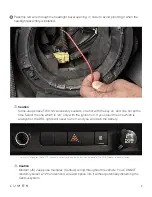
Run the red wire through the firewall and under the dash. Access the wiring behind the 12V
accessory socket. (You may need to view videos online to learn the proper way to remove the dash
of your vehicle).
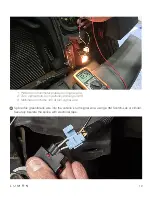
With the ignition on, using the multimeter/test lamp, probe the two wires to find the one which is hot
with key on. Turn off the ignition.
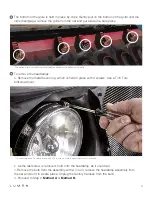
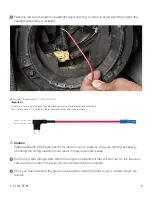
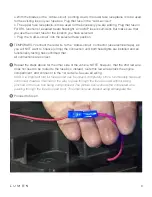
Using a 3M Scotch
‐
Lok or similar, connect the red wire to that 12V accessory socket wire.
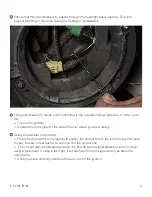
Using cable ties and/or electric tape, neatly secure the red wire along its travel path.
Repeat the steps above for the other side of the vehicle. NOTE, however, that the 2nd red wire does
not need to be routed into the interior; instead, route this red wire across the engine compartment,
and connect it to the 1st red wire. Secure all wiring.
Proceed to Step 3.
D
E
F
G
H
I
Method B:
You may begin this step at either the driver or passenger side of the vehicle; we recommend the
passenger side so that the red wire has a shorter path to the engine compartment fuse box.
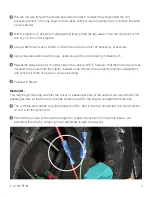
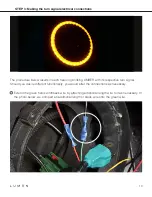
The red halo switchback wire illuminates the DRL, and it must be connected to a circuit which
is “hot” with the ignition on.
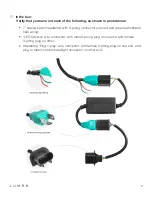
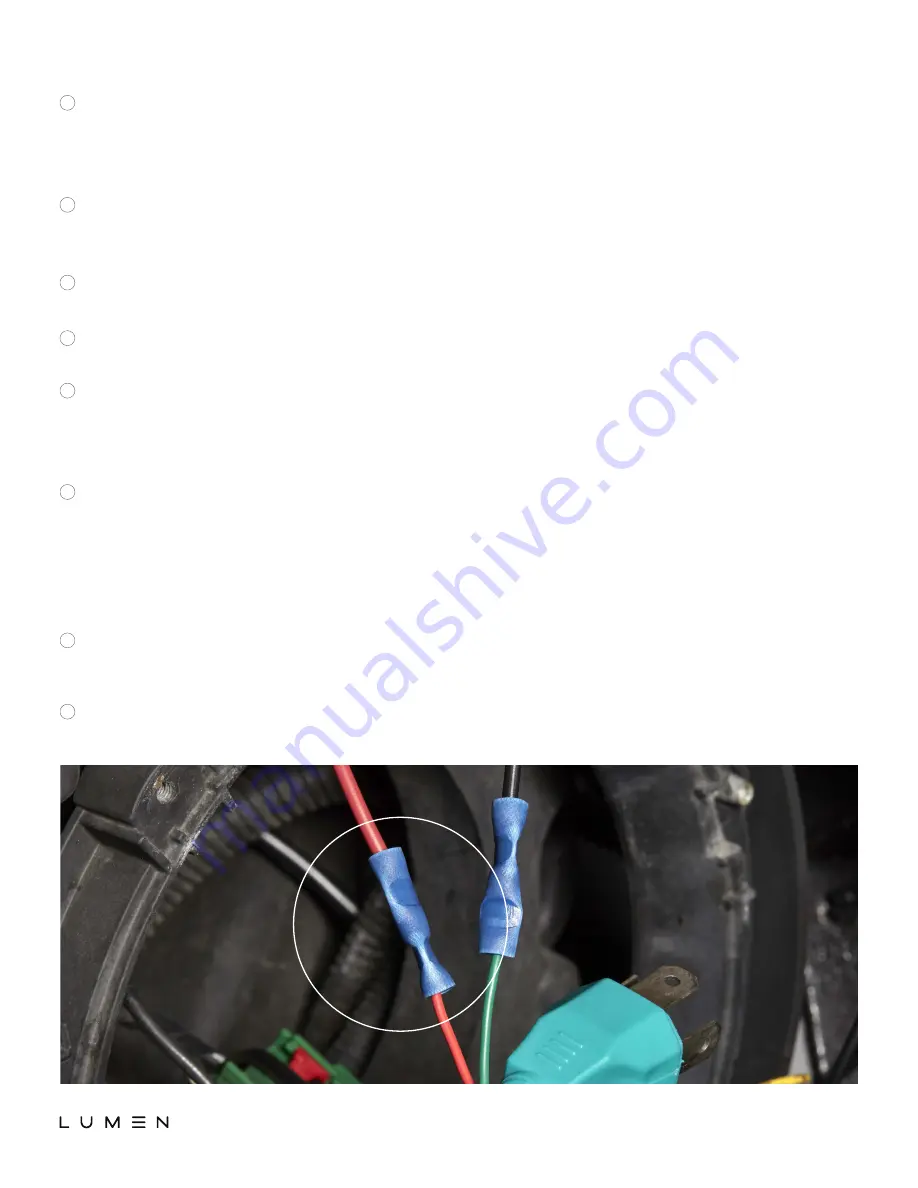
Extend the red wire to the desired length for proper connection (in the photo below, we
extended this wire by crimping on an additional length of red wire).
A
B
7


