Setup Your Printer
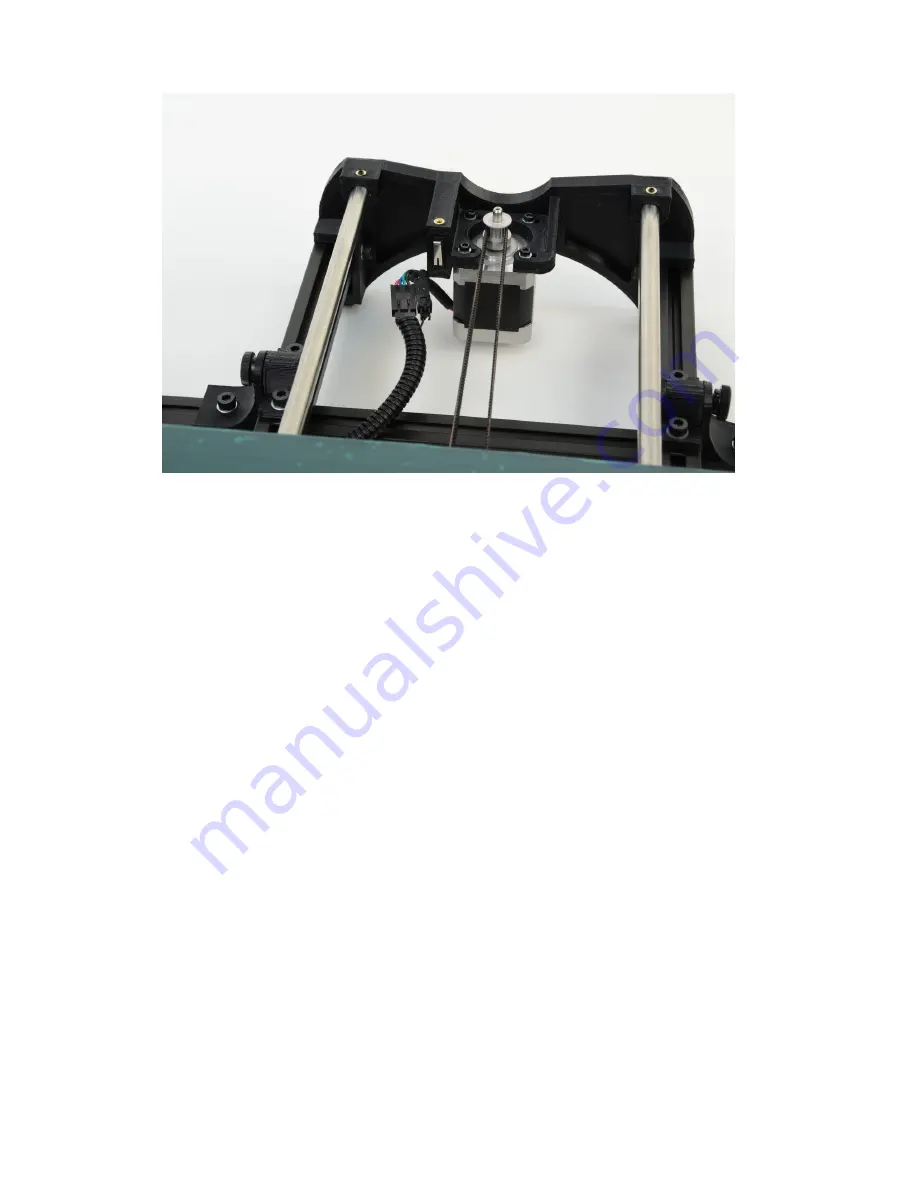
Figure 1.6: Connect the two connectors found at the rear of the Y axis
5. Locate one of the three small black zip ties that are included in the
documents bag. Wrap and tighten the zip tie around the Y axis wiring
and the black Y axis frame extrusion as shown in figure 1.7 (page 21).
20
Содержание TAZ 3.0
Страница 1: ...TAZ 3 0 User Manual Aleph Objects Inc...
Страница 5: ...CONTENTS Index 155 Glossary 159 v...
Страница 10: ......
Страница 11: ...WARNINGS Safety Information...
Страница 14: ......
Страница 15: ...Setup Your Printer...
Страница 17: ...1 1 HARDWARE SETUP Figure 1 2 Locate the four Y axis bolts Figure 1 3 Remove the four Y axis bolts 17...
Страница 25: ...1 1 HARDWARE SETUP Figure 1 12 Mount the extruder tool head Figure 1 13 Connect the two tool head connectors 25...
Страница 27: ...1 1 HARDWARE SETUP Figure 1 14 Power and USB receptacles Figure 1 15 Power supply 27...
Страница 30: ...Setup Your Printer Figure 1 19 Filament Guide Mount Figure 1 20 Filament Guide Setting 30...
Страница 31: ...1 1 HARDWARE SETUP Figure 1 21 Axes movement directions Figure 1 22 End stop locations 31...
Страница 33: ...Loading Filament...
Страница 36: ......
Страница 37: ...3D Printer Software...
Страница 47: ...Your First 3D Print...
Страница 55: ...4 5 Z PRINT HEIGHT Figure 4 5 Nozzle height Figure 4 6 Z end stop trigger 55...
Страница 58: ......
Страница 59: ...Slic3r...
Страница 131: ...Printing with the Graphic LCD...
Страница 138: ...Printing with the Graphic LCD GLCD Controller Menu Diagram Figure 6 4 Configuration Menu 138...
Страница 139: ...Maintaining Your 3D Printer...
Страница 143: ...Advanced Usage...
Страница 148: ......
Страница 149: ...Hardware and Software Source Code...
Страница 151: ...3D Printer Support...
Страница 153: ...Contact Information...
Страница 161: ......
Страница 162: ...Colophon Created with 100 Free Libre Software GNU Linux L A TEX Memoir...


