


Chapter
4
MMI
Menu
12
Use
the
left
soft
key
to
confirm
the
action.
P
P
h
h
o
o
n
n
e
e
S
S
e
e
t
t
t
t
i
i
n
n
g
g
s
s
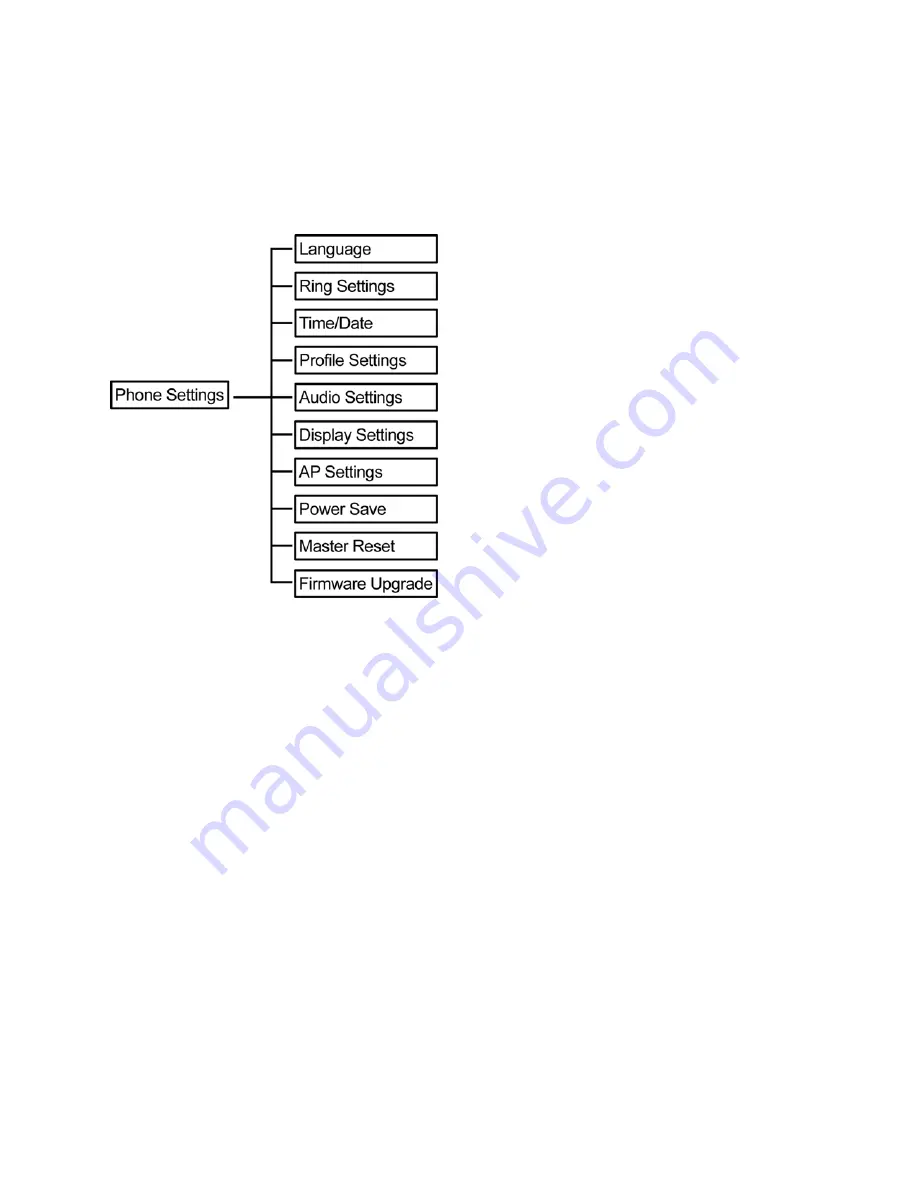
Phone
Settings
menu
allows
you
to
configure
general
handset
settings
as
well
as
to
reset
the
WiFi
phone
to
factory
defaults
and
upgrade
the
firmware.
Language
The
Language
menu
allows
you
set
the
on
screen
display
language
of
your
WiFi
phone.
Options
are
as
follows:
English
French
Korean
Chinese
Japanese
German
Spanish
Select
from
the
list
of
languages
then
press
the
Select
soft
key.
Ring Settings
The
Ring
Settings
menu
allows
you
to
configure
the
ring
tone
and
volume
settings
of
your
WiFi
phone.
Tone
To
set
a
ring
tone,
perform
the
following
steps:
1.
From
the
Ring
Settings
submenu,
select
Tone
.
2.
Select
the
desired
tone
among:
Simple
ring
(default)
and
Wav
ring
.
3.
Press
the
Select
soft
key.
Volume
To
set
the
volume,
perform
the
following
steps:
1.
From
the
Ring
Settings
submenu,
select
Volume
.
2.
Use
the
navigation
keys
to
increase
or
decrease
the
volume
from
0
to
4
on
the
sliding
scale.
Содержание LHVF133
Страница 1: ...WiFi Phone User Manual V 0 2...


