- 8 -
TOUCH MONITOR ADJUSTMENTS
The all-in-one touch terminal usually does not require adjustment. Variations in video output and
application may require adjustments to your all-in-one touch terminal to optimize the quality of the display.
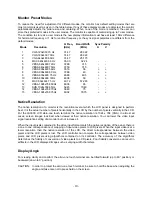
For best performance, the monitor display should be operating in native resolution, that is 1,024x768 at
refresh rate of 60Hz to 75 Hz. Display resolution in Windows can be selected in the Settings tab of
Display Properties.
All adjustments made to the controls are automatically memorized. This feature saves you from having to
reset your choices every time you unplug the monitor or turn the all-in-one touch terminal power off and
on. Even if there is a power failure, the all-in-one touch terminal settings will not be lost.
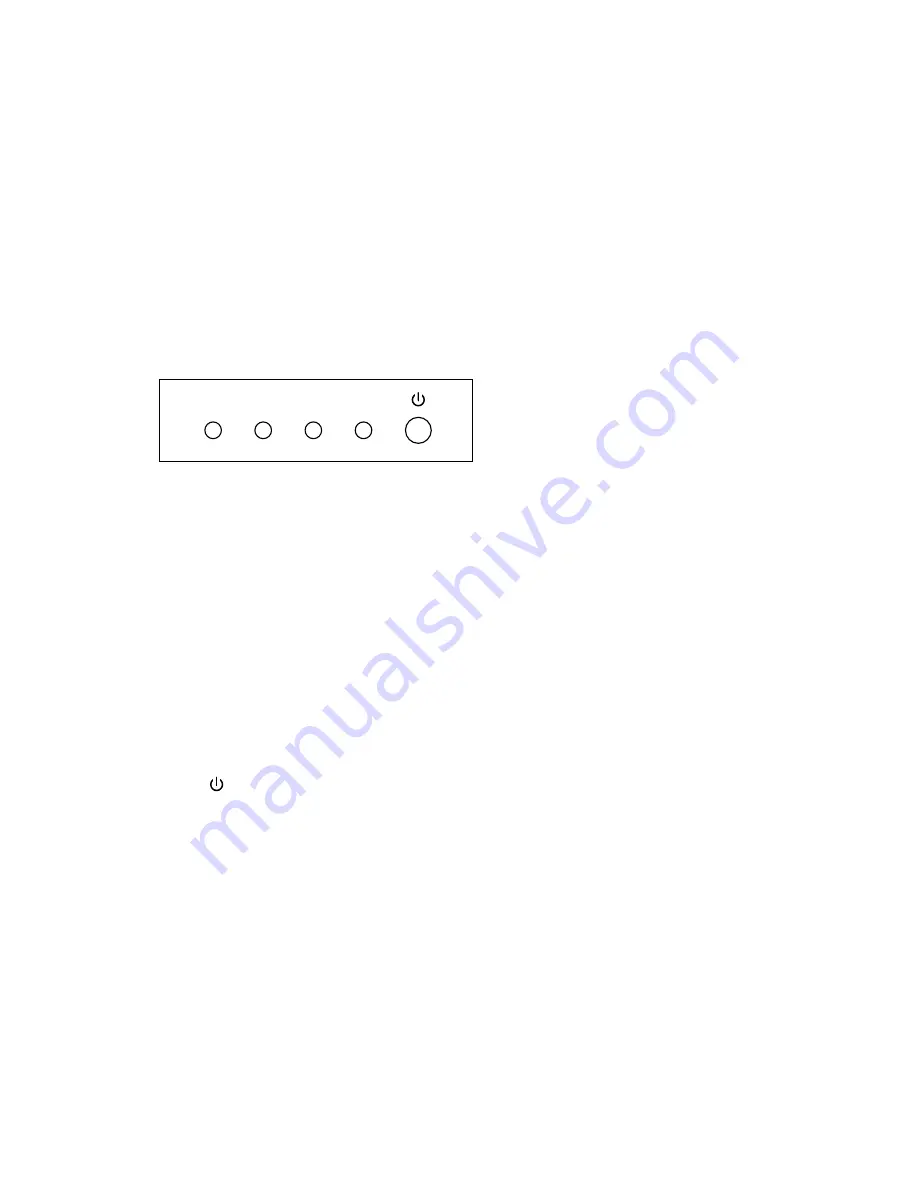
Display Control Buttons
Control
Button
Function
1.
MENU
Display or exit OSD menu.
2.
◄
a. Enter contrast adjustment.
b. Move to next item clockwise.
c. Increase value of the parameter selected for adjustment.
3.
►
a. Enter brightness adjustment.
b. Move to next item counter-clockwise.
c. Decrease value of the parameter selected for adjustment.
4. SEL
a.
Activate
auto-adjustment.
b. Selects item on OSD menu for adjustment.
c. Confirms current parameter adjustment and exit to higher level menu.
d.
Selects
sub-menu.
5.
Turns monitor display power on or off.
OSD Menu Functions
To Display and Select the OSD Functions:
1. Press the Menu key to activate the OSD menu.
2. Use
◄
or
►
to move counter-clockwise or clockwise through the menu.
3. Press the SEL key to select the highlighted parameter for adjustment. When selected, display
color of item will change from blue to black.
4. Use
◄
or
►
to increase or decrease value of the item being adjusted. Press SEL key to end
adjustment of the item.
5. To quit the OSD screen at any time during the operation, press the Menu key. If no keys are
pressed for a period of time (default 45 seconds), the OSD automatically disappears.
MENU
◄
►
SEL


