25
Chapter 7: Configuring the Router’s Web-Based Utility
Overview
Dual-Band Wireless Access Point
Chapter 7: Configuring the Router’s Web-Based Utility
Overview
Use the Router’s web-based utility to administer it. This chapter will describe each web page in the Utility and
each page’s key functions. The utility can be accessed via your web browser through use of a computer
connected to the Router. For a basic network setup, most users only have to use the following screens of the
Utility:
• Basic Setup. On the Basic Setup screen, enter the settings provided by your ISP.
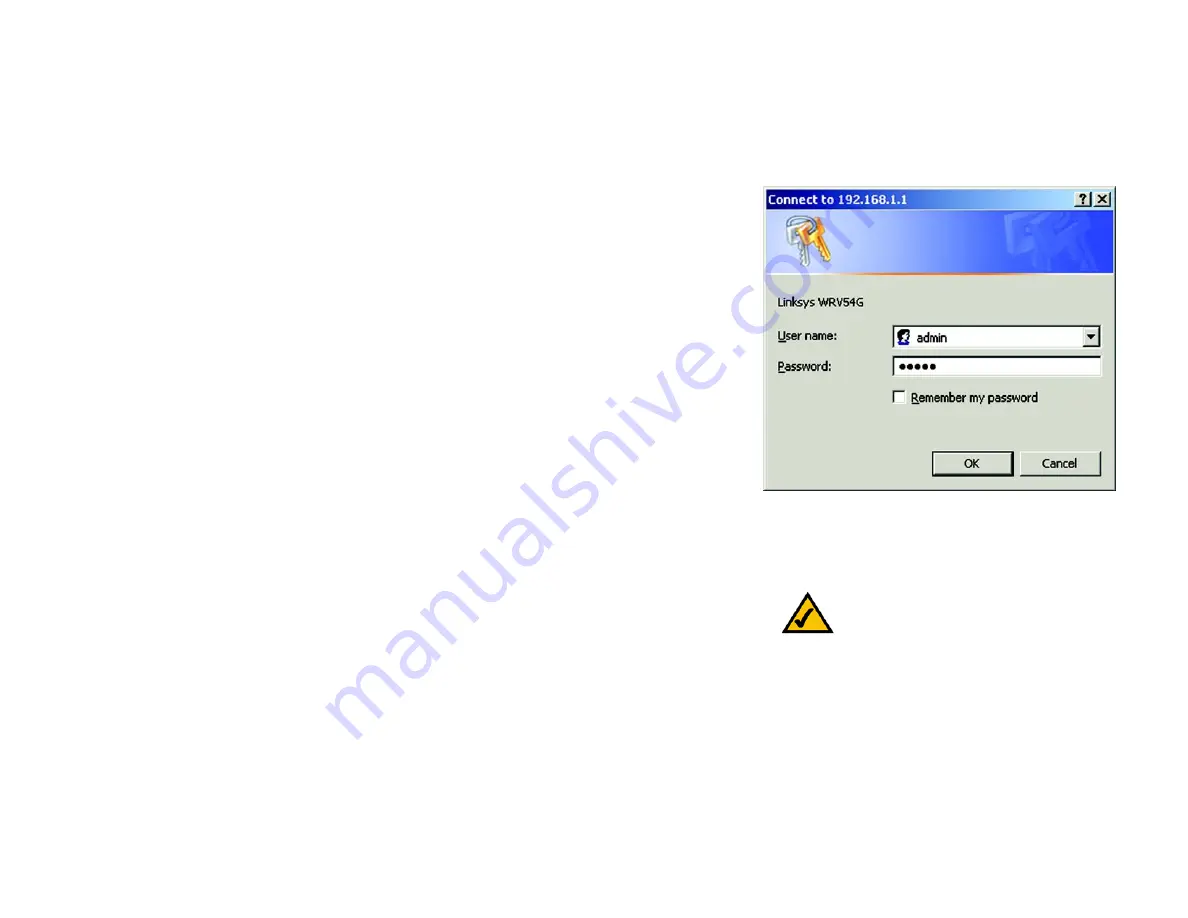
• Management. Click the Administration tab and then the Management tab. The Router’s default password is
admin. To secure the Router, change the Password from its default.
There are seven main tabs: Setup, Wireless, Security, Access Restrictions, Applications & Gaming,
Administration, and Status. Additional tabs will be available after you click one of the main tabs.
Setup
•
Basic Setup. Enter the Internet connection and network settings on this screen.
•
DDNS. To enable the Router’s Dynamic Domain Name System (DDNS) feature, complete the fields on this
screen.
•
MAC Address Clone. If you need to clone a MAC address onto the Router, use this screen.
•
Advanced Routing. On this screen, you can alter Network Address Translation (NAT), Dynamic Routing, and
Static Routing configurations.
•
Hot Spot. Register your Hot Spot service provider on this screen.
Wireless
•
Basic Wireless Settings. You can choose your Wireless Network Mode and Wireless Security on this screen.
•
Wireless Network Access. This screen displays your network access list.
Note:
For added security, you should change
the password through the Security screen of
the web-based utility.
Figure 7-1: Password Screen
NAT
(
Network Address Translation):
NAT
technology translates IP addresses of a local area
network to a different IP address for the Internet.


