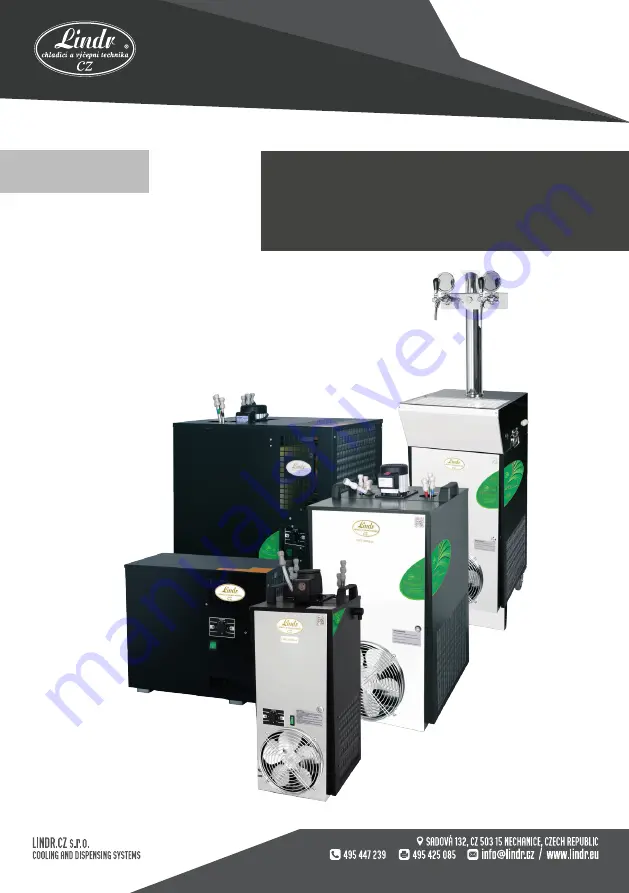
CZECH UP YOUR BEER
COOLING AND DISPENSING SYSTEMS
english
manual FLOW TYPE CONTACT
COOLER LINDR
Страница 1: ...CZECH UP YOUR BEER COOLING AND DISPENSING SYSTEMS english manual FLOW TYPE CONTACT COOLER LINDR...
Страница 2: ...ended children CAUTION Before connecting the main power supply check if the voltage and frequency match the data shownon the device CAUTION Always make sure the power socket to connect the cooler is e...
Страница 3: ...ine achieves optimal performance when used at ambient temperatures from 6 C to 28 C This machine is intended for use in normal environment according to SN 33 2000 3 and is included in climatic class N...
Страница 4: ...he beverage 3 outlet of the cooled beverage 4 fan 5 suction propeller 6 fan cover 7 condenser 8 cover of the electro panel 9 evaporator 10 cooling coil 11 plastic tank 12 motor compressor 13 overflow...
Страница 5: ...pages 26 and 27 CAUTION Due to condensation there can be a small amount of water flowing away through the overflow WE RECOMMEND Only use quick couplings to connect beverage hoses For the connection of...
Страница 6: ...tart up the cooling unit by connecting the power cord and switching on the main switch How to work with the fittings 7 min temperature beverage 2 C 7 Push the tube into the fitting firmly about 1 5 cm...
Страница 7: ...t be disconnected from the main electrical supply Cleaning of the machine Before any cleaning of the machine it must be disconnected from the main electrical supply Cleaning of the condenser No 7 must...
Страница 8: ...s Periodic checks check if the power supply plug is firmly plugged into the socket check that the machine is not exposed to radiant heat check the level and cleanliness of the water bath in the plasti...
Страница 9: ...rous situations Potential areas of risk risks which cannot be removed Risks related to the electricity Potential risks are removed thanks to the construction of the electrical system according to CSN...
Страница 10: ...reducer 1 way N2 CO2 9 Beverage 10 Plastic fitting JG SS 9 5 x 8 mm 2x 11 Rychlospojka JG straight 12 7 x 8mm 2x 12 Python 13 Plastic fitting for pressure reducer JG F7 16 x 8 mm 1 Beverage inlet 2 B...
Страница 11: ...4 2 No 12 illustration 3 Thermostat 4 Dispense head S type A type M type 5 Plastic fitting F 5 8 x 9 5 mm 6 Plastic fitting F 5 8 x 8 mm 7 Plastic fitting splitter 8 x 8 x 8 mm 3x 8 Pressure reducer...
Страница 12: ...r the diluted solution into the sanitizing bottle in the specified ratio usually 1 80 pull through the system and let it sit for about 20 minutes After about 20 minutes disconnect the keg coupler and...
Страница 13: ...screw the cap 1 of the body of the compensator 2 remove the entire piece This will release the compensator 3 16 Pull out the compensator from the body of the dispensing tap 17 Screw back on the whole...
Страница 14: ...turned on but does not cool ventilation holes are covered release the ventilation holes the machine has a dirty condenser remove coarse dirt and dust by wiping fittings don t seal properly poorly ins...
Страница 15: ...00x1490 51 0 CWP 300 Green Line 1 2300 200 180 10 8 R290 220 240V 50Hz 1 1081 4 70 420x510x680 49 0 CWP 300 Green Line mobiln 1 2300 200 180 10 6 R290 220 240V 50Hz 1 1081 4 70 420x530x1520 66 0 AS 40...
Страница 16: ...ance Thermal gradient t C Draught of recirculation pump m Type of refrigerant Voltage Power W amperage A Dimension of the cabinet xHxV mm Net weight kg AS 80 1 4 640 80 45 10 6 R134a 220 240V 60Hz 1 5...