background image

English

3. Press

to terminate the call.

Note!

If you wish, you can switch between handset and handsfree mode by simply pressing

or

lifting the handset. Please remember that in handsfree mode it is only possible for one person

at a time to talk. The switch-over between speaker and microphone is automatic. It is therefore

essential that there are no loud noises, e.g. music, in the immediate vicinity of the phone,

as this will disrupt the handsfree function.

Mute

Press and hold

z

to disconnect the handset's microphone, release

z

to resume the

conversation.

Timer

During a call the display shows a call timer, indicating the duration of the call. The timer is a
simple way to help you keep track of how long the call lasts.

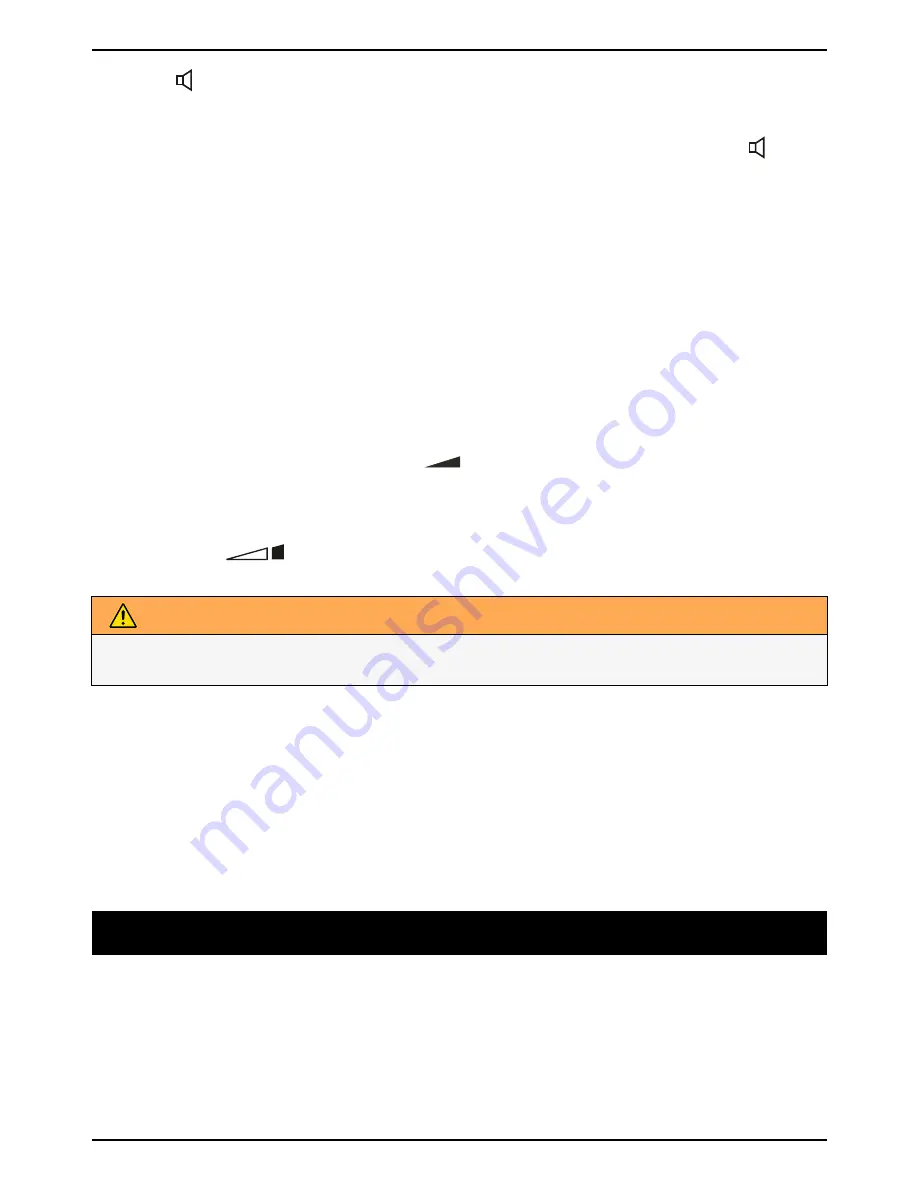
Volume control

Adjust handset volume during a call with

.

Adjust speaker volume (hands free) during a call with

v

/

V

.

Extra amplification (boost)

Press the button

to activate amplification. The amplification is deactivated at the end

of each call to avoid harming people with normal hearing.

WARNING

The handset/headset volume can be turned up very loud. The amplification should only be

used by people with impaired hearing ability.

Service access

Key

1

and

2

can be programmed with a service number.

1. Press and hold

1

or

2

.

ENTER NUMBER

is displayed. Use the keypad and

c

to edit

the access number. Press

p

.

2.

ENTER NAME

is displayed. Use the keypad to edit the access name. Press

p

to

confirm the changes.

To dial, press and hold

1

or

2

and press

0

or lift the handset.

Phonebook

The phonebook will store 99 sets of names and phone numbers. Contacts in the phonebook
are arranged alphabetically. Each name can be up to 14 characters in length, and phone
numbers can be up to 22 digits in length.
If you subscribe to a Caller ID service, the name/number of the caller will be shown when you
receive an incoming call (for those numbers stored in the phonebook or the memories).

Character table

Each number key has been allocated certain characters.

3

Содержание DORO COMFORT 3005

Страница 1: ...manuals www liGo co uk For all the latest product news reviews and advice from liGo please visit www liGo co uk blog TELEPHONES HEADSETS TWO WAY RADIOS PERSONAL CARE BABY MONITORS AND MUCH MORE GET 5...

Страница 2: ...Doro Comfort 3005 English...

Страница 3: ...ss keys 4 MEMO 5 Hanging peg for handset 6 Store 7 Message waiting indicator 8 New call and answering machine on off indicator 9 Phonebook Caller ID 10 Clear 11 Menu 12 UP DOWN 13 OK Call key 14 Answe...

Страница 4: ...contacts 5 Call list 5 Retrieving and dialling 5 Messages 5 Deleting numbers 6 Transfer numbers to the phonebook 6 Answering machine 6 Settings 6 OGM outgoing message 7 ICM incoming message 8 Call mon...

Страница 5: ...inute using v V Press 0 7 Select desired month using v V Press 0 8 Select desired date using v V Press 0 9 Select desired weekday using v V Press 0 10 ENGLISH is displayed Press 0 to change press V to...

Страница 6: ...display the total number of calls that have been stored in the Call list memory and the number of new calls Note There are separate logs for answering machine and Caller ID and separate red LED s In...

Страница 7: ...o activate amplification The amplification is deactivated at the end of each call to avoid harming people with normal hearing WARNING The handset headset volume can be turned up very loud The amplific...

Страница 8: ...you want to add more contacts or press to return to standby Note Press r to insert a pause in the phone number If you wish to change a number store the new number in the same location as the old one...

Страница 9: ...d in the phonebook the caller s name is displayed Received calls are stored chronologically the sequential number is displayed When the Caller list memory is full the oldest number will be deleted aut...

Страница 10: ...he number you wish to copy using v V 3 Press p 4 COPY TO PBOOK is displayed Press p 5 Change displayed phone number with c and v V Press p 6 Enter name using c and v V 7 Press p to confirm the changes...

Страница 11: ...information can be supplied but no incoming message will be recorded When ANSWER ONLY is selected A2 is displayed Note You need to record your own greeting message there is no pre recorded message See...

Страница 12: ...d Playback will always begin with any new messages for example if there are three old messages and two new ones only the two new ones will be played back then the answering machine will return to stan...

Страница 13: ...ill hear a beep 2 Start speaking clearly towards the machine to record your message This function only works when the handset is on the base on hook 3 Release a to stop recording 4 Memos are played ba...

Страница 14: ...incoming messages for more than 2 minutes and 40 seconds you will hear two beeps Press any key to continue Remote activation The answering machine can be activated using the remote control functions 1...

Страница 15: ...ted under the battery cover Ring melody Ringer tone Connecting a Headset You can connect a headset to the socket When a headset is connected the speaker key is used to connect disconnect a call equiva...

Страница 16: ...ce between the product and mains power The mains socket outlet must be close to the equipment and easily accessible Your unit is a technically advanced product and should be treated with the greatest...

Страница 17: ...likely event of a fault occurring during this period please contact the place of purchase Proof of purchase is required for any service or support needed during the guarantee period This guarantee wil...

Страница 18: ...English 14...

Страница 19: ......

Страница 20: ......

Страница 21: ...LAST PAGE English Version 1 0 Doro AB All rights reserved www doro com REV 3672 STR 111025...

Отзывы: