Action
Yes
No
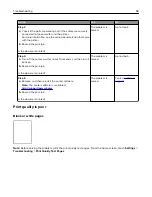
Step 1
a
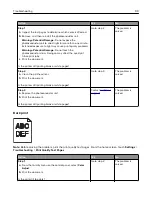
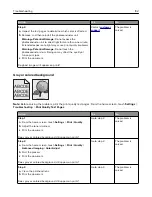
Inspect the test pages to determine which color is affected.
b
Remove, and then reinstall the photoconductor unit.
Warning—Potential Damage:
Do not expose the
photoconductor unit to direct light for more than one minute.
Extended exposure to light may cause print quality problems.
Warning—Potential Damage:
Do not touch the
photoconductor drum. Doing so may affect the quality of
future print jobs.
c
Print the document.
Is the printer still printing blank or white pages?
Go to step 2.
The problem is
solved.
Step 2
a
Clean the printhead lens.
b
Print the document.
Is the printer still printing blank or white pages?
Go to step 3.
The problem is
solved.
Step 3
a
Replace the photoconductor unit.
b
Print the document.
Is the printer still printing blank or white pages?
Contact
The problem is
solved.
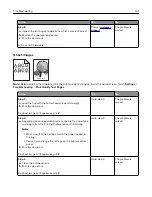
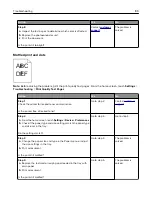
Dark print
Note:
Before solving the problem, print the print quality test pages. From the home screen, touch
Settings
>
Troubleshooting
>
Print Quality Test Pages
.
Action
Yes
No
Step 1
a
From the Quality menu on the control panel, select
Color
Adjust
.
b
Print the document.
Is the print still too dark?
Go to step 2.
The problem is
solved.
Troubleshooting
99
Содержание CS921
Страница 1: ...CS921 CS923 CS927 User s Guide August 2017 www lexmark com Machine type s 5059 Model s 130 530...
Страница 43: ...5 Insert the new toner cartridge 6 Remove the waste toner bottle Maintaining the printer 43...
Страница 48: ...8 Insert the waste toner bottle and then close the door Maintaining the printer 48...
Страница 71: ...Below the fuser area Duplex area Clearing jams 71...
Страница 76: ...2 Open door J 3 Open door H Clearing jams 76...
Страница 81: ...Staple jam in the staple nisher 1 Slide the staple nisher 2 Remove the staple cartridge holder Clearing jams 81...
Страница 83: ...Staple jam in the staple hole punch nisher 1 Open door H 2 Remove the staple cartridge holder Clearing jams 83...
Страница 126: ...5 Remove the controller board shield Upgrading and migrating 126...
Страница 134: ...7 Connect the tray connector to the printer 8 Open trays 2 and 3 Upgrading and migrating 134...
Страница 139: ...9 Remove the stabilizing feet from the tray Upgrading and migrating 139...
Страница 143: ...17 Secure the tray cable with the clamp Upgrading and migrating 143...
Страница 144: ...18 Connect the tray cable to the printer 19 Attach the tray cable cover Upgrading and migrating 144...
Страница 145: ...20 Slide the tray until it clicks into place 21 Attach the stabilizing feet to the printer Upgrading and migrating 145...
Страница 155: ...8 Attach the nisher to the printer Upgrading and migrating 155...
Страница 164: ...Laser advisory label The following laser notice label is affixed to the printer Notices 164...


