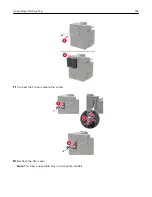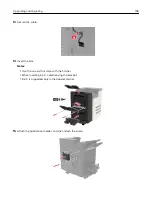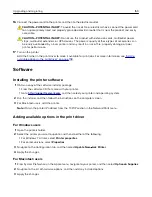
16
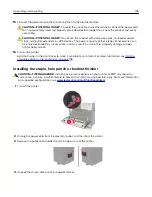
Connect the power cord to the printer, and then to the electrical outlet.
CAUTION—POTENTIAL INJURY:
To avoid the risk of fire or electrical shock, connect the power cord
to an appropriately rated and properly grounded electrical outlet that is near the product and easily
accessible.
CAUTION—POTENTIAL INJURY:
Do not use this product with extension cords, multioutlet power
strips, multioutlet extenders, or UPS devices. The power capacity of these types of accessories can
be easily overloaded by a laser printer and may result in a risk of fire, property damage, or poor
printer performance.
17
Turn on the printer.
Add the finisher in the print driver to make it available for print jobs. For more information, see
available options in the print driver” on page 159
Software
Installing the printer software
1
Obtain a copy of the software installer package.
•
From the software CD that came with your printer.
•
Go to
, and then select your printer and operating system.
2
Run the installer, and then follow the instructions on the computer screen.
3
For Macintosh users, add the printer.
Note:
Obtain the printer IP address from the TCP/IP section in the Network/Ports menu.
Adding available options in the print driver
For Windows users
1
Open the printers folder.
2
Select the printer you want to update, and then do either of the following:
•
For Windows 7 or later, select
Printer properties
.
•
For earlier versions, select
Properties
.
3
Navigate to the Configuration tab, and then select
Update Now
‑
Ask Printer
.
4
Apply the changes.
For Macintosh users
1
From System Preferences in the Apple menu, navigate to your printer, and then select
Options & Supplies
.
2
Navigate to the list of hardware options, and then add any installed options.
3
Apply the changes.
Upgrading and migrating
159
Содержание CS921
Страница 1: ...CS921 CS923 CS927 User s Guide August 2017 www lexmark com Machine type s 5059 Model s 130 530...
Страница 43: ...5 Insert the new toner cartridge 6 Remove the waste toner bottle Maintaining the printer 43...
Страница 48: ...8 Insert the waste toner bottle and then close the door Maintaining the printer 48...
Страница 71: ...Below the fuser area Duplex area Clearing jams 71...
Страница 76: ...2 Open door J 3 Open door H Clearing jams 76...
Страница 81: ...Staple jam in the staple nisher 1 Slide the staple nisher 2 Remove the staple cartridge holder Clearing jams 81...
Страница 83: ...Staple jam in the staple hole punch nisher 1 Open door H 2 Remove the staple cartridge holder Clearing jams 83...
Страница 126: ...5 Remove the controller board shield Upgrading and migrating 126...
Страница 134: ...7 Connect the tray connector to the printer 8 Open trays 2 and 3 Upgrading and migrating 134...
Страница 139: ...9 Remove the stabilizing feet from the tray Upgrading and migrating 139...
Страница 143: ...17 Secure the tray cable with the clamp Upgrading and migrating 143...
Страница 144: ...18 Connect the tray cable to the printer 19 Attach the tray cable cover Upgrading and migrating 144...
Страница 145: ...20 Slide the tray until it clicks into place 21 Attach the stabilizing feet to the printer Upgrading and migrating 145...
Страница 155: ...8 Attach the nisher to the printer Upgrading and migrating 155...
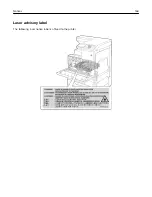
Страница 164: ...Laser advisory label The following laser notice label is affixed to the printer Notices 164...


