Action
Yes
No
Step 1
a
Remove the tray.
b
Remove the paper, and then load paper from a fresh package.
Note:
Paper absorbs moisture due to high humidity. Store
paper in its original wrapper until you are ready to use it.
c
Squeeze and slide the paper guides to the correct position for
the size of the paper you are loading.
d
Insert the tray.
e
Resend the print job.
Is the print still crooked or skewed?
Go to step 2.
The problem is
solved.
Step 2
a
Check if you are printing on a supported paper.
b
Resend the print job.
Is the print still crooked or skewed?
Contact
The problem is
solved.
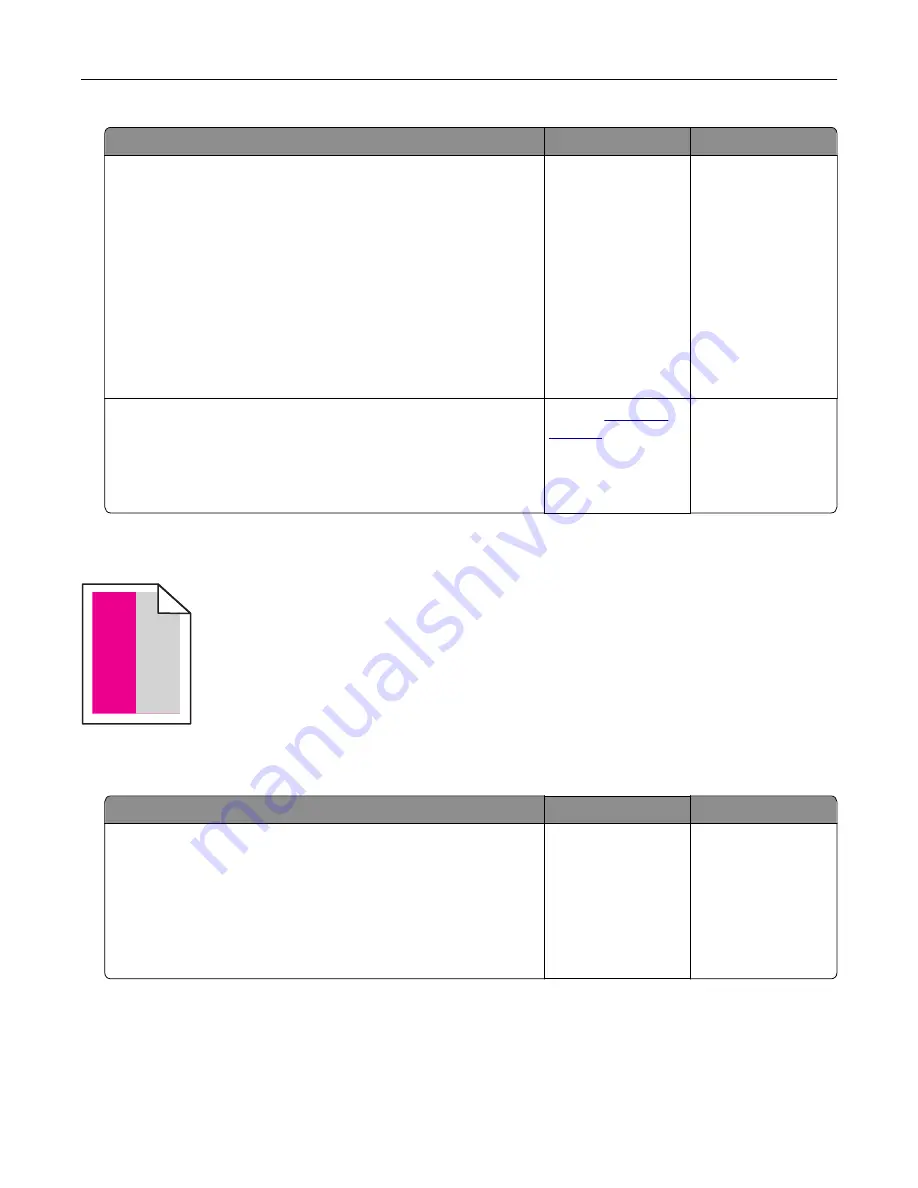
Repeating defects
)
)
)
Note:
Before solving the problem, print the
Maintenance Defect Ruler
from the Troubleshooting section of
the Settings menu.
Action
Yes
No
Step 1
a
Print the quality sample pages.
From the home screen, touch
Settings
>
Troubleshooting
>
Basic Print Quality Samples
.
b
Determine how many colors have defects.
Is only one color affected?
Go to step 2.
Go to step 3.
Troubleshooting
96
Содержание CS720 Series
Страница 41: ...2 Remove the waste toner bottle 3 Remove the imaging kit Maintaining the printer 41...
Страница 43: ...8 Insert the black toner cartridge 9 Insert the imaging kit Maintaining the printer 43...
Страница 45: ...2 Remove the waste toner bottle 3 Remove the imaging kit Maintaining the printer 45...
Страница 47: ...8 Insert the toner cartridges 9 Insert the new imaging kit Maintaining the printer 47...
Страница 53: ...3 Remove the pick roller 4 Unpack the new pick roller Maintaining the printer 53...
Страница 110: ...5 ISP extended cable 4 Install the ISP into its housing Upgrading and migrating 110...
Страница 111: ...5 Attach the housing to the controller board access cover Upgrading and migrating 111...
Страница 117: ...5 Open door B 6 Open door C Upgrading and migrating 117...


