6
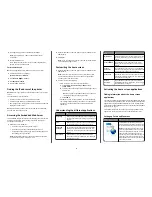
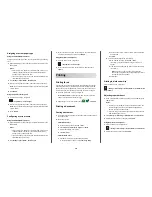
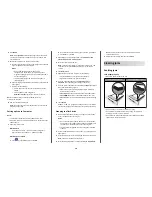
Load the paper stack with the recommended printable side faceup.
7
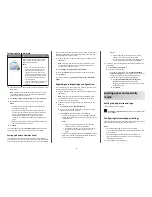
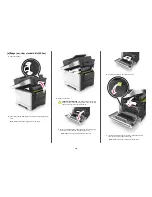
Place the paper guides securely against the edges of the paper.
8
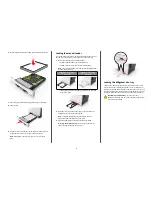
Insert the tray.
9
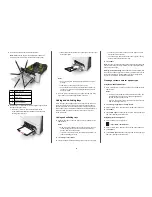
From the printer control panel, set the paper size and paper type
in the Paper menu to match the paper loaded in the tray.
Note:
Mixing paper sizes or paper types in a tray may cause
jams.
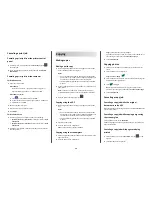
Loading the manual feeder
The standard 250
‑
sheet tray has an integrated manual feeder that can
be used to print on different types of paper one sheet at a time.
1
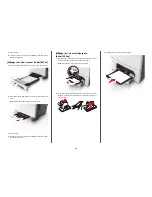
Load a sheet of paper into the manual feeder:
•
Printable side facedown for one-sided printing
•
Printable side faceup for two
‑
sided (duplex) printing
Note:
There are different ways for loading letterhead depending
on the mode of printing.
One
‑
sided printing using a
letterhead
Two
‑
sided printing using a
letterhead
•
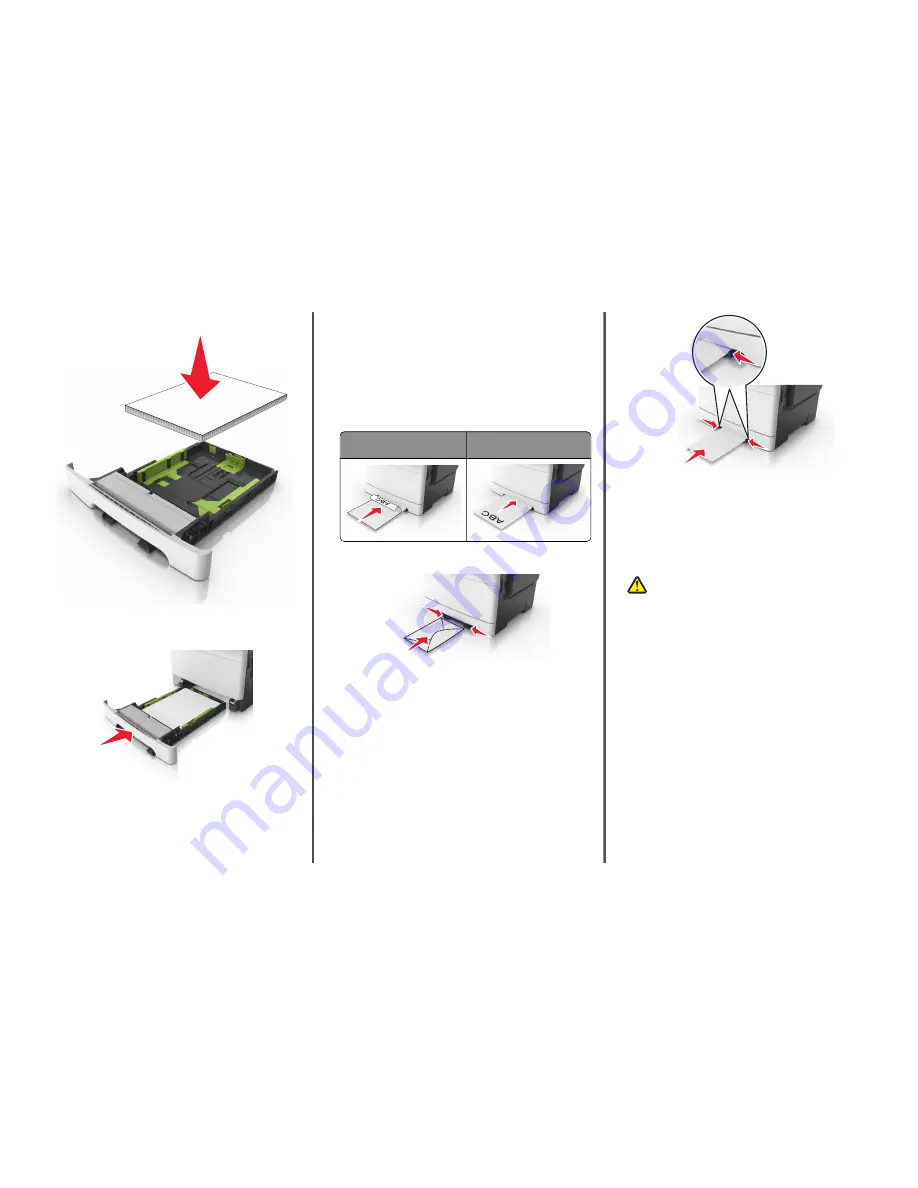
Load envelope with the flap side up and against the right side
of the paper guide.
2
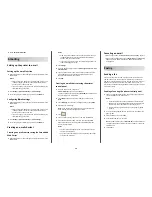
Feed paper into the manual feeder only to the point where its
leading edge can contact the paper guides.
Note:
To achieve the best possible print quality, use only
high
‑
quality media designed for laser printers.
3
Adjust the paper guides to the width of the paper loaded.
Warning—Potential Damage:
Do not force the paper into the
feeder. Forcing the paper may cause jams.
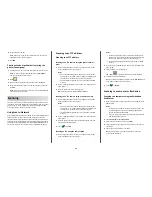
Loading the 650
‑
sheet duo tray
The 650
‑
sheet duo tray (Tray 2) consists of a 550
‑
sheet tray and an
integrated 100
‑
sheet multipurpose feeder. The tray is loaded in the
same way as the 250
‑
sheet tray and the optional 550
‑
sheet tray, and
supports the same paper types and sizes. The only differences are the
look of the guide tabs and the location of the paper size indicators.
CAUTION—POTENTIAL INJURY:
To reduce the risk of
equipment instability, load each tray separately. Keep all other
trays closed until needed.
7


