


DANGER
Le courant électrique provenant de l'alimentation, du téléphone et des câbles de transmission peut présenter
un danger.
Pour éviter tout risque de choc électrique :
• Ne manipulez aucun câble et n'effectuez aucune opération d'installation, d'entretien ou de reconfiguration
de ce produit au cours d'un orage.
• Branchez tous les cordons d'alimentation sur un socle de prise de courant correctement câblé et mis à la
terre.
• Branchez sur des socles de prise de courant correctement câblés tout équipement connecté à ce produit.
• Lorsque cela est possible, n'utilisez qu'une seule main pour connecter ou déconnecter les câbles
d'interface.
• Ne mettez jamais un équipement sous tension en cas d'incendie ou d'inondation, ou en présence de
dommages matériels.
• Avant de retirer les carters de l'unité, mettez celle-ci hors tension et déconnectez ses cordons
d'alimentation, ainsi que les câbles qui la relient aux réseaux, aux systèmes de télécommunication et aux
modems (sauf instruction contraire mentionnée dans les procédures d'installation et de configuration).
• Lorsque vous installez, que vous déplacez, ou que vous manipulez le présent produit ou des périphériques
qui lui sont raccordés, reportez-vous aux instructions ci-dessous pour connecter et déconnecter les
différents cordons.
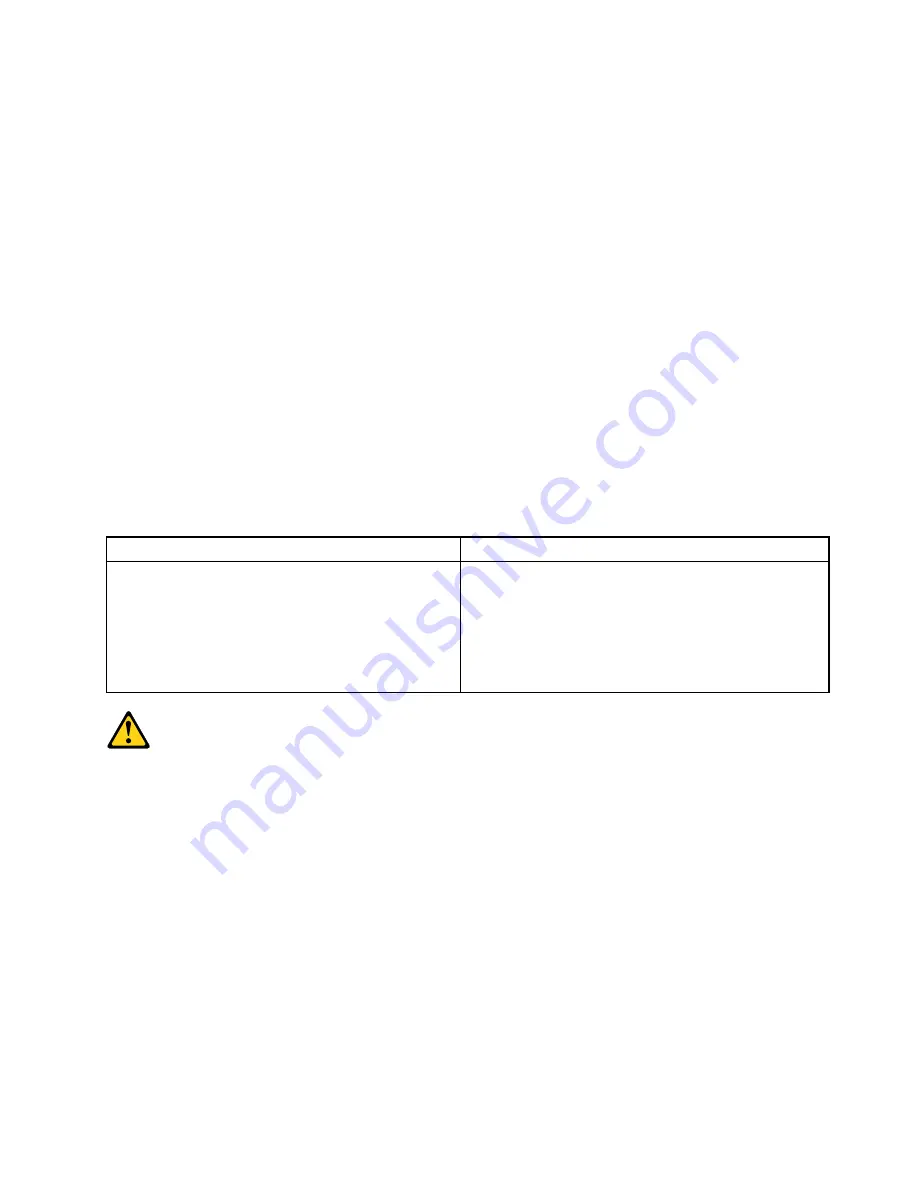
Connexion
Déconnexion
1. Mettez les unités HORS TENSION.
2. Commencez par brancher tous les cordons sur les
unités.
3. Branchez les câbles d'interface sur des connecteurs.
4. Branchez les cordons d'alimentation sur des prises.
5. Mettez les unités SOUS TENSION.
1. Mettez les unités HORS TENSION.
2. Débranchez les cordons d'alimentation des prises.
3. Débranchez les câbles d'interface des connecteurs.
4. Débranchez tous les câbles des unités.
ATTENTION:
Remplacer la pile au lithium usagée par une pile de référence identique exclusivement, (référence
45C1566), ou suivre les instructions du fabricant qui en définit les équivalences. Si votre système est
doté d'un module contenant une pile au lithium, vous devez le remplacer uniquement par un module
identique, produit par le même fabricant. La pile contient du lithium et peut exploser en cas de
mauvaise utilisation, de mauvaise manipulation ou de mise au rebut inappropriée.
Ne pas :
•
la jeter à l'eau,
•
l'exposer à des températures supérieures à 100°C,
•
chercher à la réparer ou à la démonter.
Ne pas mettre la pile à la poubelle. Pour la mise au rebut, se reporter à la réglementation en vigueur.
Read this first: Important safety information
15
Содержание ideacentre 510S
Страница 1: ...ideacentre 510S Hardware Maintenance Manual Machine Types 90FN 510S 08ISH Energy Star ...
Страница 4: ...ii ideacentre 510SHardware Maintenance Manual ...
Страница 6: ...iv ideacentre 510SHardware Maintenance Manual ...
Страница 14: ...8 ideacentre 510SHardware Maintenance Manual ...
Страница 18: ...12 ideacentre 510SHardware Maintenance Manual ...
Страница 19: ...1 2 Chapter 1 Read this first Important safety information 13 ...
Страница 20: ...1 2 14 ideacentre 510SHardware Maintenance Manual ...
Страница 25: ...1 2 Chapter 1 Read this first Important safety information 19 ...
Страница 26: ...1 2 20 ideacentre 510SHardware Maintenance Manual ...
Страница 29: ...Chapter 1 Read this first Important safety information 23 ...
Страница 44: ...38 ideacentre 510SHardware Maintenance Manual ...
Страница 82: ...76 ideacentre 510SHardware Maintenance Manual ...
Страница 90: ...84 ideacentre 510SHardware Maintenance Manual ...
Страница 91: ......
Страница 92: ......


