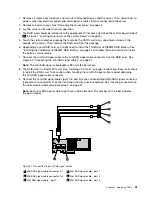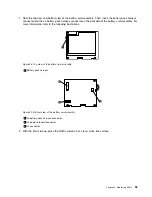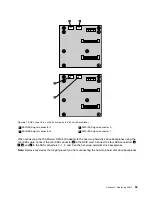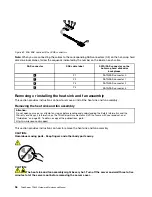
1. Note the top view and bottom view of the battery card assembly. Then, insert the battery pack harness
connector into the J4 battery pack harness connector on the backside of the battery card assembly. For
more information, refer to the following illustrations.
Figure 58. Top view of the battery card assembly
1
Battery pack harness
Figure 59. Bottom view of the battery card assembly
1
J4 battery pack harness connector
2
J5 board-to-board connector
3
J2 connector
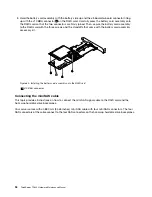
2. With the front side up, place the RAID card on a flat, clean, static-free surface.
Chapter 5
.
Replacing FRUs
93
Содержание and 1040
Страница 1: ...ThinkServer TD230 Hardware Maintenance Manual Machine Types 1027 1029 1039 and 1040 ...
Страница 2: ......
Страница 3: ...ThinkServer TD230 Hardware Maintenance Manual Machine Types 1027 1029 1039 and 1040 ...
Страница 16: ...10 ThinkServer TD230 Hardware Maintenance Manual ...
Страница 20: ...14 ThinkServer TD230 Hardware Maintenance Manual ...
Страница 44: ...38 ThinkServer TD230 Hardware Maintenance Manual ...
Страница 67: ...1 Press the blue button 1 to open the side door Figure 29 Opening the side door Chapter 5 Replacing FRUs 61 ...
Страница 148: ...142 ThinkServer TD230 Hardware Maintenance Manual ...
Страница 166: ...160 ThinkServer TD230 Hardware Maintenance Manual ...
Страница 168: ...162 ThinkServer TD230 Hardware Maintenance Manual ...
Страница 172: ...166 ThinkServer TD230 Hardware Maintenance Manual ...
Страница 185: ......
Страница 186: ...Part Number Printed in China 1P P N ...

