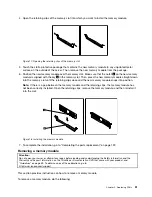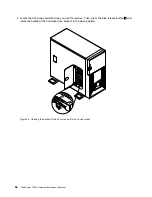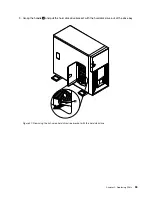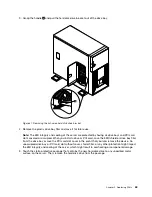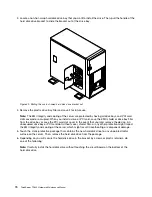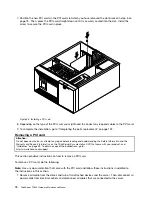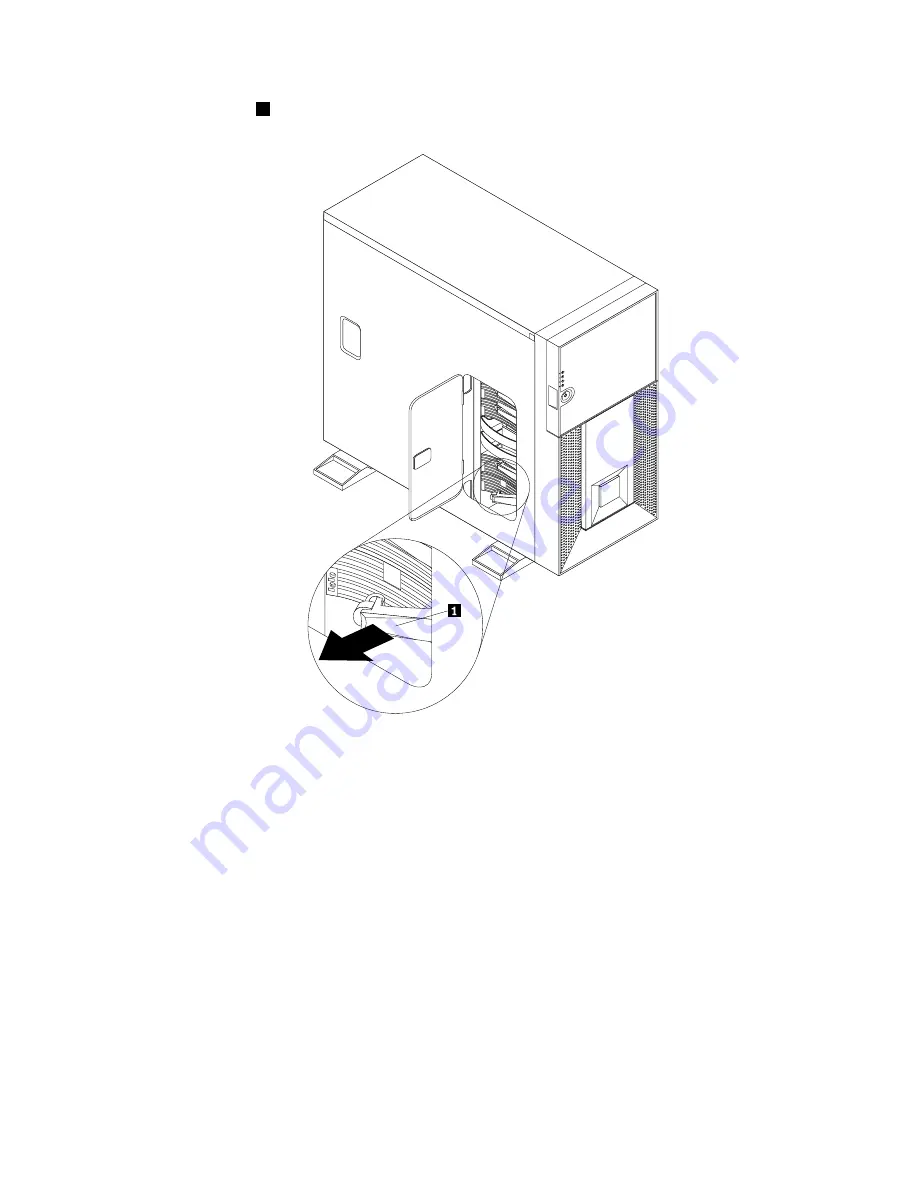
3. Grasp the handle
1
and pull the hard disk drive bracket out of the drive bay.
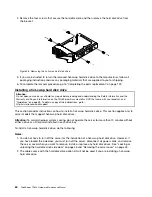
Figure 31. Removing the hot-swap hard disk drive bracket
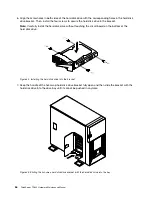
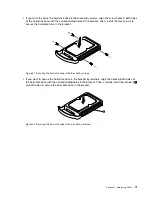
4. Remove the plastic drive bay filler and save it for future use.
Note:
The EMI integrity and cooling of the server are protected by having all drive bays and PCI card
slots covered or occupied. When you install a drive or PCI card, save the EMC shield or drive bay filler
from the drive bay or save the PCI card slot cover in the event that you later remove the device. An
unoccupied drive bay or PCI card slot without cover, shield, filler, or any other protection might impact
the EMI integrity and cooling of the server, which might result in overheating or component damage.
5. Touch the static-protective package that contains the new hard disk drive to any unpainted metal
surface on the server. Then, remove the hard disk drive from the package.
Chapter 5
.
Replacing FRUs
63
Содержание and 1040
Страница 1: ...ThinkServer TD230 Hardware Maintenance Manual Machine Types 1027 1029 1039 and 1040 ...
Страница 2: ......
Страница 3: ...ThinkServer TD230 Hardware Maintenance Manual Machine Types 1027 1029 1039 and 1040 ...
Страница 16: ...10 ThinkServer TD230 Hardware Maintenance Manual ...
Страница 20: ...14 ThinkServer TD230 Hardware Maintenance Manual ...
Страница 44: ...38 ThinkServer TD230 Hardware Maintenance Manual ...
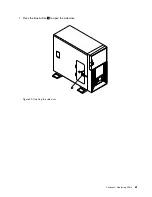
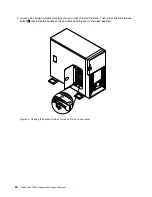
Страница 67: ...1 Press the blue button 1 to open the side door Figure 29 Opening the side door Chapter 5 Replacing FRUs 61 ...
Страница 148: ...142 ThinkServer TD230 Hardware Maintenance Manual ...
Страница 166: ...160 ThinkServer TD230 Hardware Maintenance Manual ...
Страница 168: ...162 ThinkServer TD230 Hardware Maintenance Manual ...
Страница 172: ...166 ThinkServer TD230 Hardware Maintenance Manual ...
Страница 185: ......
Страница 186: ...Part Number Printed in China 1P P N ...


