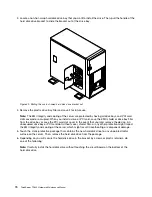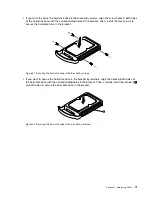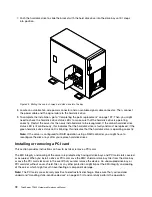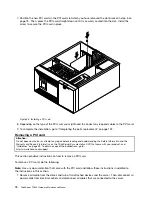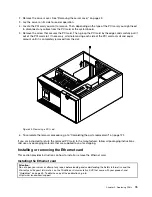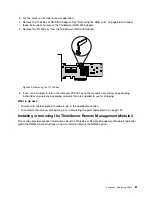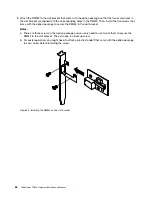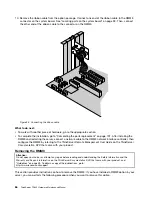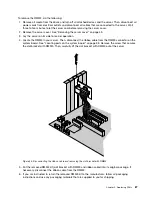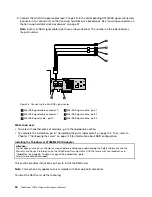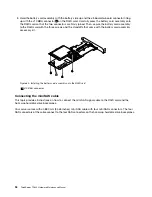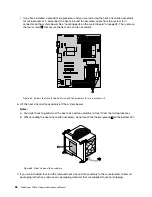
8. Attach the RMM3 to the slot bracket that came with the option package so that the two screw holes in
the slot bracket are aligned with the corresponding holes in the RMM3. Then, install the two screws that
came with the option package to secure the RMM3 to the slot bracket.
Notes:
a. There are three screws in the option package and you only need to use two of them to secure the
RMM3 to the slot bracket. The extra one is a backup screw.
b. For easier operation, you might need to attach a plastic standoff that came with the option package
to each screw before installing the screw.
Figure 52. Installing the RMM3 on the slot bracket
84
ThinkServer TD230 Hardware Maintenance Manual
Содержание and 1040
Страница 1: ...ThinkServer TD230 Hardware Maintenance Manual Machine Types 1027 1029 1039 and 1040 ...
Страница 2: ......
Страница 3: ...ThinkServer TD230 Hardware Maintenance Manual Machine Types 1027 1029 1039 and 1040 ...
Страница 16: ...10 ThinkServer TD230 Hardware Maintenance Manual ...
Страница 20: ...14 ThinkServer TD230 Hardware Maintenance Manual ...
Страница 44: ...38 ThinkServer TD230 Hardware Maintenance Manual ...
Страница 67: ...1 Press the blue button 1 to open the side door Figure 29 Opening the side door Chapter 5 Replacing FRUs 61 ...
Страница 148: ...142 ThinkServer TD230 Hardware Maintenance Manual ...
Страница 166: ...160 ThinkServer TD230 Hardware Maintenance Manual ...
Страница 168: ...162 ThinkServer TD230 Hardware Maintenance Manual ...
Страница 172: ...166 ThinkServer TD230 Hardware Maintenance Manual ...
Страница 185: ......
Страница 186: ...Part Number Printed in China 1P P N ...

