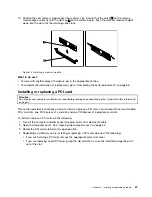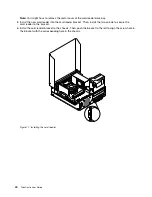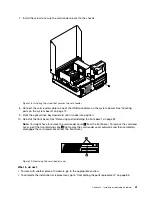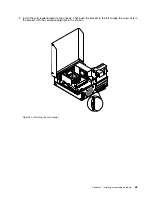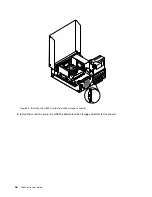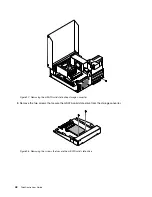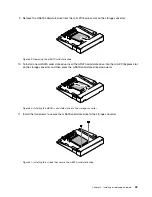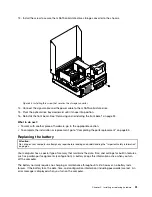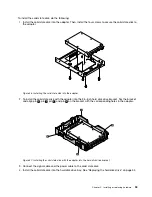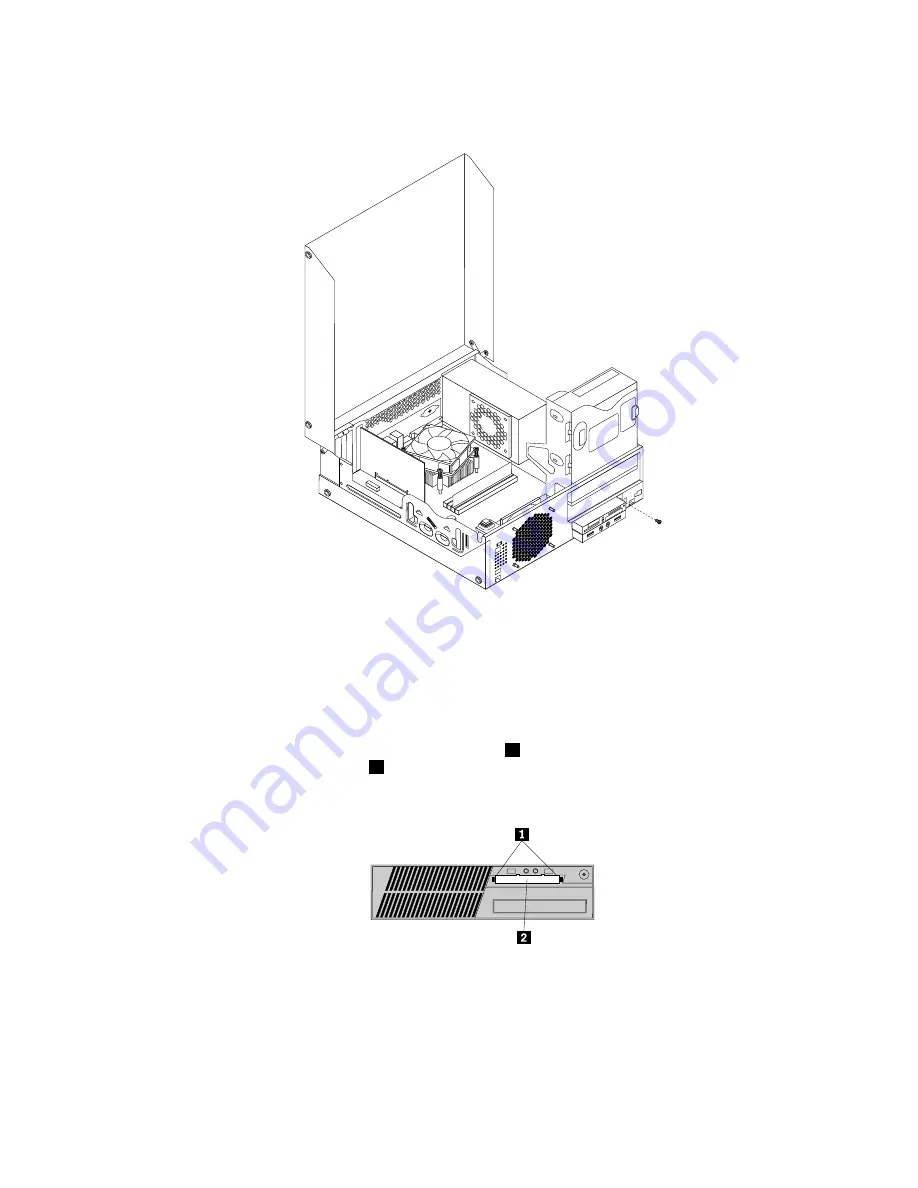
7. Install the screw to secure the card reader bracket to the chassis.
Figure 18. Installing the screw that secures the card reader
8. Connect the card reader cable to one of the USB connectors on the system board. See “Locating
parts on the system board” on page 12.
9. Pivot the optical drive bay downward until it snaps into position.
10. Reinstall the front bezel. See “Removing and reinstalling the front bezel” on page 32.
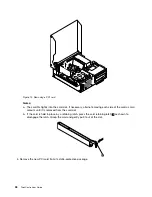
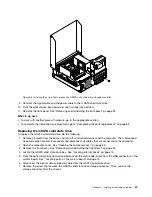
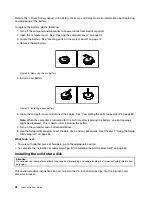
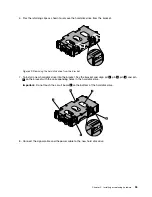
Note:
You might have to remove the card reader cover
2
from the front bezel. To remove the card read
cover, pivot the two retaining clips
1
that secure the card reader cover outwards and then completely
disengage the card reader cover from the front bezel.
Figure 19. Removing the card reader cover
What to do next:
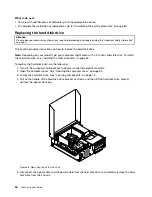
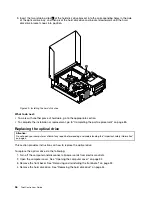
• To work with another piece of hardware, go to the appropriate section.
• To complete the installation or replacement, go to “Completing the parts replacement” on page 85.
Chapter 5
.
Installing or replacing hardware
41
Содержание 2934, 2941, 2945, 2961,2982, 2988, 2993, 2996, 3181, 3183, 3185, 3187, 3198, 3202, 3207,ThinkCentre 3209
Страница 6: ...iv ThinkCentre User Guide ...
Страница 12: ...x ThinkCentre User Guide ...
Страница 34: ...22 ThinkCentre User Guide ...
Страница 106: ...94 ThinkCentre User Guide ...
Страница 140: ...128 ThinkCentre User Guide ...
Страница 146: ...134 ThinkCentre User Guide ...
Страница 150: ...138 ThinkCentre User Guide ...
Страница 152: ...India RoHS RoHS compliant as per E Waste Management Handling Rules 2011 140 ThinkCentre User Guide ...
Страница 154: ...142 ThinkCentre User Guide ...
Страница 158: ...146 ThinkCentre User Guide ...
Страница 159: ......
Страница 160: ......

