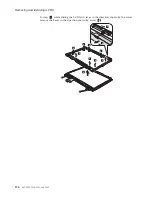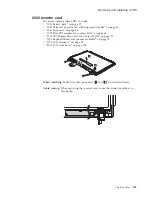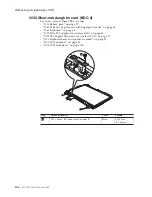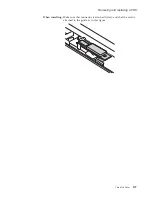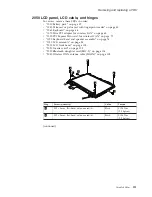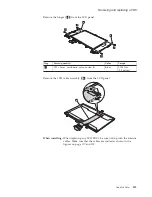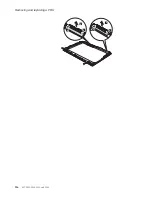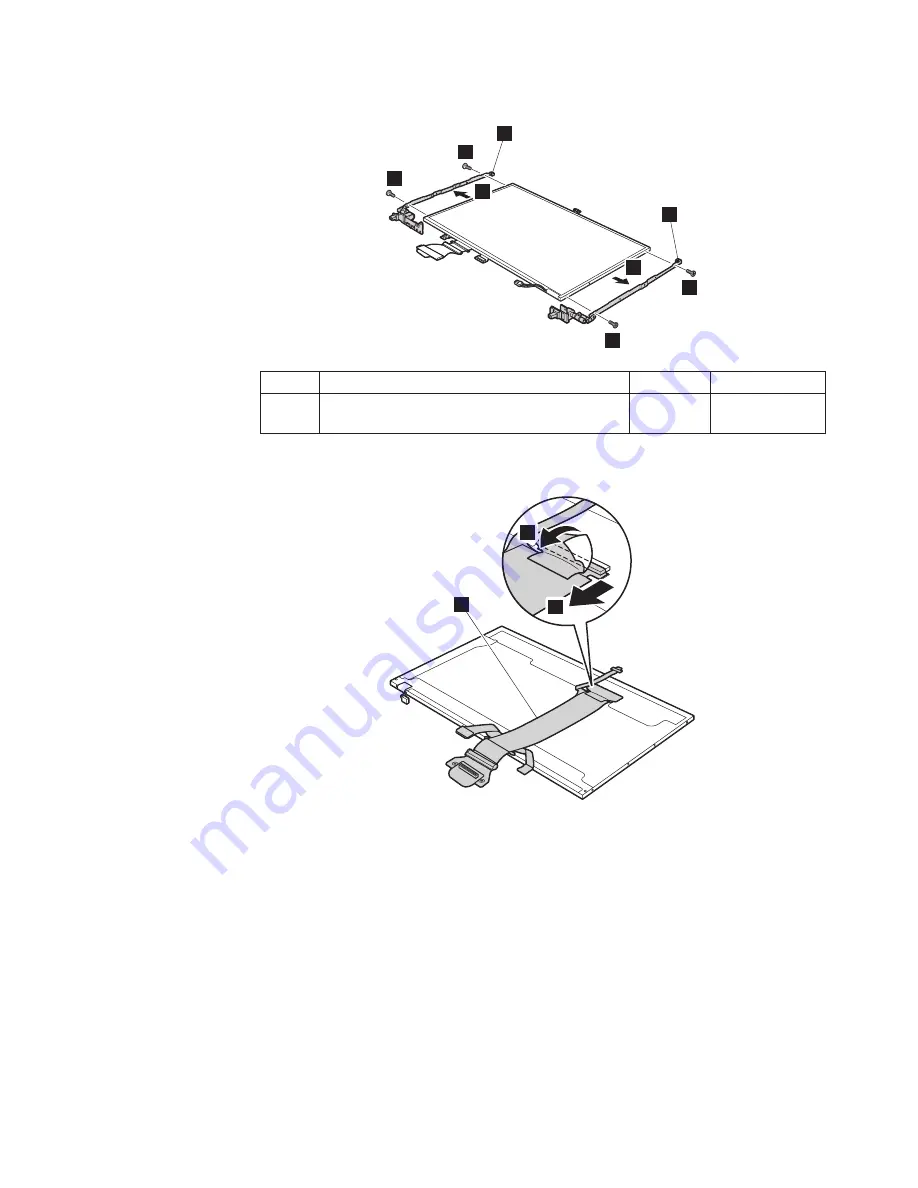
Remove
the
hinges
(
a
)
from
the
LCD
panel.
7
7
7
7
8
8
a
a
Step
Screw
(quantity)
Color
Torque
7
M2
×
3
mm,
small-head,
nylon-coated
(4)
Silver
0.196
Nm
(2.0
kgfcm)
Remove
the
LCD
cable
assembly
(
b
)
from
the
LCD
panel.
9
10
b
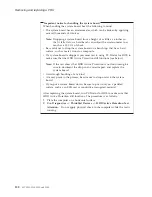
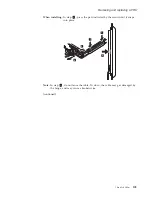
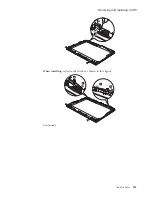
When
installing:
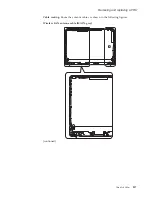
When
replacing
any
LCD
FRUs,
be
sure
not
to
pinch
the
antenna
cables.
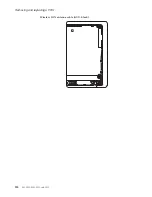
Make
sure
that
the
cables
are
routed
as
shown
in
the
figures
on
page
117
and
118.
Removing
and
replacing
a
FRU
ThinkPad
Z60m
113
Содержание 2529E8U
Страница 2: ......
Страница 3: ...ThinkPad Z60m Hardware Maintenance Manual ...
Страница 6: ...iv MT 2529 2530 2531 and 2532 ...
Страница 8: ...2 MT 2529 2530 2531 and 2532 ...
Страница 86: ...2 3 Removing and replacing a FRU 80 MT 2529 2530 2531 and 2532 ...
Страница 92: ...7 7 Removing and replacing a FRU 86 MT 2529 2530 2531 and 2532 ...
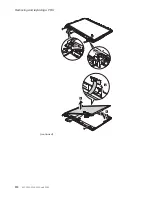
Страница 118: ...3a 3b 6 5 4 continued Removing and replacing a FRU 112 MT 2529 2530 2531 and 2532 ...
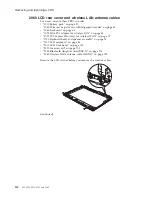
Страница 122: ...5 4 4 4 4 5 Removing and replacing a FRU 116 MT 2529 2530 2531 and 2532 ...
Страница 124: ...Wireless LAN antenna cable AUX black a Removing and replacing a FRU 118 MT 2529 2530 2531 and 2532 ...
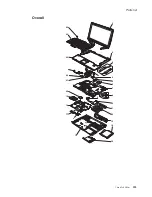
Страница 129: ...Overall 1 2 a 4 5 3 7 8 10 12 13 14 15 16 b 17 18 19 20 21 22 c 23 24 25 9 6 11 Parts list ThinkPad Z60m 123 ...
Страница 149: ...LCD FRUs a b c d 1 2 3 7 8 9 10 4 5 6 e Parts list ThinkPad Z60m 143 ...
Страница 164: ...Part Number 39T6195_01 1P P N 39T6195_01 ...

