23 of 49
June 2012
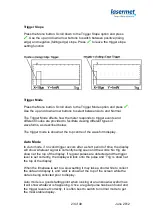
Trigger Slope
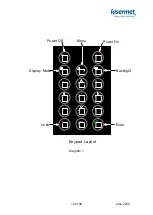
Press the Menu button. Scroll down to the Trigger Slope option and press
. Use the up and down arrow buttons to switch between positive (rising
edge) and negative (falling edge) slope. Press
to leave the trigger slope
setting function.
Trigger Mode
Press the Menu button. Scroll down to the Trigger Mode option and press
.
Use the up and down arrow buttons to select between Auto and Normal.
The Trigger Mode affects how the meter responds to trigger events and
different modes are provided to facilitate viewing different types of
waveforms, as described below.
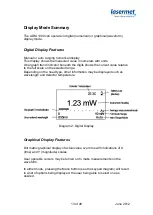
The trigger mode is shown at the top centre of the waveform display.
Auto Mode
In
Auto
mode, if no valid trigger occurs after a short period of time, the display
will show whatever signal is currently being seen
and the words ‘No trig’ are
shown at the top of the display. If regular pulses are detected and the trigger
level is set correctly, the display will lock onto the pulse and
‘Trig’ is shown at
the top of the display.
When the timebase is set to a slow setting it may take a short while to collect
the data and display it, and
‘wait’ is shown at the top of the screen while the
data is being collected prior to display.
Auto mode is a good starting point when looking at an unknown waveform as
it will show whatever is happening. Once a regular pulse has been found and
the trigger level set correctly, it is often best to switch to normal mode to get
the most stable display.


