8
The ClassBuddy™ Trolley Range - User Manual
Copyright LapSafe® Self-Service Solutions
6. Charge and sync - set up
Loading your devices
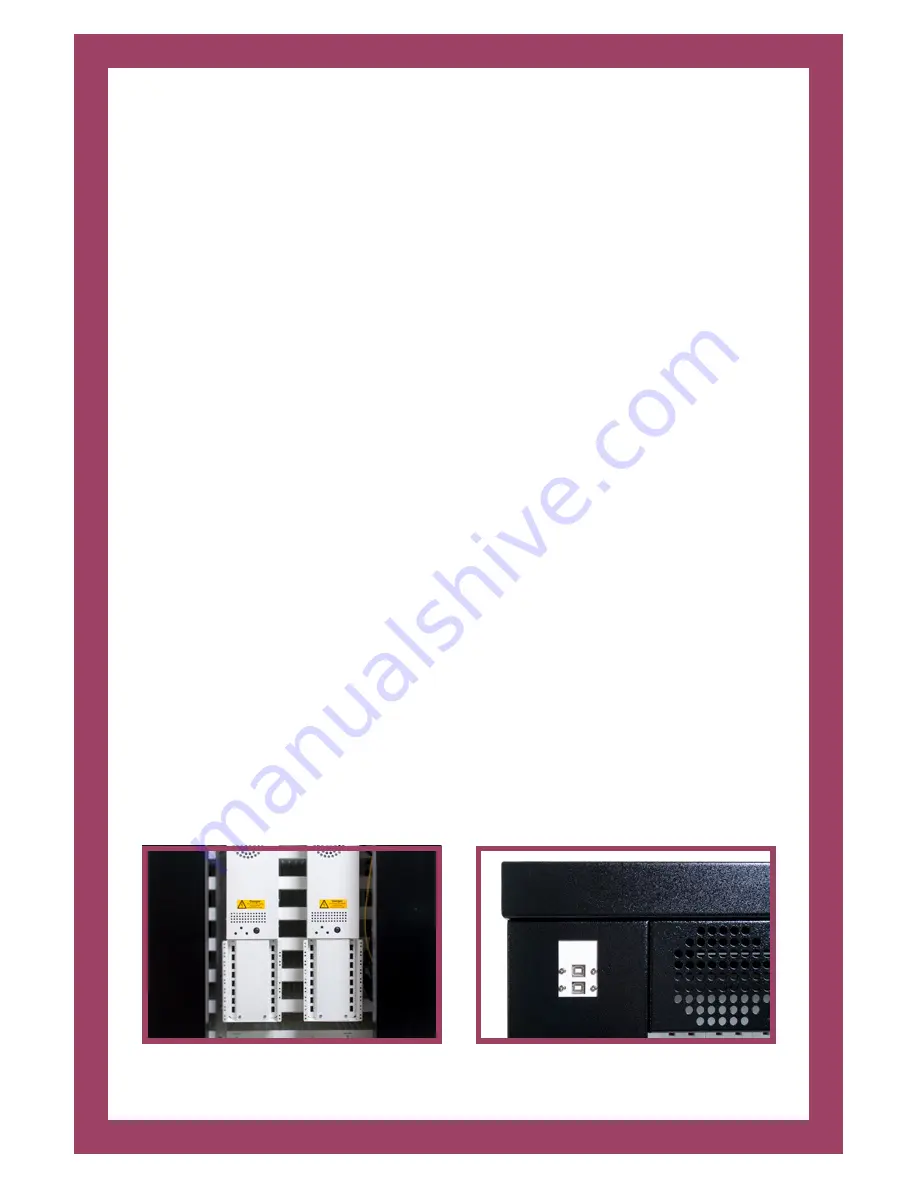
The charging and synchronisation unit for your ClassBuddy™ is accessible
through the rear door of the cabinet
(Figure 5)
.
A charging / synchronisation connection must be made between your
ClassBuddy™
(Figure 6)
and each supported iPad/tablet.
It is important that a good quality lead is used to make the connection between
your devices and the charging/synchronisation unit, because poor quality leads
can create problems during the synchronisation process.
Plug each connecting lead into an available USB socket in the charge/sync unit
and route them through to the front of the appropriate shelf, where it will not be
in the way of loading the device, but it will be available to plug in once the device
is in position. There are a number of holes at the rear and sides of each shelf
where the cable ties or cable management clips supplied with the cabinet can be
used to retain the charge/sync lead in position, should you wish.
Figure 5
Charge & Sync unit
Figure 6
USB B connectors


