Retrofit kit for dial indicator test devices
ed. 01/2017
page 14
6.5
Set-up of the camera
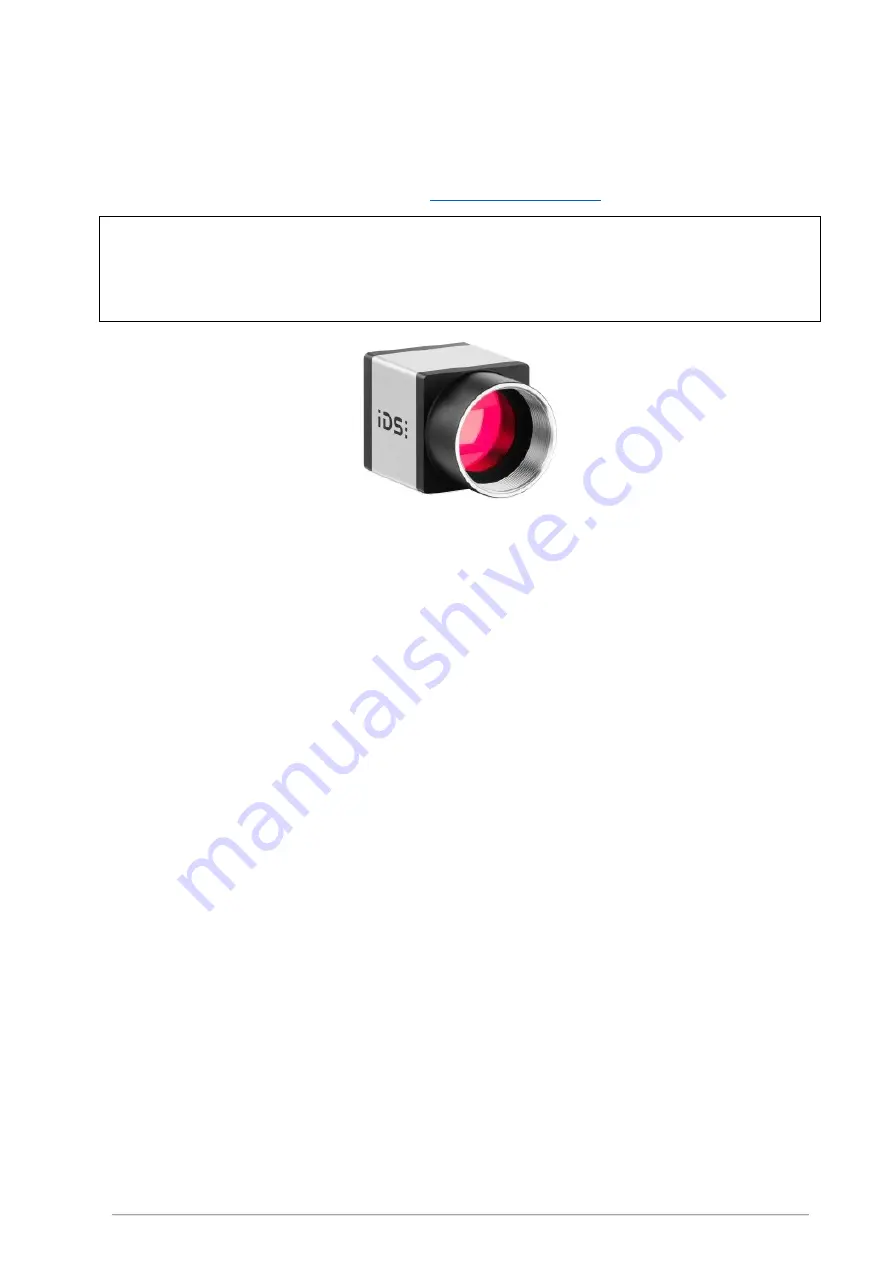
The retrofit kit includes a pre-assembled USB 3-camera of the uEye-series of the manufacturer IDS
Imaging Development Systems GmbH (Website:
NOTE:
Please consider that a free USB-3 port is necessary for the connection of the camera!
You can check
the available USB ports of your computer beforehand by clicking „Check USB bus“ in the dialog box (the
check is self-explanatory).
Fig. 9: camera (without lens)
These cameras are operated with a driver library provided by the manufacturer. To install the software,
please log on to your computer with local administrator rights. You can either download the current driver
version from the manufacturer’s website (registration required), or you can install the driver version
included on the der QMSOFT®-DVD: simply open the folder
\Additional\IDS,
where you can find the
program file
uEye64_46000_WHQL.exe
. Double-click to start the file, select „install driver“ and follow the
instructions (we recommend the setup type „complete“ for the installation of the driver). Take over the
default settings for the target directory and for the program folder. To finalize the installation process you
may choose to install the shortcut icons for the camera software also on the desktop or the quick start bar.
We recommend in any case to select the option „Show quick start HTML“, as it provides detailed
information about the camera and the proprietary software.
Once you have successfully installed the camera software, you can connect the camera with the included
USB-3 cable to a free USB-3 port of the computer.
ATTENTION:
Only use a USB-3 port (blue socket), slower ports do not reach the image transmission rate required for
real-time control!
Now test the functioning of the camera and the computer. Start the program „uEye-Cockpit“ by clicking
on the shortcut icon on your desktop or quick start bar. In the window „choose mode“ please click on the
middle icon "Live-Video“.


