ASSEMBLY INSTRUCTIONS
3-3
3.
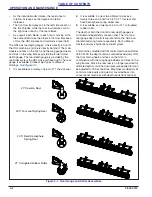
Once
both
of the wing assemblies are clear of the
wing rests laterally, lower the wing assemblies so that
the wing gauge wheel tires contact the ground or are
in the proximity of the ground. This can be
accomplished by tilting the center section, top
forward (circuit with red hose wrap.)
4.
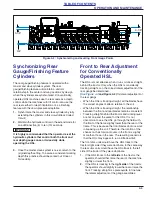
With the wing gauge wheels in the proximity of the
ground, continue opening the wing assemblies by
extending the wing fold cylinders until the wing
assemblies are aligned with the center section
assembly (circuit with yellow hose wrap.)
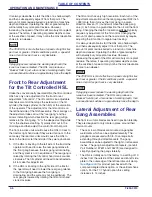
5.
When the wing assemblies are aligned with the
center section, extend the large tilt cylinder located
above the hitch, until the center and wing assemblies
are at rest on the ground.
Final Assembly
The 7833 HSL has been almost completely assembled at
the factory. The one exception is that the rear gauge
assemblies will most likely need to be attached to the
HSL in the field.
NOTE
Consult the Parts Manual section on “Rear Gauges” to
avoid assembling them incorrectly. Some of the rear
gauge rockshafts are the same apparent width, but may
be different in other ways relative to the final assembly.
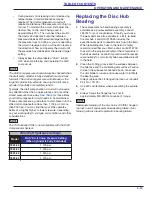
1.
Once the rear gauge rock shaves are in place,
secure the rock shaft bearings with the 3/4-10 x 12
hex screws provided. Torque the nuts to
approximately two hundred foot pounds (200 ft/lb)
(
2.
Once the rear gauge rock shafts are in place secure
them to the rear gauge cylinders with the pins
provided.
3.
The rock shaft immediately to the left of center of the
machine has a special step pin that connects the
rock shaft spring assembly to the cylinder at that
same location. Please consult the parts manual for
the correct assembly sequence. This is true for all
product built after 4-1-2018.
Figure 3-3: Rear Gauge Assembly
3/4-10
Hex Nuts
Rockshaft
Bearing
3/4-10 x 12
Hex Screws
Cylinders
Depth Stop
Tube
Rockshaft
Torque to
200 ft/lbs


