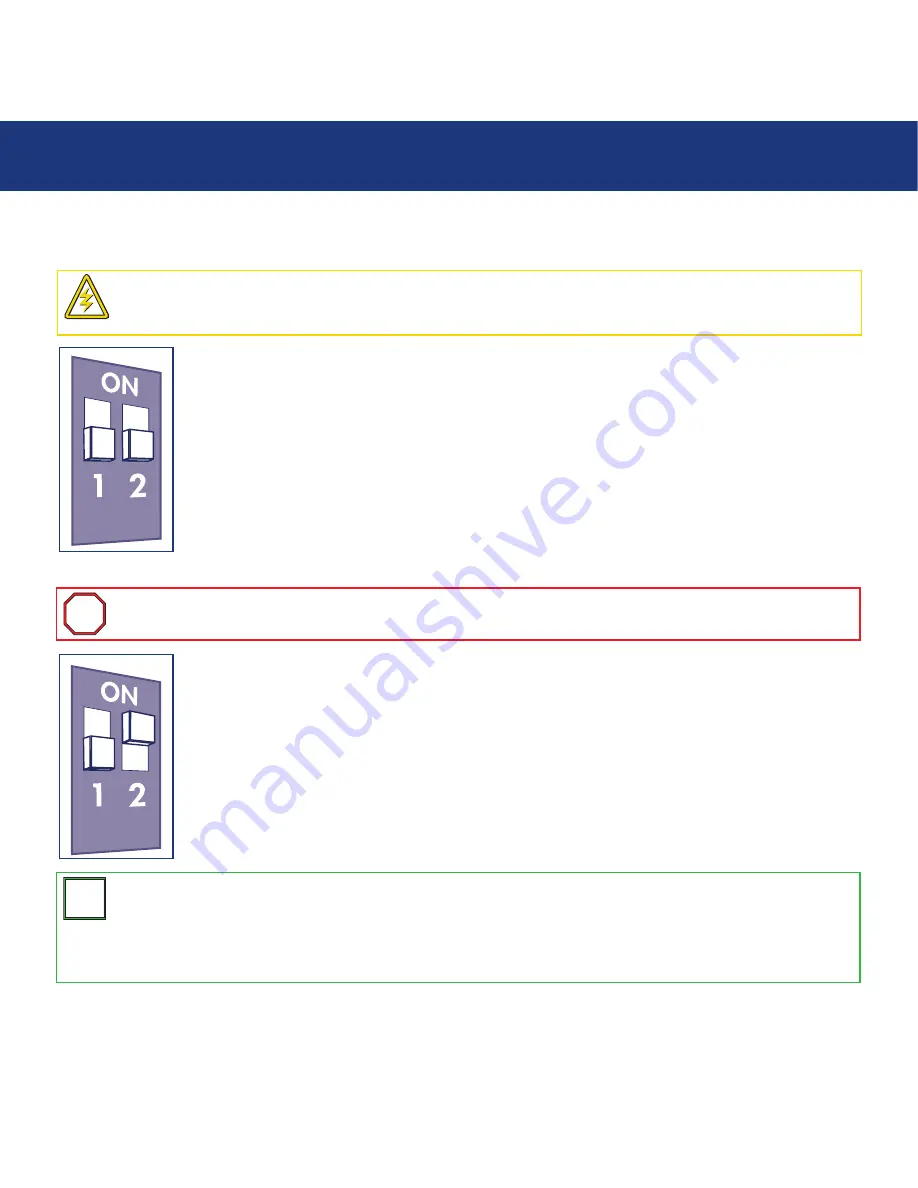
4.1.1. RAID 5
This is the default setting of the LaCie Biggest S1S.
1) Power off the LaCie Biggest S1S.
2) Move switch 1 and 2 of the RAID Level Switch Selectors to the OFF position.
4.1.2. RAID 5 + Hot Spare
1) Power off the LaCie Biggest S1S.
2) Move switch 1 of the RAID Level Switch Selectors to the OFF position. Move switch 2 of the RAID Level
Switch Selectors to the ON position.
4. Setting Up Your LaCie Biggest S1S
page 21
LaCie Biggest S1S
User’s Manual
Caution!
In a RAID 5 array, in the event that a disk needs to be replaced, always replace the failed disk with the
LaCie Biggest S1S’s power on. Do not turn the LaCie Biggest S1S’s power off; doing so may lead to the loss of the
data on the array.
Important Info:
In a RAID 5 + Hot Spare array, the disk in the top Drive Bay is designated as the Hot Spare (the
default setting), and the Disk Status Indicator will light in amber to indicate this configuration.
i
i
Tech Note:
In the initial configuration of a RAID 5 + Hot Spare array, the top Drive Bay (Drive Bay 1) is the default
Hot Spare (the Disk Status Indicator will be amber). In the event that a disk fails, the Hot Spare position will change.
For example, if the disk in Drive Bay 3 fails, then the Hot Spare disk in Drive Bay 1 will be re-built and will no
longer be the Hot Spare. Instead, when you place a new disk in Drive Bay 3, it will become the new Hot Spare, and
will be indicated by the amber Disk Status Indicator.
T
T
N
N


