LaCie d2 Quadra
Quadruple Interface Hard Drive
page
3. Installing Your LaCie d2 Quadra Hard Drive
There are two parts to connecting and turning on
your LaCie d2 Quadra: 1) connect the power supply to
the drive and to an outlet, and 2) connecting an inter-
face cable to the drive and to your computer In about
five minutes, you should be able to access your new hard
drive to back up data and to transfer files between com-
puters and other peripherals.
Thanks to its support of four different interfaces and
its support of both the Mac and Windows operating
system, the LaCie d2 Quadra Hard Drive gives you
many connectivity options. These steps are divided into
sections by operating system (Mac or Windows) and
the type of interface cable (FireWire 800, FireWire 400,
eSATA and Hi-Speed USB 2.0).
This chapter also has helpful information about con-
necting digital video cameras to the LaCie drive, con-
necting multiple devices and special steps that need to
be followed when disconnecting the drive or switching
between the different interfaces.
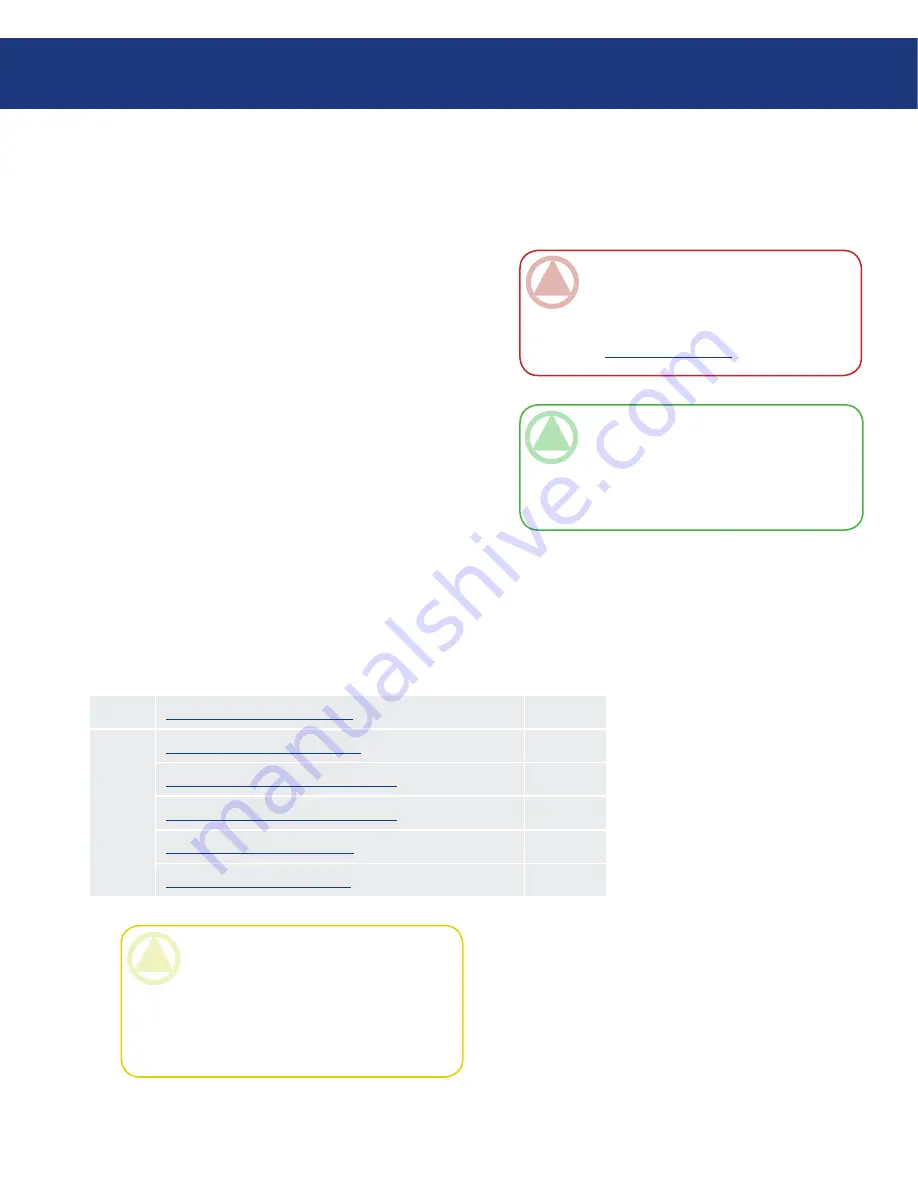
Installing Your LaCie Hard Drive
Step 1
Connecting the Power Supply
Page 15
Step 2
Connecting the USB 2.0 Cable
Page 16
Connecting the FireWire 400 Cables
Page 17
Connecting the FireWire 800 Cables
Page 18
Connecting the eSATA Cable
Page 19
Connecting Multiple Devices
Page 20
CAUTION:
Your LaCie d2 Quadra relies on
its aluminum alloy casing to help dissipate heat.
Make sure to place your drive in a well ventilated
space, do not block the ventilation outlet on the
back of the drive and keep the area in front of the
drive unobstructed to allow for proper airflow.
ImpOrTANT INfO:
You cannot have the
FireWire, USB, or eSATA interfaces connected
at the same time. If you would like to switch be-
tween interfaces, you must follow the steps on
page 21,
Switching Interfaces
.
TeChNICAl NOTe:
If you plan to use your
drive in a cross-platform (Mac/Windows) envi-
ronment, consider reformatting the drive to the
MS-DOS (also known as FAT 32) File System
format. See page 30 for more details.


