Network FAX Settings (Option)
9-6
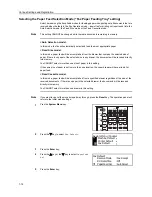
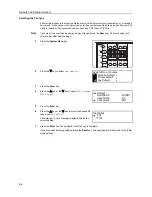
Selecting the File Type
Perform this procedure to select the file type in which the documents for transmission, or of received
documents, will be saved in the server computer (the computer on which the provided Scanner File
Utility is installed). The document can be saved as a PDF file or a TIFF file.
Note
If you want to cancel the procedure part way through, press the
Reset
key. The touch panel will
return to the initial mode settings.
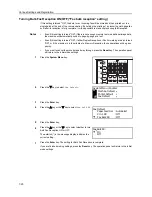
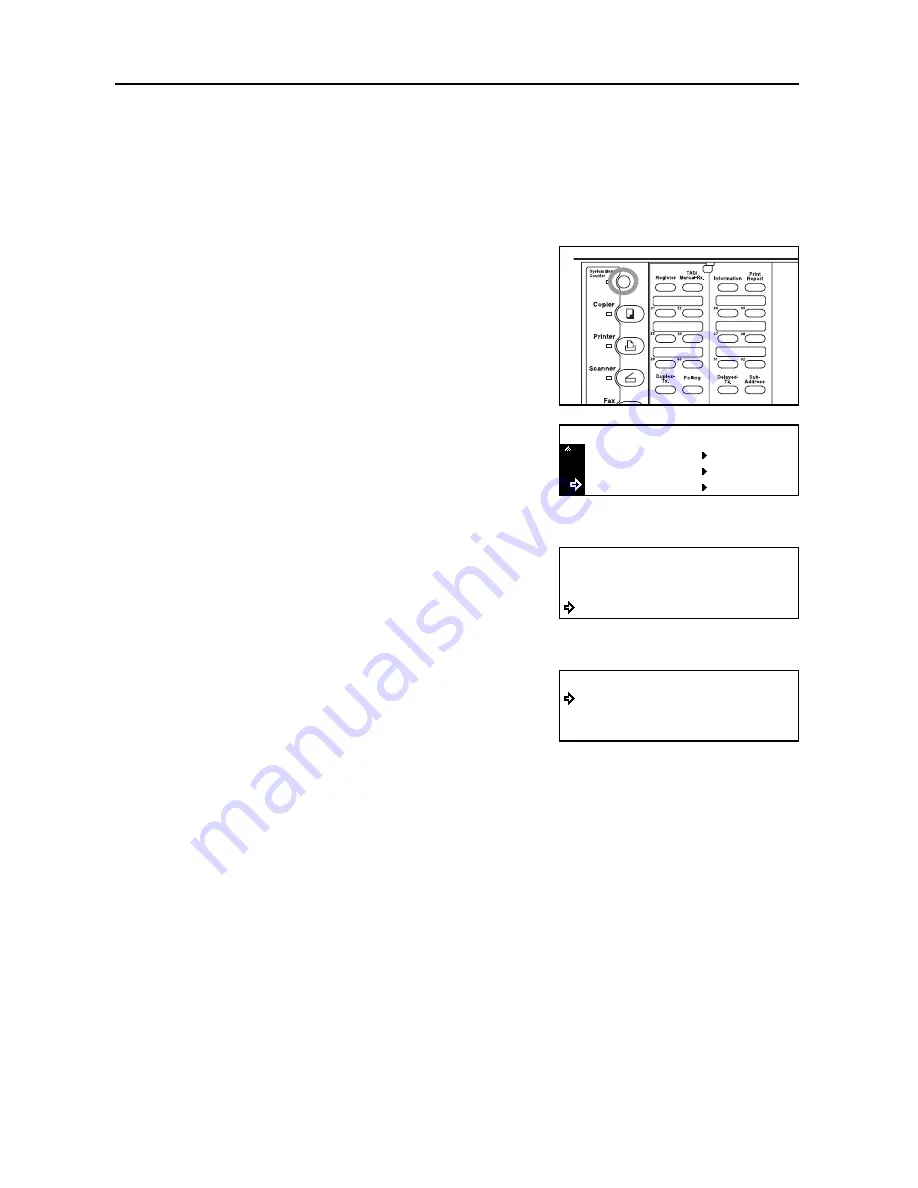
1
Press the
System
Menu
key.
2
Press the
T
key to select
Fax Default
.
3
Press the
Enter
key.
4
Press the
S
key or the
T
key to select
File Format
[
File type
].
5
Press the
Enter
key.
6
Press the
S
key or the
T
key to select the desired file
type, either
or
TIFF
.
The asterisk (*) in the message display indicates the
current setting.
7
Press the
Enter
key. The setting for the File Type is complete.
If you are finished making settings, press the
Reset
key. The operation panel will return to the initial
mode settings.
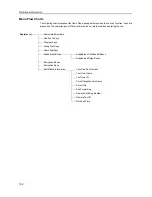
Printer Default
Machine Default
System Menu / Counter
Fax Default
Fax Default:
NW-FAX RX
File Format
:On
:On(Off)
Save TX MS
TIFF
File Format
*
Содержание DC 2120
Страница 1: ......
Страница 5: ......
Страница 14: ......
Страница 36: ...Fax Operation Names of Parts Preparations Features and Functions of this Fax 1 22 ...
Страница 166: ...Other Features of this Fax 5 70 ...
Страница 200: ...Network FAX Settings Option 9 8 ...
Страница 219: ......
Страница 220: ......

