TracVision TV1 User’s Guide
44
Receiver Settings
6.
When the number for your remote control appears on the
screen, select
Continue
.
7.
Wait while the receiver downloads the latest software. This
update may take up to 20 minutes.
8.
At the Set Video Resolution screen, select the highest video
resolution that is supported by your TV. Then run the
resolution test and save your setting.
9.
Allow the receiver to run two tests of its landline connections
(Ethernet and phone). It probably won’t detect any, since the
receiver is installed in a mobile environment.
10.
At the Activate Receiver screen, press
STAR (*)
on the
receiver’s remote.
11.
At the Setup Details screen, select
Point Dish
. Then select
Check Switch
. The receiver now runs the Check Switch test.
12.
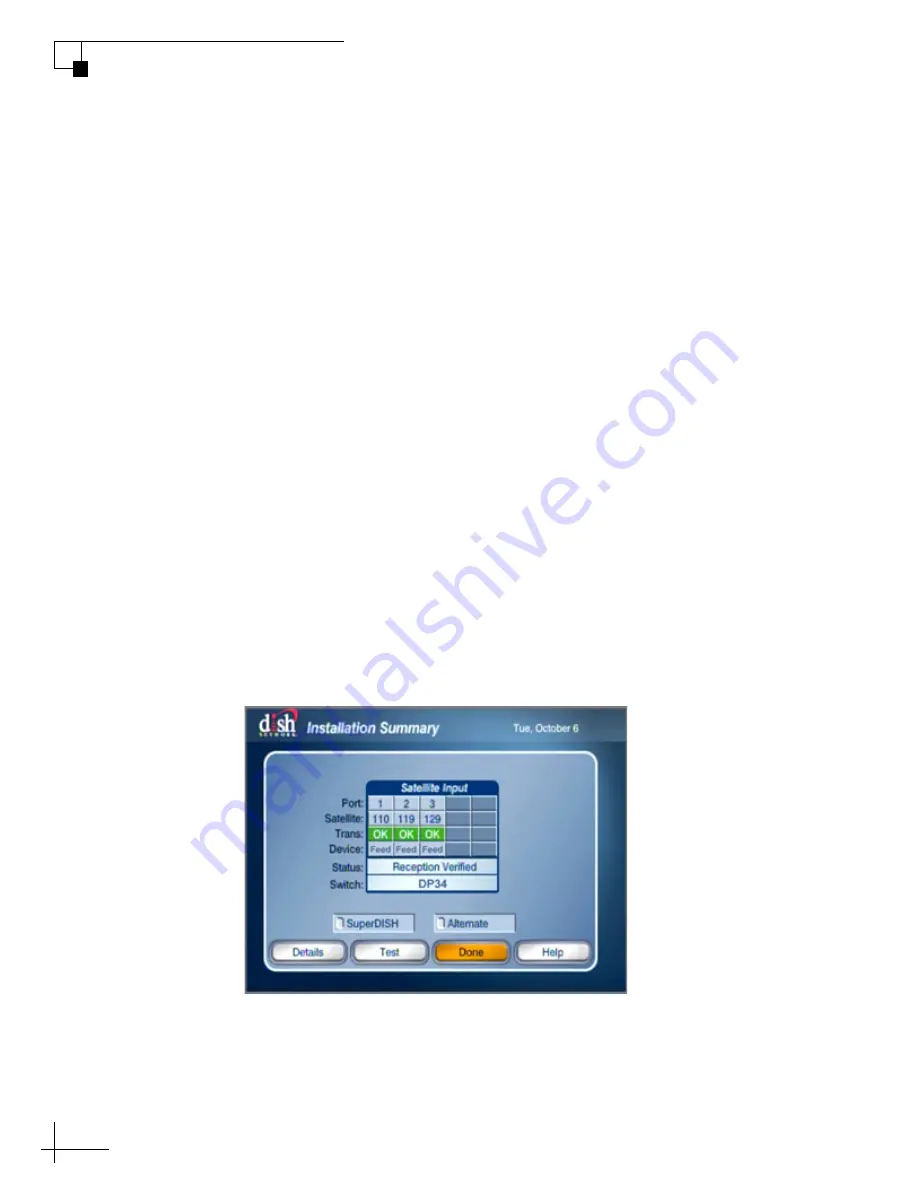
At the Installation Summary screen, make sure all of the
satellites you installed in the TracVision antenna are listed
“OK.” Also be sure the switch type is “DP34.” If you do not see
these results, select
Test
to run another test. Otherwise, select
Done
.
Figure 5-7 Check Switch Test Results
13.
At the Point Dish screen, select
Done
.
Содержание TracVision TV1
Страница 1: ...KVH Industries Inc User s Guide TracVision TV1...
Страница 39: ...TracVision TV1 User s Guide 39 Receiver Settings Figure 5 4 IP Address on a DIRECTV Receiver Example...
Страница 42: ...TracVision TV1 User s Guide 42 Receiver Settings Figure 5 6 Satellite Dish Setup on DIRECTV Receiver...
Страница 54: ...TracVision TV1 User s Guide 56 Satellite Settings Figure 6 4 Creating a New Satellite Group...
Страница 68: ...TracVision TV1 User s Guide 72 Switching Satellites Figure 7 6 Adding a DIRECTV Receiver to the Autoswitch Page...
Страница 89: ...TracVision TV1 User s Guide 94 Troubleshooting Figure 8 8 System Info Antenna Unit...


