TracVision TV1 User’s Guide
17
Network Settings
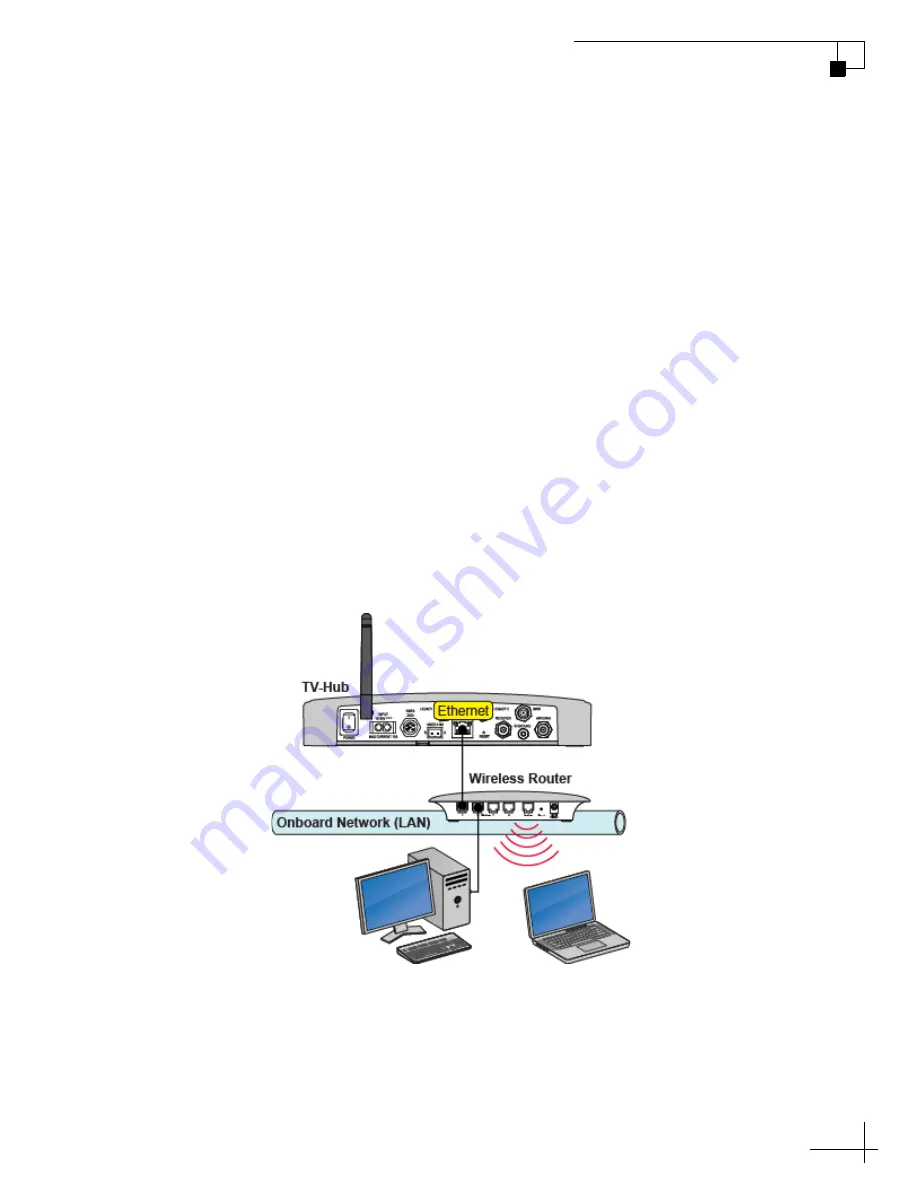
Connecting the TV-Hub to Your Onboard Network
You can connect the TV-Hub to an onboard local area network (LAN).
A network connection is necessary if either of the following conditions
apply:
• You have one or more IP AutoSwitches installed to enable
automatic satellite switching
(Linear/DISH Network/Bell TV
only)
.
• You want to have the ability to access the TV-Hub’s web
interface using any device connected to your onboard
network.
By default, the TV-Hub’s Ethernet port is configured as a DHCP client,
which means your network’s router will automatically assign it an IP
address. Simply connect the TV-Hub’s Ethernet port to your onboard
network then turn on the TV-Hub.
NOTE: Use a straight-through 100 Mbps fast Ethernet UTP CAT5 cable (or
better) with RJ45 connectors.
Figure 3-1 TV-Hub Wired Network Connection (TV-Hub A shown)
Once the TV-Hub is connected to your onboard network, you can
access its web interface by entering the TV-Hub’s dynamically
assigned IP address in the web browser of any device connected to the
network. You can find the TV-Hub’s IP address on the web interface
(select Settings > Network Settings).
Содержание TracVision TV1
Страница 1: ...KVH Industries Inc User s Guide TracVision TV1...
Страница 39: ...TracVision TV1 User s Guide 39 Receiver Settings Figure 5 4 IP Address on a DIRECTV Receiver Example...
Страница 42: ...TracVision TV1 User s Guide 42 Receiver Settings Figure 5 6 Satellite Dish Setup on DIRECTV Receiver...
Страница 54: ...TracVision TV1 User s Guide 56 Satellite Settings Figure 6 4 Creating a New Satellite Group...
Страница 68: ...TracVision TV1 User s Guide 72 Switching Satellites Figure 7 6 Adding a DIRECTV Receiver to the Autoswitch Page...
Страница 89: ...TracVision TV1 User s Guide 94 Troubleshooting Figure 8 8 System Info Antenna Unit...


