15
∗
If it has not been possible to achieve the correct alignment with the cord because
one of the plates B has come into contact with plate A too soon, plate B will have
to be burnt off and welded on again after alignment
∗
If necessary, remove the two stop plates item C, secured with four bolts and held
in place by two small runs of weld.
Once alignment is complete:
∗
Replace links item 31, they are to be free lengthwise, they must not place any
loadings on their pivot points, either in the open or closed position
∗
Replace stops item C, without tightening the bolts at that time
∗
Clamp the stops together with two strong clamps, centre them relative to the
centreline of the seed drill (centre them equidistant from the ends of the beams),
tighten the bolts
∗
Test the seed drill for folding and unfolding
∗
Apply new dots of weld behind plates C in order to prevent the setting from being
disturbed.
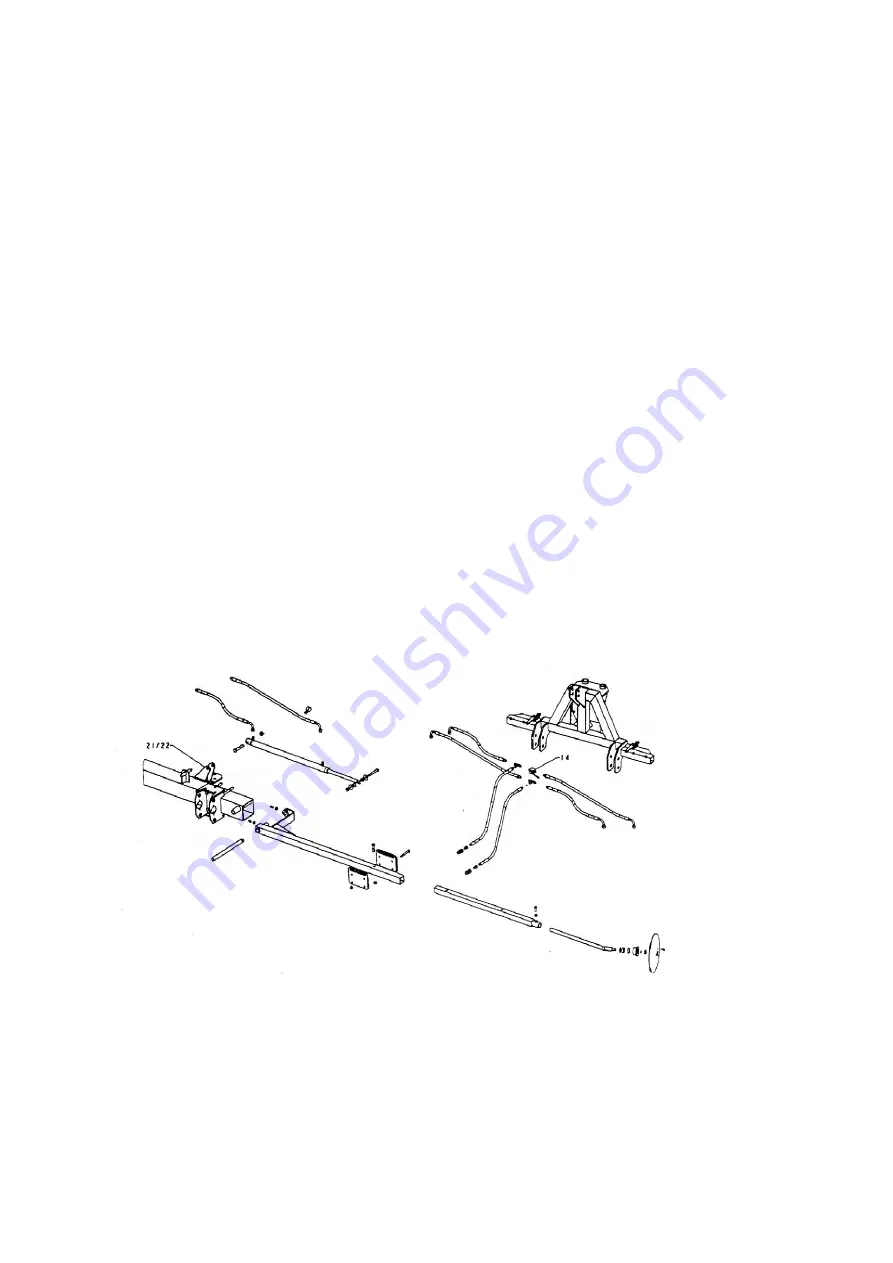
Using HYDRAULIc markers
∗
Cylinder brackets items 21 and 22 need to be swapped in order to change from 45
to 50 cm seed spacing or vice versa
∗
The hydraulic markers are to be operated by a single double-acting control
∗
The hydraulic system is designed such that when one marker is raised, the other
drops automatically
∗
Valve item 14 needs to be opened once the seed drill has been unfolded into the
operating position in order for the markers to operate
∗
The following is required before folding the seed drill to the transport position:
• One marker to be in the raised position
• Shut off valve item 14
• Raise the second marker
• Fit the transport locks for the beam.
Start up
∗
hitch arms are of the tractor to be free
∗
Check them as they drop to ensure that the seed drill is resting fully on its wheels
in all conditions. If the hitch does not drop sufficiently the wheels may skid and the
seed drill will stop sowing
∗
Fill the seed trays
∗
Turn the seed drill by hand to fill the cells and check seed delivery for each section
∗
Check that all gearboxes are set to the desired speed


