


10
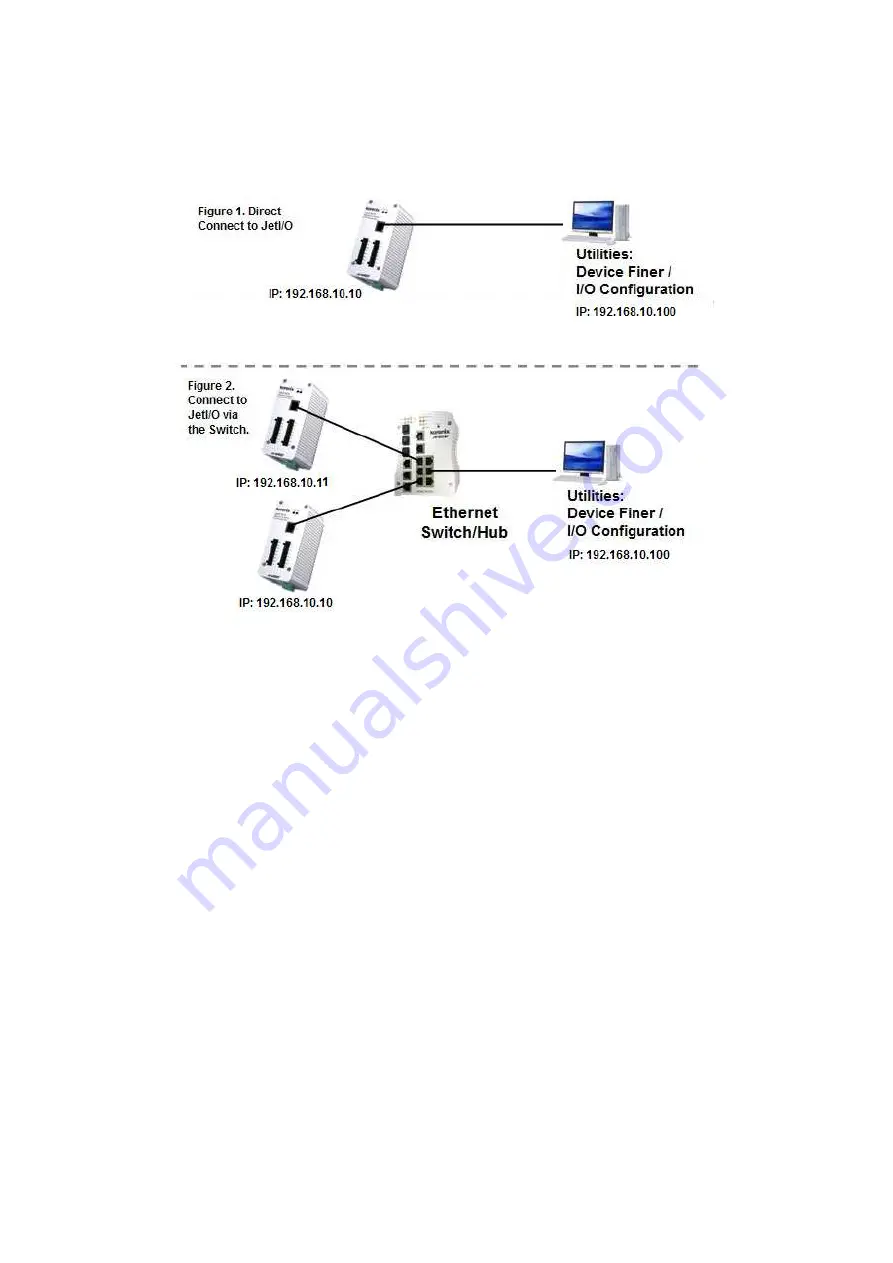
IP address. Or connect the JetI/Os to the same switch or network, then the host PC can
modify the IP address via the switch or network.
If you purchase several JetI/Os and connect them to the same network before change
their IP address. They must have the same default IP address, and you may not control
them well due to the IP conflict. At this time, you should change their IP address first.
The JetI/O’ Block I/O configuration utility and its Device Finder Popup Window can help
you to do this.
Note 1: Device Finder Popup Window allows you to discover the JetI/Os which have the
same IP address. Change the IP address of the JetI/O one after one. After you
configured the new IP address for the unit, please notice whether the ARP table of the
device is flashed or not. If not, you can choose “Start -> Run”, type “cmd” to open the
DOS prompt. Use “arp –d” to clear the ARP cache.
Note 2: After changed IP address or changed the DHCP client mode in Block I/O
Configuration utility, the utility will automatically reboot the unit. Please rescan the
devices after around 5 seconds.
Note 3: You can find the detail progress in the next chapters.


