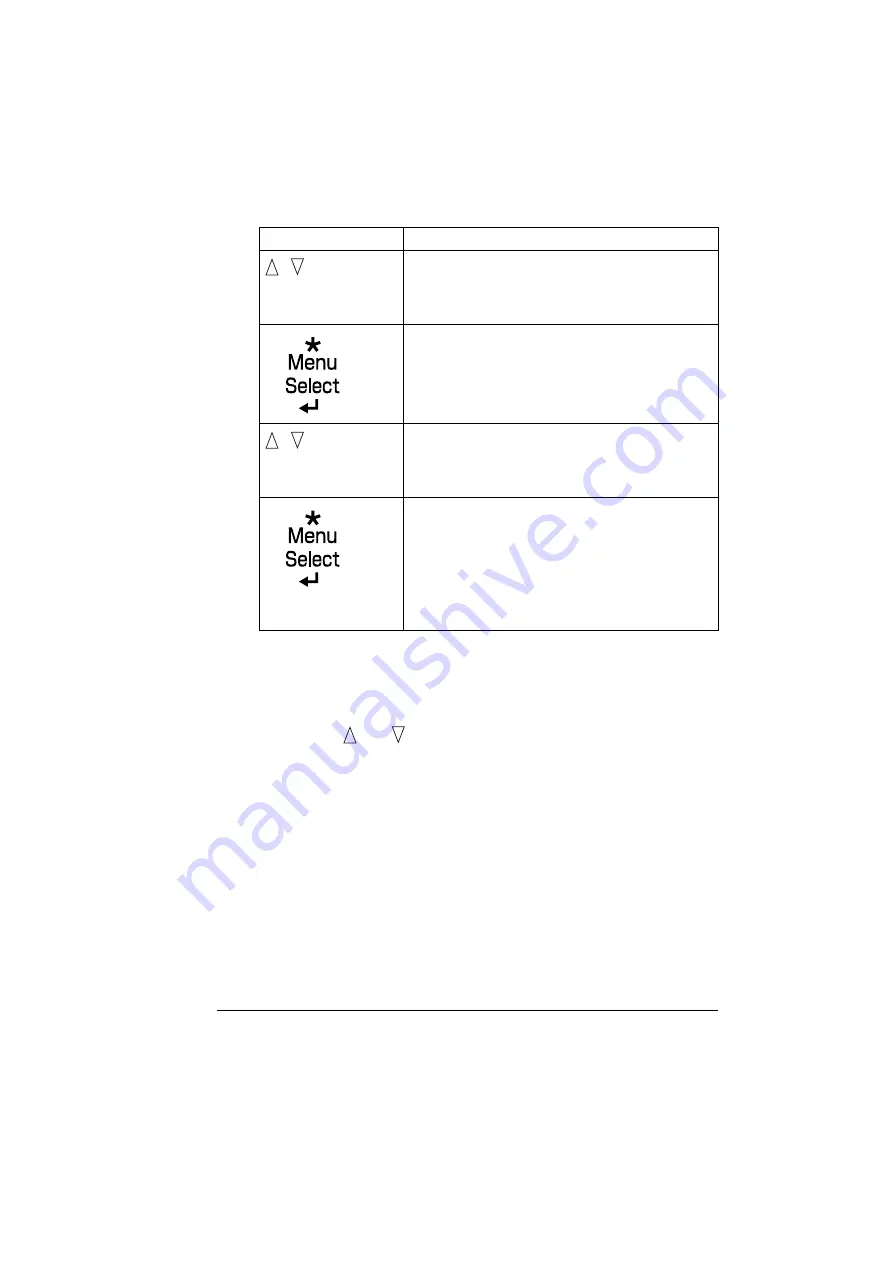
Configuration Menu Overview
35
2
Select
or
DELETE
, and then press the
Menu/Select
key.
"
If
was selected, continue with step 3.
If
DELETE
was selected, continue with step 5.
3
Press
the
and
keys
to
specify the number of copies to be printed.
(Settings:
1
to
999
; Default:
1
)
4
Press the
Menu/Select
key.
Printing begins.
5
Select
YES
or
NO
.
6
Press the
Menu/Select
key.
If
YES
was selected, the print job is deleted.
If
NO
was selected, the
PRINT/DELETE
selection screen appears
again.
,
Press until the desired
user name appears.
Desired user name
“
Job name
”
,
Press until the desired
job name appears.
Desired job name
DELETE
If the selected print job was set as a secured job
from the printer driver, a screen for entering the
password appears. For details on typing the
password, refer to “Entering the Password” on page
36.
Press Key
Until Display Reads
Содержание BIZHUB C30P
Страница 1: ...bizhub C30P User s Guide A011 9566 00A ...
Страница 8: ......
Страница 14: ...Contents vi ...
Страница 15: ...Introduction ...
Страница 20: ......
Страница 21: ...About the Software ...
Страница 36: ...Using the Postscript and PCL Printer Driver 22 ...
Страница 37: ...Using the Status Monitor Windows Only ...
Страница 40: ......
Страница 41: ...Printer Control Panel and Configuration Menu ...
Страница 107: ...Camera Direct ...
Страница 109: ...Memory Direct ...
Страница 111: ...Using Media ...
Страница 145: ...Replacing Consumables ...
Страница 158: ...Replacing Consumables 144 14 Close the front cover ...
Страница 176: ...Replacing Consumables 162 3 Pull out the stapler 4 Remove the empty cartridge and then insert the new one ...
Страница 177: ...Replacing Consumables 163 5 Install the stapler 6 Install the stapling unit 7 Close the stapler cover ...
Страница 178: ......
Страница 179: ...Maintaining the Printer ...
Страница 184: ...Cleaning the Printer 170 3 Clean the media feed rollers by wiping them with a soft dry cloth 4 Close the tray ...
Страница 189: ...10 Troubleshooting ...
Страница 204: ...Clearing Media Misfeeds 190 4 Push down the levers 5 Close the right side cover ...
Страница 239: ...11 Installing Accessories ...
Страница 262: ...Staple Finisher 248 10 Install the relay unit on the machine 11 Open the relay unit cover ...
Страница 269: ...Appendix ...


