

Keysight M9018A PXIe 18-Slot Chassis Startup Guide
1
7
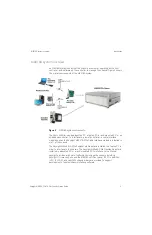
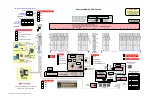
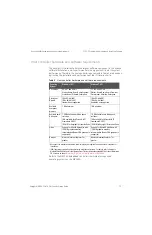
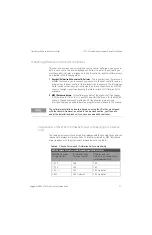
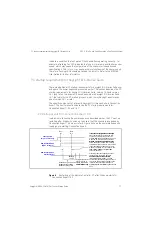
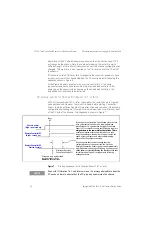
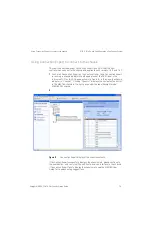
Connecting a remote controller PC to the chassis
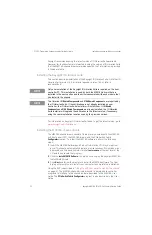
STEP 2: Prepare the Hardware and Install the Software
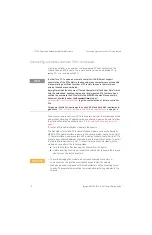
c
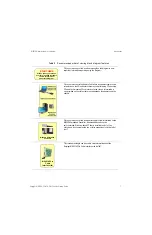
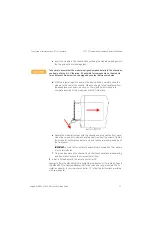
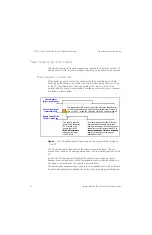
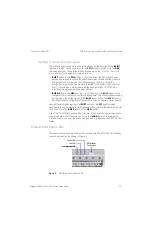
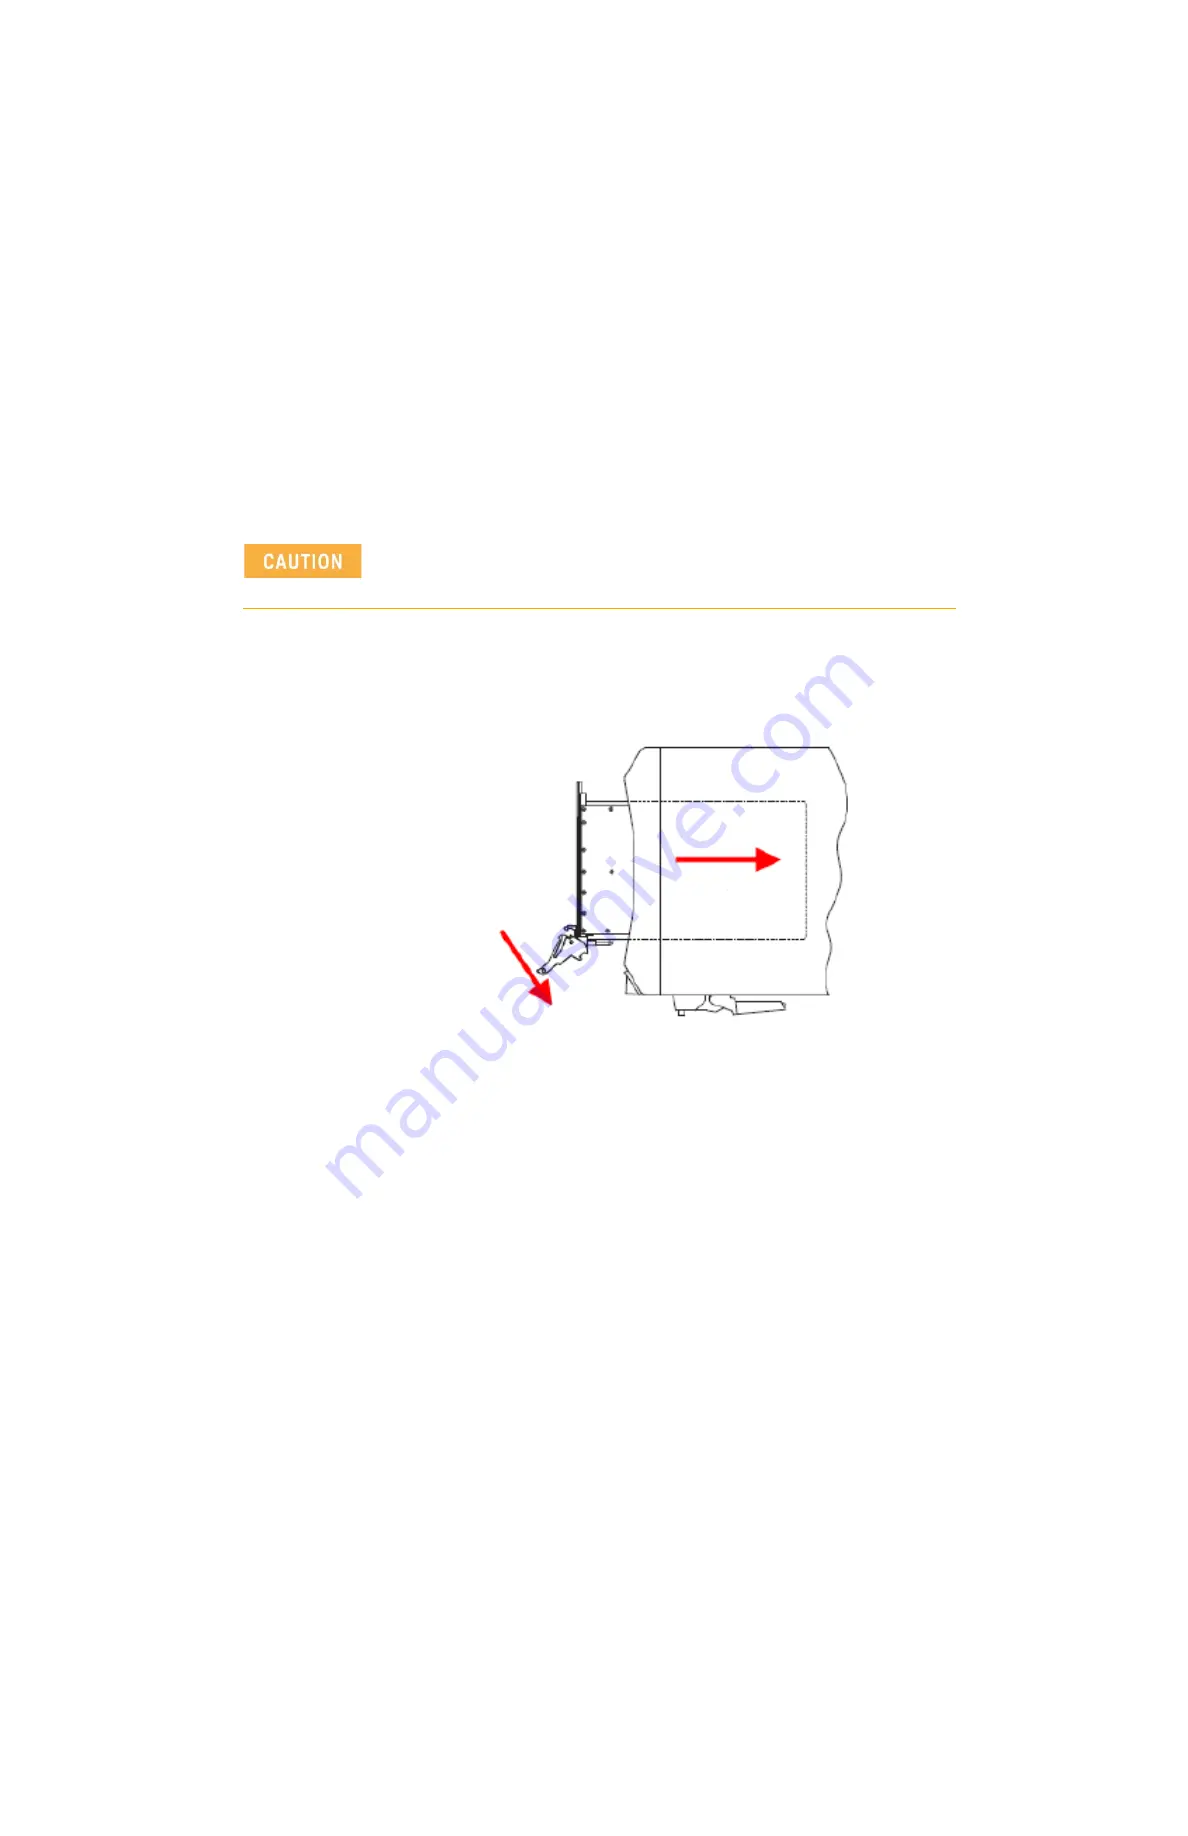
Insert the module in the chassis slot by placing the module card edges into
the top and bottom module guides.
d
With the injector/ejector handle in the down position, carefully slide the
module to the rear of the chassis. When you begin to feel resistance from
the backplane connectors, push up on the injector/ejector handle to
complete insertion of the module and latch it into place.
e
Secure the module front panel to the chassis using the captive front panel
mounting screws. All modules have two captive mounting screws. Tighten
the screws for both mechanical security and to ensure proper grounding of
the front panel.
IMPORTANT:
Ensure that all empty chassis slots are covered by filler panels
or air inlet modules.
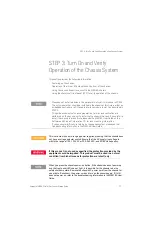
f
Plug in and power up the chassis. Verify that the chassis fans are operating
and free of obstructions that may restrict airflow.
2
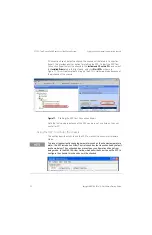
Install a PCIe adapter in the remote controller PC
Keysight offers the M9045A/B PCIe ExpressCard Adapter (x1) for laptop PCs and
the M9048A PCIe Desktop Adapter (x8) for desktop and rack-mounted PCs. To
install an adapter in your remote controller PC, follow the instructions provided
with your adapter.
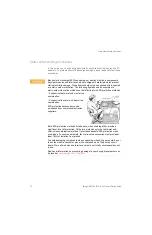
Take care to ensure that the module is aligned perpendicularly to the chassis as
you begin sliding it in. Otherwise, it’s possible for components on the module
(or on adjacent modules) to be damaged by contact between modules.


