10 |
P a g e
8.
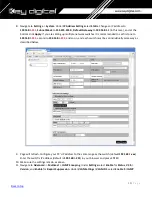
Navigate to
Settings
->
System
. Under
IP Address Settings
elect
Static
. Change an IP address to
192.168.
1
.
251
,
Subnet Mask
to
255.255.255.0
,
Default Gateway
to
192.168.1.1
(in this case), and at the
bottom click
Apply
. If you are setting up multiple network switches it is recommended to set first one to
192.168.
1
.
251
, second to
192.168.
1
.
252
, and so on, and each switch must be set individually same way as
described below.
9.
Page will refresh. Configure your PC’s IP address to the same range as the switch (default
192.168.
1
.xxx
).
Enter the switch’s IP address (default is
192.168.
1
.251
) in your browser and press ENTER.
10.
Make sure the settings remain as above.
11.
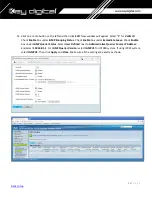
Navigate to
Advanced
->
Multicast
->
IGMP Snooping
. Under
Settings
select
Enable
for
Status
,
V3
for
Version
, and
Enable
for
Report Suppression
. Under
VLAN Settings
/
VLAN ID 1
select
Enable
for
IGMP
Содержание Enterprise AV KD-IP822DEC
Страница 19: ...19 P a g e Back to top ...
Страница 51: ...51 P a g e Back to top 8 Set the frame size to its maximum value of 10240 Configure Port Settings Jumbo Frames ...
Страница 56: ...56 P a g e Back to top 19 Set the frame size to its maximum value of 10240 L2 feature Jumbo Frame ...
Страница 67: ...67 P a g e Back to top 13 Navigate to Multicast IGMP Snooping Select Enable under IGMP Snooping click Apply ...
Страница 77: ...77 P a g e Back to top ...
Страница 109: ...109 P a g e Back to top ...
Страница 116: ...116 P a g e Back to top 16 Scroll down the window and leave all the ports unchecked Click Save ...


