manualshive.com logo in svg
background image


information, and as shown on the instrument or test fixture 
panels, or switching card. 
 
When fuses are used in a product, replace with same type and 
rating for continued protection against fire hazard. 
 
Chassis connections must only be used as shield connections for 
measuring circuits, NOT as safety earth-ground connections. 
 
If you are using a test fixture, keep the lid closed while power is 
applied to the device under test. Safe operation requires the use of 
a lid interlock.


If a 

 screw is present, connect it to safety earth ground using 

the wire recommended in the user documentation. 
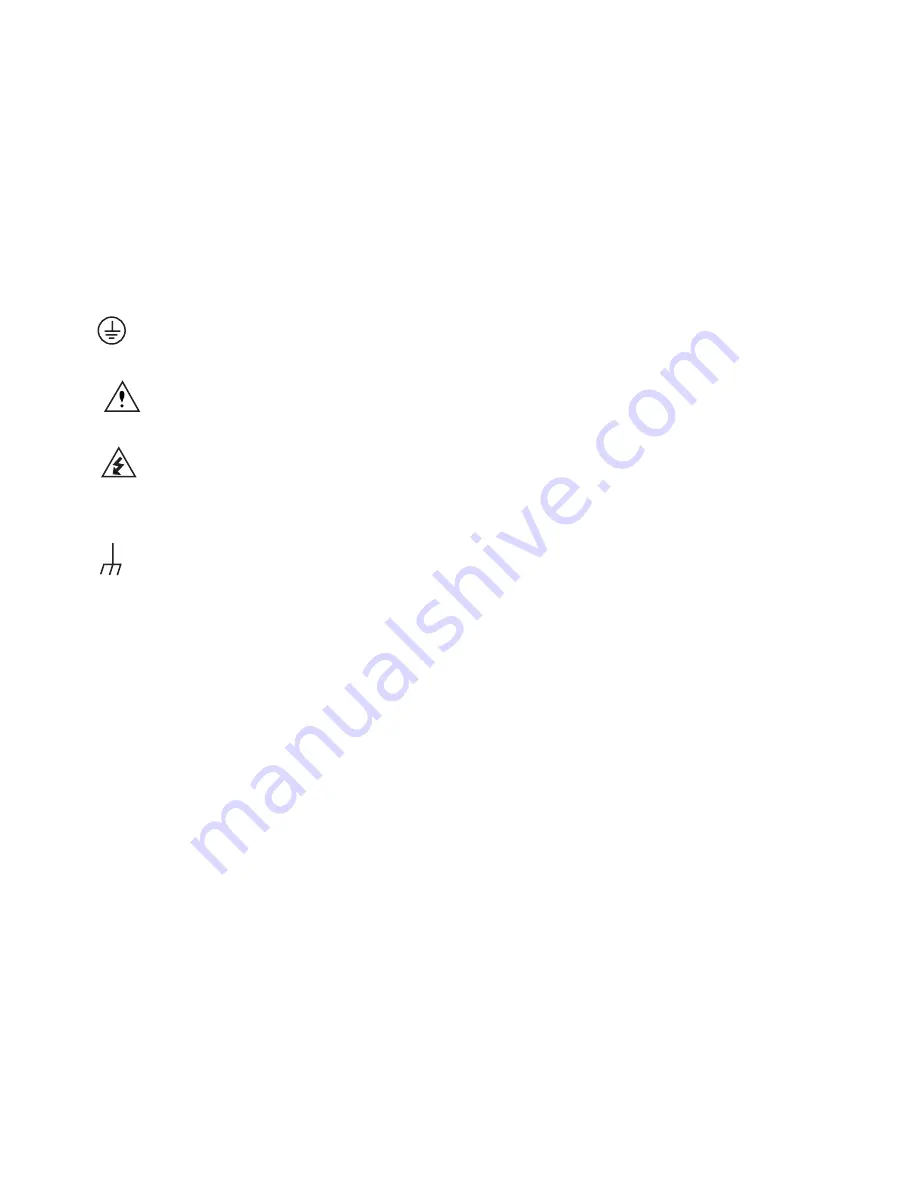
 

The 

 symbol on an instrument indicates that the user 

should refer to the operating instructions located in the manual. 
 

The 

 symbol on an instrument shows that it can source or 

measure 1000 volts or more, including the combined effect of 
normal and common mode voltages. Use standard safety 
precautions to avoid personal contact with these voltages. 
 

The 

 symbol indicates a connection terminal to the equipment 

frame. 
 
The 

WARNING 

heading in a manual explains dangers that 

might result in personal injury or death. Always read the 

associated information very carefully before performing the 
indicated procedure. 
 
The 

CAUTION 

heading in a manual explains hazards that could 

damage the instrument. Such damage may invalidate the 
warranty. 
 
Instrumentation and accessories shall not be connected to 
humans. 
 
Before performing any maintenance, disconnect the line cord and 
all test cables. 
 
To maintain protection from electric shock and fire, replacement 
components in mains circuits – including the power transformer, 
test leads, and input jacks – must be purchased from Keithley 
Instruments. Standard fuses with applicable national safety 
approvals may be used if the rating and type are the same. Other 
components that are not safety-related may be purchased from 
other suppliers as long as they are equivalent to the original 
component. (Note that selected parts should be purchased only 
through Keithley Instruments to maintain accuracy and 
functionality of the product.) If you are unsure about the 
applicability of a replacement component, call a Keithley 
Instruments office for information. 
 
To clean an instrument, use a damp cloth or mild, water based 
cleaner. Clean the exterior of the instrument only. Do not apply 
cleaner directly to the instrument or allow liquids to enter or spill 
on the instrument. Products that consist of a circuit board with no 
case or chassis (e.g., data acquisition board for installation into a 
computer) should never require cleaning if handled according to 
instructions. If the board becomes contaminated and operation is 
affected, the board should be returned to the factory for proper 
cleaning/servicing.


Содержание 2910-VSG

Страница 1: ...www keithley com A G R E A T E R M E A S U R E O F C O N F I D E N C E 2910 Vector Signal Generator Quick Start Guide 2910 903 01Rev A February 2006...

Страница 2: ...source code from the object code for the Software in whole or in part Sublicense You may sublicense the Keithley Software subject to the sublicensee s acceptance of the terms and conditions of this Ag...

Страница 3: ...HALL BE LIABLE FOR ANY DIRECT INDIRECT SPECIAL INCIDENTAL OR CONSEQUENTIAL DAMAGES ARISING OUT OF THE USE OF ITS INSTRUMENTS AND SOFTWARE EVEN IF KEITHLEY INSTRUMENTS INC HAS BEEN ADVISED IN ADVANCE O...

Страница 4: ...This page left blank intentionally...

Страница 5: ...2910 VSG Vector Signal Generator Quick Start Guide 2006 Keithley Instruments Inc All rights reserved Cleveland Ohio U S A First Printing February 2006 Document Number 2910 903 01 Rev A...

Страница 6: ...porate immediately into the manual Addenda are numbered sequentially When a new Revision is created all Addenda associated with the previous Revision of the manual are incorporated into the new Revisi...

Страница 7: ...o Category I sources unless otherwise marked or described in the Manual Exercise extreme caution when a shock hazard is present Lethal voltage may be present on cable connector jacks or test fixtures...

Страница 8: ...damage the instrument Such damage may invalidate the warranty Instrumentation and accessories shall not be connected to humans Before performing any maintenance disconnect the line cord and all test...

Страница 9: ...necting system components 9 Figure 1 4 Back panel view Instrument connectors and system connections 9 GPIB connections 10 LAN Ethernet connections 10 USB connections 10 Verifying digital modulation li...

Страница 10: ...2910 VSG Vector Signal Generator Quick Start Guide This page left blank intentionally...

Страница 11: ...t Becoming familiar with the instrument Front panel features Rear panel features Instrument screen Locating the instrument in the proper environment Installing the instrument in a rack Powering the Mo...

Страница 12: ...ARB 64 M Sample Arbitrary Waveform Generator ARB Model 2910 ADAPTER KIT RF Cables and RF connector Adapters Type N Male to Type N Male cable quantity 2 length 1M SMB Male to SMB Male cable quantity 2...

Страница 13: ...selected numeric parameter 3 Puck arrow keys Changes the value of the selected numeric parameter incrementally or in a user defined step 4 Puck center button Brings up the on screen numeric entry key...

Страница 14: ...Ethernet network for remote operation 9 REF OUT Provides a frequency reference to synchronize other instruments 10 MHz 10 REF IN Synchronizes the internal frequency reference to an external frequency...

Страница 15: ...t allows waveform editing and control 5 What s This Help Displays help information for the selected item 6 Frequency field Shows the frequency setting Select to edit the value 7 Amplitude field Shows...

Страница 16: ...following Operate the unit in a clean dust free environment Keep the rear exhaust vent free of any obstructions Even partial blockage may impair proper cooling Also keep at least one vent at the front...

Страница 17: ...of the supplied line cord to a grounded AC line power receptacle WARNING The power cord supplied with the unit contains a separate ground for use with grounded outlets When proper connections are made...

Страница 18: ...aced perform the following steps WARNING Make sure the instrument is disconnected from the AC line and other equipment before changing line fuse 1 Using a small flat blade screwdriver push the retaini...

Страница 19: ...tor Quick Start Guide 2910 903 01 Rev A February 2006 9 Connecting system components The following diagram shows how typical system components are installed Figure 1 4 Back panel view instrument conne...

Страница 20: ...e caused by electromagnetic radiation use only shielded IEEE 488 cables Available shielded cables from Keithley are Models 7007 1 and 7007 2 LAN Ethernet connections Connect the Model 2910 back panel...

Страница 21: ...ality License Option 2910 WCDMA WCDMA Signal Generation Personality NOTE Each instrument must have an arbitrary waveform generator license 2910 ARB for the other digital modulation licenses to operate...

Страница 22: ...mote control over GPIB If you want to verify communication between a computer and the 2910 instrument over the GPIB install the KI 2910 Communicator application that allows you to test SCPI communicat...

Страница 23: ...atch cable Existing site network configuration Contact your I T administrator to receive direction on the preferred method of assigning IP addresses either a static IP address assignment or a DHCP add...

Страница 24: ...From the 2910 select Menu Utilities Ethernet Settings 2 Select the IP Address tab 3 Select Obtain an IP address via DHCP 4 Select the Apply button 5 This configures the signal generator as a DHCP cli...

Страница 25: ...e that the combination of 2910 IP address and subnet mask is within the range of directly addressable IP addresses of the computer For example Computer IP address 192 168 1 50 Computer subnet mask 255...

Страница 26: ...TCPIP tab 9 Set the values for the following settings or the values displayed in the Ethernet dialog if DHCP is used NIC Leave this set to zero unless you have more than one NIC card installed in your...

Страница 27: ...USB driver from the website 9 Click the driver setup file that you just downloaded Verify remote control over USB If you want to verify communication between a computer and the 2910 instrument over t...

Страница 28: ...____________________________________________________________ Section 2 Topic List Setting up a basic signal with various input devices Set up a carrier frequency Set up the RF power level Save and rec...

Страница 29: ...wing input devices Front panel puck Numeric keypad Front panel knob Mouse Set up a carrier frequency With the front panel puck 1 Select the Frequency field to activate it 2 Press the left arrow on the...

Страница 30: ...use the up down arrow keys on the puck the frequency will increment decrement by 25 kHz Set up the RF power level With the front panel puck 1 Select the RF On button to switch on the RF output power...

Страница 31: ...This is the frequency or power setting of the first step in the sweep 5 Select the Stop Frequency or Stop Power field and enter a value This is the frequency or power setting of the last step in the...

Страница 32: ...ons are selected Getting information from Help You can quickly access information that shows you how to set up and control output signals using the 2910 front panel interface and programming commands...

Страница 33: ...stable Will not read applied input Overload Calibration only Certificate of calibration required Data required attach any additional sheets as necessary Show a block diagram of your measurement system...

Страница 34: ...eithley Instruments Inc All other trademarks and trade names are the property of their respective companies A G R E A T E R M E A S U R E O F C O N F I D E N C E Keithley Instruments Inc Corporate Hea...

Отзывы: