Installation
Page 39
3. Indoor Unit Installation
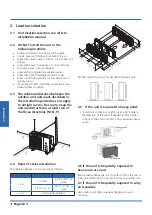
3.1 Service space for indoor unit
≥
1000mm
≥
100mm
150mm
≥
150mm
≥
3.2 Installing the main body
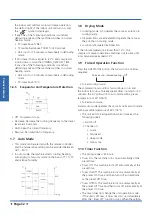
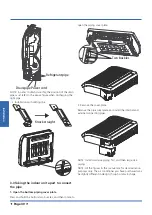
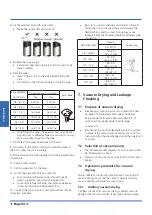
1. After loosening the screws, remove the mounting plate
from the unit.
Remove the mounting plate
Loosen the screws(Only for left outlet pipe)
Loosen the screw
NOTE: If the pipe comes out on the left, it is necessary to
loosen the screws on the bottom mounting
plate. If the pipe comes out in other directions, it is not
necessary.
2. Fix the mounting plate with a tapping screw onto the
wall.
NOTE: It is recommended to fx it on the wall according to
the hanging hole indicated by the arrow on the mounting
plate. Mounting plate must be installed horizontally.
Mounting plate
Tapping
screw
Washer
˘
6mm
3. Hang the indoor unit on the mounting plate.
(The bottom of body can touch the floor or remain sus-
pended, but the body must be installed vertically.)
NOTE: After installation, the unit shall be kept
horizontal without tilting.
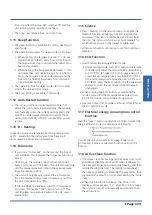
4.Bottom mounting plate installation
• Installation without skirting
The bottom mounting plate is fixed directly to the wall.
Содержание KSDA-35 DVR14
Страница 7: ...Specifications Page 7 3 Dimensional Drawings 3 1 Indoor Unit...
Страница 8: ...Specifications Page 8 3 2 Outdoor Unit KUE 35 DVR13...
Страница 9: ...Specifications Page 9 KUE 52 DVR13...
Страница 10: ...Specifications Page 10 4 Centre of Gravity KUE 35 DVR13 KUE 52 DVR13...
Страница 14: ...Specifications Page 14 KUE 35 DVR13 KUE 52 DVR13...
Страница 49: ......


