

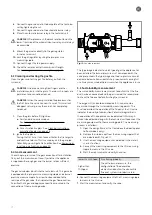
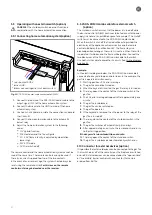


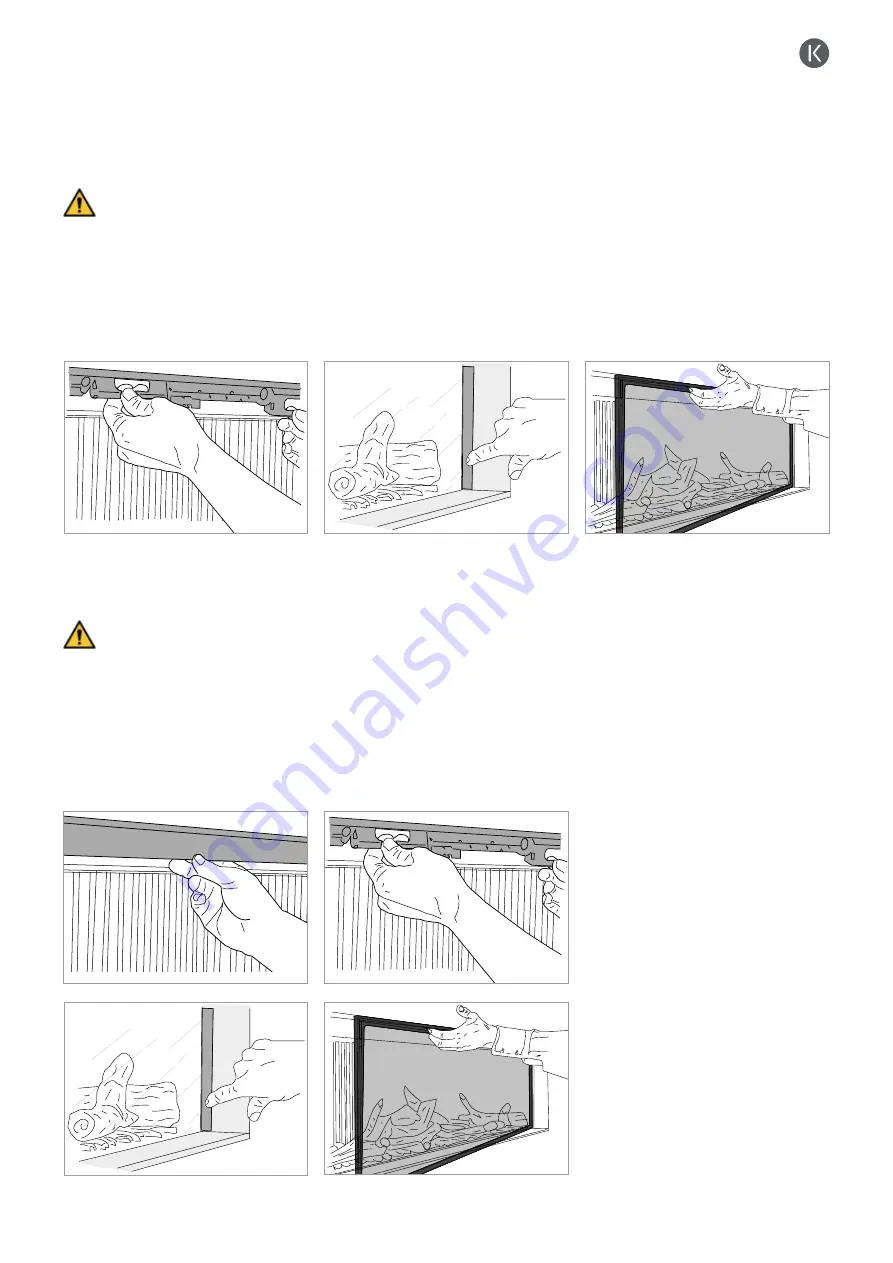
7.1.3 Door dismantling and assembly
(corner and three-sided appliances)
Door removal
WARNING: Wear (rubber) gloves to prevent stains on the
glass.
Step 1: To unlock the door, pull the handles that are placed under
the hood towards you and up.
Step 2: Push the metal cover strip in left or right.
Step 3: Next, grip the door by the designated handles. Slightly
lift the door with glass window out of the rabbet, move the entire
door slightly to the left or right (corner fireplace) and carefully lift
it entirely out of the fireplace. In a three-sided appliance the door
will fall forward slightly and you will be able to lift it straight out of
the rabbet.
Restoring door
To put the door back in place, follow the steps explained in step
3 in reverse order. Lock the door by moving the handles down.
Twist the metal cover strips (step 1) back into its original position
by using the protruding lip at the upper side of the strip.
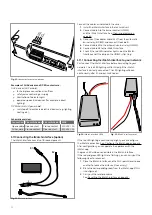
7.1.4 Door dismantling and assembly
(front and tunnel fireplaces)
Door removal
WARNING: Wear (rubber) gloves to prevent stains on the
glass.
Step 1: Move the metal cover strips up from the upper side.
Step 2: To unlock the door, pull the handles that are placed under
the hood towards you and up.
Step 3: Push the metal cover strip in left or right.
Step 4: Next, grip the door by the designated handles. Slightly lift
the door with glass window out of
the rabbet and carefully remove it from the fireplace.
Restoring door
To put the door back in place, follow the steps explained in step
4 in reverse order. Lock the door by moving the handles down.
Twist the metal cover strips (step 3) back in its original position,
by using the overlapping edge on the upper side of the strip and
fold the metal cover strip down.
29
Содержание G Series
Страница 1: ...Installation instructions BALANCED FLUE GAS FIRES DON T COMPROMISE EN...
Страница 2: ......
Страница 4: ...4...
Страница 43: ...1 4 6 7 5 2 3 43...
Страница 45: ...1 3 2 5 4 6 7 8 8 7 45...
Страница 47: ...1 9 4 7 3 8 5 6 2 10 47...
Страница 49: ...5 1 2 3 7 4 6 8 10 9 9 49...
Страница 51: ...4 5 3 6 1 1 51...
Страница 52: ...7 2 7 7 2 2 8 52...
Страница 54: ...4 5 2 1 1 3 54...
Страница 55: ...9 8 6 7 1 55...
Страница 57: ...5 6 7 8 3 2 2 1 57...
Страница 58: ...9 4 4 8 58...
Страница 60: ...5 2 9 6 2 1 4 3 60...
Страница 61: ...7 7 10 11 8 61...
Страница 63: ...1 7 7 3 4 6 2 7 63...
Страница 64: ...2 4 4 5 5 8 64...
Страница 66: ...7 4 5 6 1 8 9 66...
Страница 67: ...3 3 11 2 10 10 12 67...
Страница 69: ...1 2 6 6 8 8 9 7 7 4 With gas type G30 log 4 to be placed at extreme right 3 4 5 11 69...
Страница 72: ...10 2 1 9 11 3 3 4 5 5 7 6 72...
Страница 73: ...13 12 12 12 8 73...
Страница 76: ...3 1 6 5 4 2 13 76...
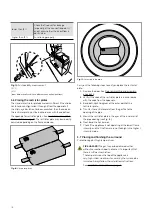
Страница 77: ...14 7 10 11 8 12 12 Other side Divide 15 cryptonite and 16 ash 77...
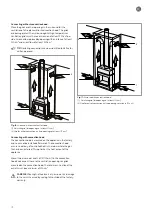
Страница 80: ...3 4 5 7 1 3 4 5 6 1 4 5 1 3 4 1 3 2 1 2 3 1 3 1 2 4 5 1 6 2 6 7 14 12 11 11 3 80...
Страница 81: ...3 4 5 7 8 1 3 4 7 9 10 8 3 4 5 6 7 8 1 3 4 5 6 7 8 1 3 4 5 6 7 1 9 10 8 15 13 81...
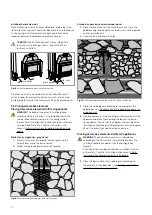
Страница 84: ...4 3 5 2 3 4 5 1 2 3 4 5 1 1 2 3 4 1 1 2 1 1 1 2 1 1 1 1 1 2 3 4 5 6 6 1 1 1 14 11 84...
Страница 87: ...Wiring diagram for SDS domo cable as shut down switch Fig 32 SDS domo cable shut down switch 87...
Страница 94: ...94...
Страница 95: ...95...
Страница 96: ...Gelo rveldweg 21 5951 DH Belfeld info kalfire nl KALFIRE COM DON T COMPROMISE REF V01 2019 EN...


