


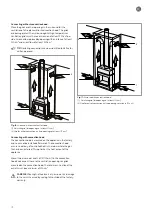
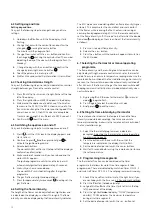


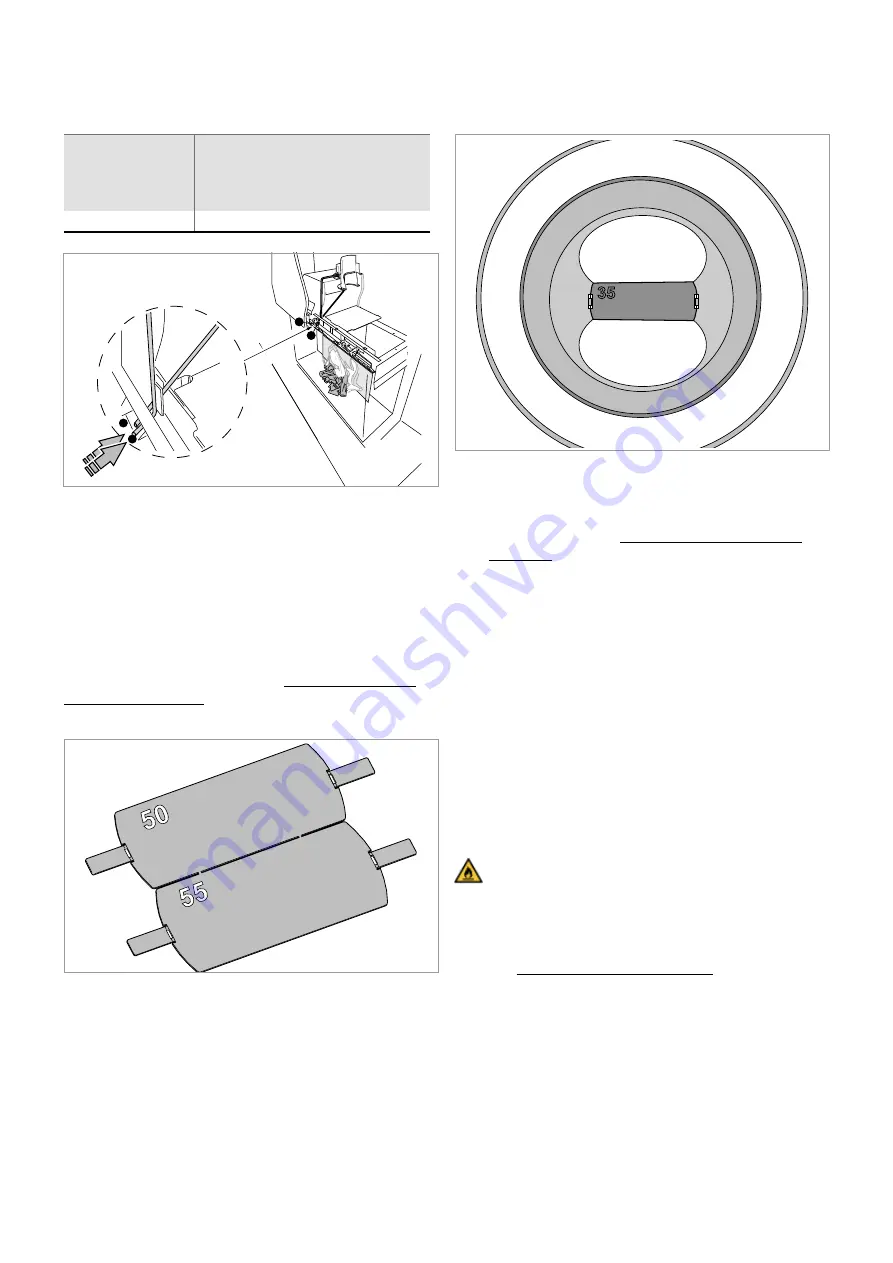
Fig. 15: Assembly in the pipe
Carry out the following steps to verify and place the restrictor
plate:
1. Remove the door. See: Door dismantling and assembly
on page 29.
2. Verify if the code of the restrictor plate is in accordance
with the code from the appendix.
3. Bend both lips 90 degrees at the outer point of the
restrictor plate.
4. Transfer the restrictor plate from the gas fire to the
opening of the pipe.
5. Mount the restrictor plate in the eyes of the inner wall of
the pipe opening (see Fig. 16).
6. Next, bend the lips inwards.
7. Check if the appliance is not operating at the lowest flame
intensity and that the flames are not too high in the highest
intensity mode.
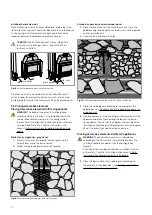
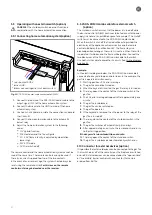
5.7 Placing and finishing the surround
Protection against high temperatures
FIRE HAZARD! The gas fire can be delivered with or
without convection hood. In all cases it is important that
there is sufficient ventilation.
The temperature on the top of the appliance is
very high. Under no circumstances may the surround be
insulated. Always follow the installation instructions.
See: Installation Instructions on page 8.
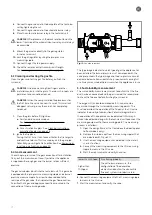
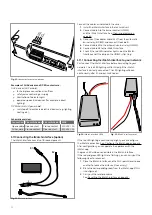
lower than 19%
Check the flue duct for leakage
(especially at the connection points)
and check whether the air outflow is
obstructed.
higher than 19%
Functioning properly.
Fig. 13: Sustainability measurement
(1) CO
(2) O
²
(room divider and tunnel have different connection locations)
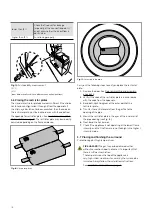
5.6 Placing the restrictor plates
The standard restrictor plate delivered is sufficient if the choice
has fallen on configuration 1 through 6 from the appendix. If
the chimney calculation has been executed, then the code on
the restrictor plate must be in accordance with the code from
the appendix for restrictor plates. See: Restrictor plates (G20,
G25 and G30) on page 41. The restrictor plate may be modestly
adjusted, depending on the flame ambiance.
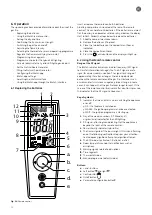
Fig. 14: Restrictor plates
35
1
2
1
2
18
Содержание G Series
Страница 1: ...Installation instructions BALANCED FLUE GAS FIRES DON T COMPROMISE EN...
Страница 2: ......
Страница 4: ...4...
Страница 43: ...1 4 6 7 5 2 3 43...
Страница 45: ...1 3 2 5 4 6 7 8 8 7 45...
Страница 47: ...1 9 4 7 3 8 5 6 2 10 47...
Страница 49: ...5 1 2 3 7 4 6 8 10 9 9 49...
Страница 51: ...4 5 3 6 1 1 51...
Страница 52: ...7 2 7 7 2 2 8 52...
Страница 54: ...4 5 2 1 1 3 54...
Страница 55: ...9 8 6 7 1 55...
Страница 57: ...5 6 7 8 3 2 2 1 57...
Страница 58: ...9 4 4 8 58...
Страница 60: ...5 2 9 6 2 1 4 3 60...
Страница 61: ...7 7 10 11 8 61...
Страница 63: ...1 7 7 3 4 6 2 7 63...
Страница 64: ...2 4 4 5 5 8 64...
Страница 66: ...7 4 5 6 1 8 9 66...
Страница 67: ...3 3 11 2 10 10 12 67...
Страница 69: ...1 2 6 6 8 8 9 7 7 4 With gas type G30 log 4 to be placed at extreme right 3 4 5 11 69...
Страница 72: ...10 2 1 9 11 3 3 4 5 5 7 6 72...
Страница 73: ...13 12 12 12 8 73...
Страница 76: ...3 1 6 5 4 2 13 76...
Страница 77: ...14 7 10 11 8 12 12 Other side Divide 15 cryptonite and 16 ash 77...
Страница 80: ...3 4 5 7 1 3 4 5 6 1 4 5 1 3 4 1 3 2 1 2 3 1 3 1 2 4 5 1 6 2 6 7 14 12 11 11 3 80...
Страница 81: ...3 4 5 7 8 1 3 4 7 9 10 8 3 4 5 6 7 8 1 3 4 5 6 7 8 1 3 4 5 6 7 1 9 10 8 15 13 81...
Страница 84: ...4 3 5 2 3 4 5 1 2 3 4 5 1 1 2 3 4 1 1 2 1 1 1 2 1 1 1 1 1 2 3 4 5 6 6 1 1 1 14 11 84...
Страница 87: ...Wiring diagram for SDS domo cable as shut down switch Fig 32 SDS domo cable shut down switch 87...
Страница 94: ...94...
Страница 95: ...95...
Страница 96: ...Gelo rveldweg 21 5951 DH Belfeld info kalfire nl KALFIRE COM DON T COMPROMISE REF V01 2019 EN...


