


22
1
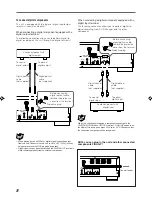
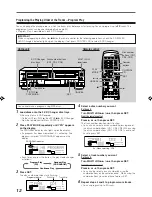
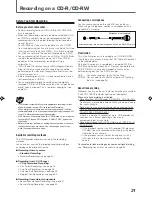
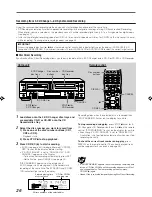
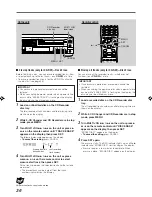
Load a recordable CD-R or CD-RW onto the CD
Recorder disc tray.
2
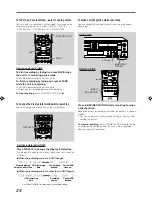
Press REC SOURCE SELECTOR on the unit or
REC SOURCE on the remote control to select a
source to record from.
Selected recording source lamp on the unit lights up.
• Each time you press the button, the following recording
sources appear:
OPTICAL IN
:Records through the DIGITAL IN/
OPTICAL terminal (digital recording).
The DIGITAL lamp lights up.
COAXIAL IN
:Records through the DIGITAL IN/
COAXIAL terminal (digital recording).
The DIGITAL lamp lights up.
CD DIGITAL
:Records from 3-CD Changer (digital
recording). The CD lamp lights up.
Prepare discs on the 3-CD Changer
disc trays.
CD ANALOG
:Records from 3-CD Changer (analog
recording). The CD lamp lights up.
Prepare discs on the 3-CD Changer
disc trays.
LINE IN
:Records through the LINE IN (REC)
jacks (analog recording). The LINE
lamp lights up.
MIC IN
:Records through the MIC jack (analog
recording). The MIC lamp lights up.
CD+LINE MIX
:See page 32.
CD+MIC MIX
:See page 32.
LINE+MIC MIX
:See page 32.
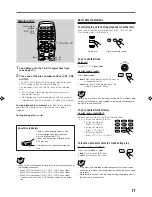
3
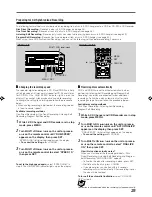
Press
REC/REC MUTING.
The unit enters recording pause. The remaining time of
CD-R or CD-RW is shown on the display. The
8
and REC
indicators light up on the display.
• If OPC (see page 42) is being performed, “UPDATE
OPC” flashes on the display.
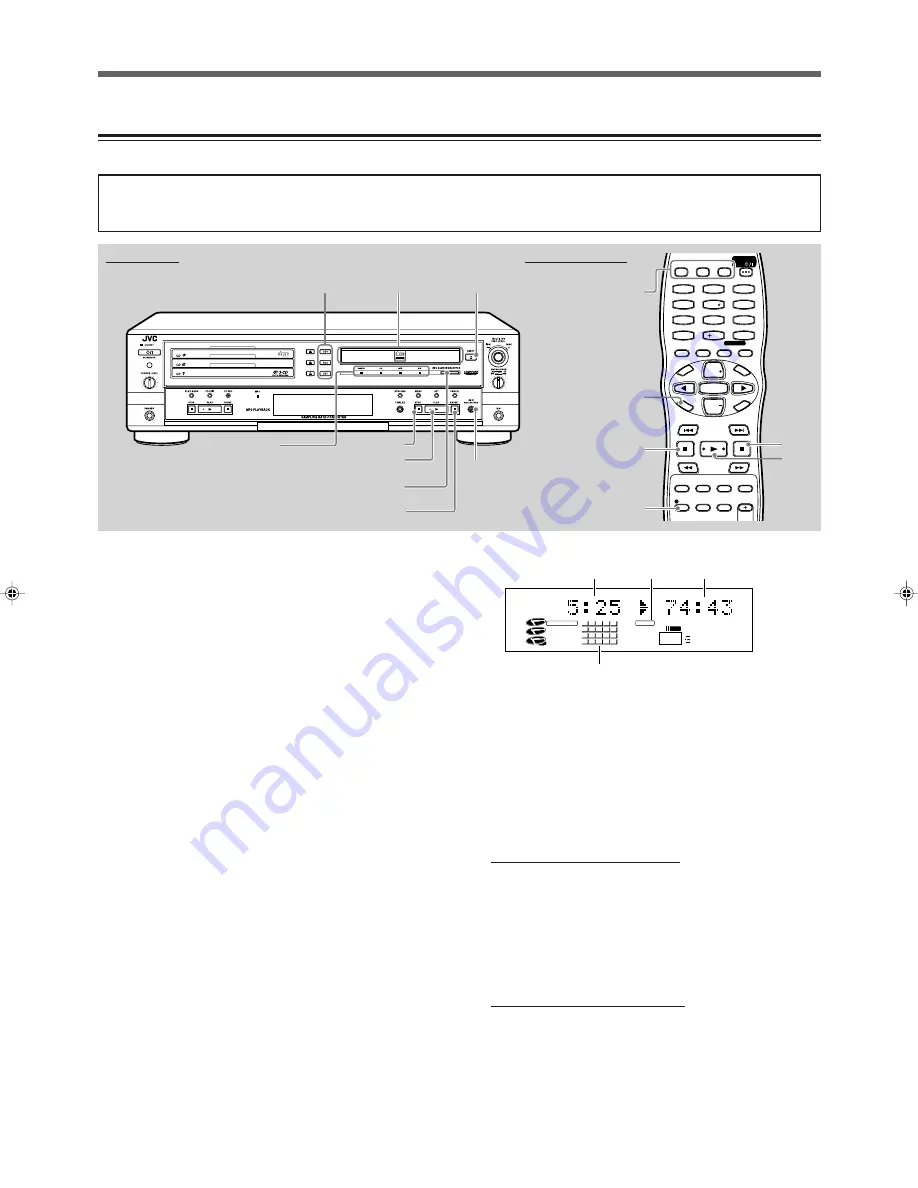
On the unit:
Remote control:
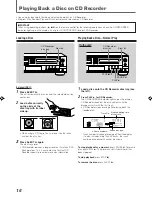
Recording Manually—Standard Recording
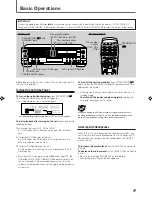
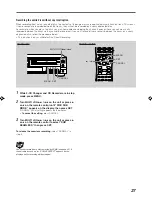
You can use this method to record any sources and to record any combination of two sources.
IMPORTANT
When using operating buttons (
3
,
7
,
8
) on the remote control, check which indicator lights up on the display—CD PLAYER (3-CD
Changer) or CD RECORDER. If the incorrect indicator is lit, press CONTROL CD or CONTROL CDR to select the correct target source.
4
Adjust the recording level when recording from
an external component connected to the LINE IN
and MIC jacks (see page 23 for details).
• Recording level adjustment is stored until you change
the recording source.
5
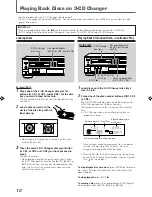
Start recording.
When recording from 3-CD Changer:
1) Press PLAY
3
for CD Recorder on the unit or
3
on the remote control.
Recording starts. The
3
and REC indicators light up
on the display.
• Pressing
REC/REC MUTING also starts recording.
2) Press one of the disc number buttons (CD1,
CD2, CD3) you want.
When recording from another source:
1) Press PLAY
3
for CD Recorder on the unit or
3
on the remote control.
Recording starts. The
3
and REC indicators light up
on the display.
• Pressing
REC/REC MUTING also starts recording.
2) Start playback of the external components.
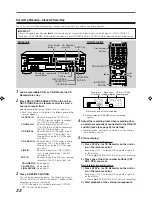
COMPACT
DIGITAL AUDIO
Recordable
ReWritable
MIN
MAX
COMPACT
DIGITAL AUDIO
CA
NC
EL
R
EC
SO
UR
CE
DI
SP
LA
Y
ME
NU
1
CD1
CD2
CD3
STANDBY/ON
PLAY
CD REC
CD EDIT SYNCHRO
FADE
REC
PITCH 0
PITCH
FINALIZE
REC MUTING
MODE
SET
GROUP
REPEAT
CD
CDR
4
7
10
2
5
8
3
6
9
10
GROUP
CONTROL
GROUP
EJECT
0
STOP
7
REC/REC
MUTING
REC/REC
MUTING
7
3
15
10
5
14
9
4
13
8
3
17
12
7
2
16
11
6
1
44.1kHz
AUTO TRACK
L
0
R
3
dB
6
10
15
20
30
40
ANALOG
CD-R
CD PLAYER
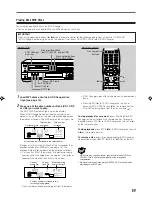
REC
1
2
3
Signal type
(analog or digital)
Paying time
of 1st track
All track numbers of the selected disc
CD-R or CD-RW
remaining time
EX.: When selecting “CD ANALOG” as a recording
source.
Recording
source lamps
PLAY
3
8
Disc number
buttons
CD Recorder
disc tray
Disc number
buttons
REC SOURCE
REC SOURCE
SELECTOR
PAUSE
8
21-30.XL-R5020BK_f
02.5.28, 11:32 AM
22
Содержание XL-R5020BK
Страница 5: ...XL R5020BK 5 1 7 Importance admistering point on the safety ...
Страница 28: ...XL R5020BK 28 5 14TC94A02F 005 IC401 MP3 Decoder Block diagram ...
Страница 39: ...XL R5020BK 39 ...
Страница 123: ...0502KTYMDWJEM EN J VC VICTOR COMPANY OF JAPAN LIMITED ...


