23
English
4
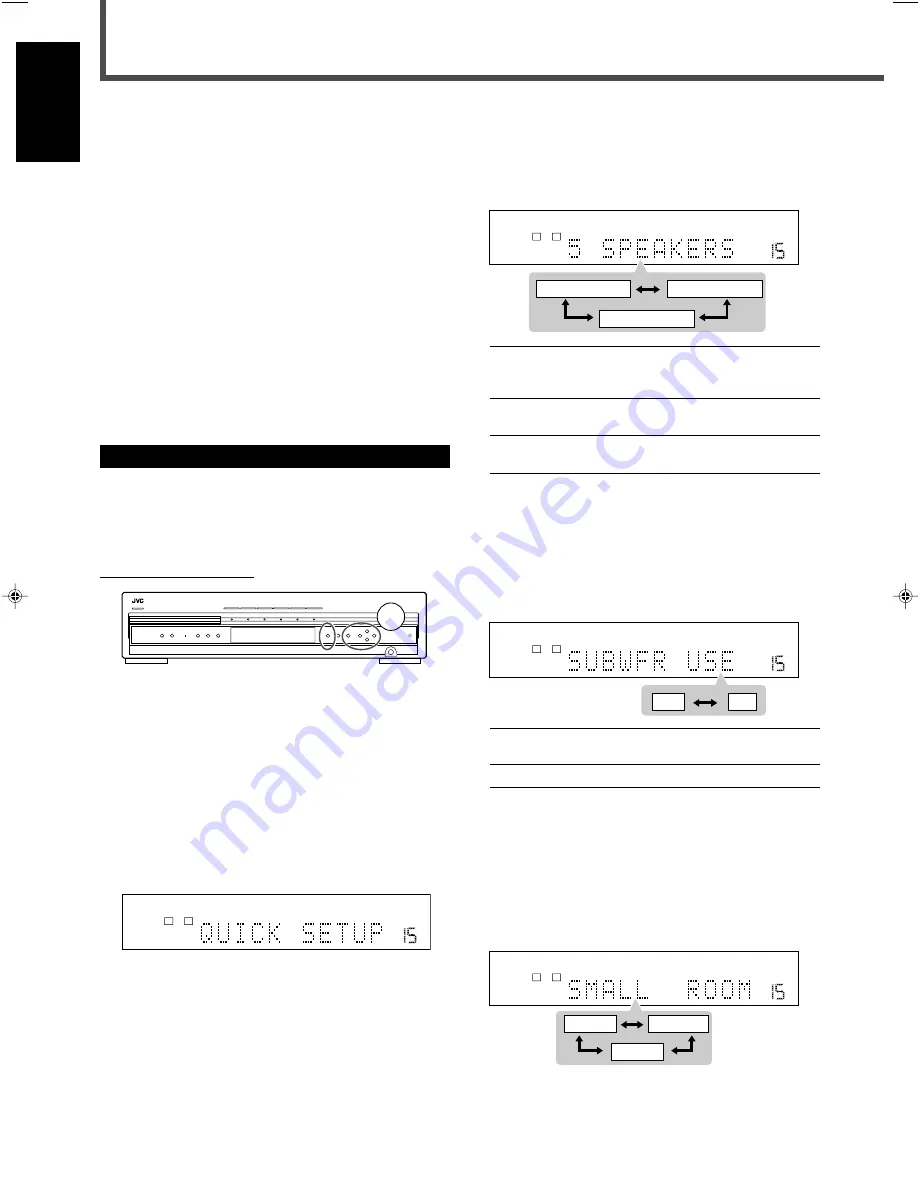
Press CONTROL
3
(or
2
) to select an
appropriate number of the connected
speakers.
• Each time you press the button, the indication changes
as follows:
5 SPEAKERS
Select when the front, center, and
surround speakers are connected (initial
setting).
4 SPEAKERS
Select when the front and surround
speakers are connected.
3 SPEAKERS
Select when the front and center
speakers are connected.
5
Press MEMORY.
“ENTER USE OF SUBWOOFER” scrolls on the display,
then “SUBWFR USE” appears.
6
Press CONTROL
3
(or
2
) to select whether
you have connected a subwoofer or not.
• Each time you press the button, the indication changes
as follows:
USE
Select when a subwoofer is connected (initial
setting).
NO
Select when no subwoofer is used.
7
Press MEMORY.
“ENTER ROOM SIZE” scrolls on the display, then “SMALL
ROOM” appears.
8
Press CONTROL
3
(or
2
) to select an
appropriate room size to match your
listening room.
• Each time you press the button, the indication changes
as follows:
Select an appropriate room size according to the distance
from your listening point to the speakers. See “Speaker
distance for each room size” on page 24.
Basic Settings
Some of the following settings are required after connecting
and positioning your speakers while others will make
operations easier.
7
Quick speaker setup (see below)
7
Basic item setup (see pages 24 to 27)
• Speaker settings
– Speaker information for subwoofer, front, center, and
surround speakers
*
– Speaker distance for front, center, and surround
speakers
*
– Crossover frequency
*
– Low frequency effect attenuator
*
– Dynamic range compression
*
• Digital input (DIGITAL IN) terminals
• Auto surround
• Video output mode
*
You can also set these items using the Choice menu (see pages 53
to 58).
Setting Speakers Quickly
You can register the speaker size and distance easily for the
connected speakers (Quick Setup).
• To set the speaker size and distance manually, see
“Speaker information” and “Speaker distance” on page 25.
On the front panel ONLY
Before you start, remember...
There is a time limit in doing the following steps.
If the setting is canceled before you finish, start from step
1
again.
1
Press SETTING.
The CONTROL buttons now work for basic settings. The
setting item selected previously appears on the display.
For the configuration of the basic setting items, see
“Configuration of the items on the display” on page 24.
2
Press CONTROL
∞
(or
5
) repeatedly until
“QUICK SETUP” appears on the display.
3
Press MEMORY.
“ENTER THE NUMBER OF SPEAKERS” scrolls on the
display, then “5 SPEAKERS” appears.
MPEG-2 AAC
TA NEWS INFO
ANALOG
S
DIGITAL AUTO
DSP SLEEP
REPEAT
RANDOM
RDS
INPUT ATT
SPK 1 2
AUTO MODE
A.POSITION
PROGRESSIVE
1A-B
DIGITAL
LPCM
LFE
PPCM
AUTO SURROUND
GROUP TITLE TRACK
CHAP. RESUME
kHz
MHz
VOL
BONUS
B.S.P
TUNED STEREO
AUTO MUTING
PL
SUBWFR
L
C
R
LS
RS
PROGRAM
REC
USE
NO
MPEG-2 AAC
TA NEWS INFO
ANALOG
S
DIGITAL AUTO
DSP SLEEP
REPEAT
RANDOM
RDS
INPUT ATT
SPK 1 2
AUTO MODE
A.POSITION
PROGRESSIVE
1A-B
DIGITAL
LPCM
LFE
PPCM
AUTO SURROUND
GROUP TITLE TRACK
CHAP. RESUME
kHz
MHz
VOL
BONUS
B.S.P
TUNED STEREO
AUTO MUTING
PL
SUBWFR
L
C
R
LS
RS
PROGRAM
REC
SMALL
MEDIUM
LARGE
MPEG-2 AAC
TA NEWS INFO
ANALOG
S
DIGITAL AUTO
DSP SLEEP
REPEAT
RANDOM
RDS
INPUT ATT
SPK 1 2
AUTO MODE
A.POSITION
PROGRESSIVE
1A-B
DIGITAL
LPCM
LFE
PPCM
AUTO SURROUND
GROUP TITLE TRACK
CHAP. RESUME
kHz
MHz
VOL
BONUS
B.S.P
TUNED STEREO
AUTO MUTING
PL
SUBWFR
L
C
R
LS
RS
PROGRAM
REC
MPEG-2 AAC
TA NEWS INFO
ANALOG
S
DIGITAL AUTO
DSP SLEEP
REPEAT
RANDOM
RDS
INPUT ATT
SPK 1 2
AUTO MODE
A.POSITION
PROGRESSIVE
1A-B
DIGITAL
LPCM
LFE
PPCM
AUTO SURROUND
GROUP TITLE TRACK
CHAP. RESUME
kHz
MHz
VOL
BONUS
B.S.P
TUNED STEREO
AUTO MUTING
PL
SUBWFR
L
C
R
LS
RS
PROGRAM
REC
4 SPEAKERS
3 SPEAKERS
5 SPEAKERS
23-29_RX-DV31SL[UW]f.p65
03.4.22, 18:55
23


