EN
53
To delete a selected picture
1
Select “SELECT” in step 3 in the left column,
and then press the EXE button.
•The 6 indexed picture screen appears.
2
Press the
r
t
w
e
button to select the picture
that you wish to delete, and then press the
EXE button.
•“ ” (deletion indicator) appears.
3
Press the
r
t
button to select “END”, and
then press the EXE button.
4
Press the
r
t
button to select “DELETE”, and
then press the EXE button.
NOTES:
●
To delete the unnecessary picture which is
protected, unlock the protection (
Z
pg. 52) and
delete the picture.
●
Do not remove the memory card or turn off the
power while the delete operation is in progress.
Doing so could result in malfunction or damage
to the equipment.
●
Also, use the AC adapter provided when
performing the delete operation.
1
Turn the Power dial to “
B
”.
•Hold down the Lock button while turning the
Power dial.
•The playback picture appears on the LCD
screen.
2
Select “S-DELETE” with the MODE switch.
•The STILL DELETE screen appears.
•To delete a video file, select “V-DELETE”.
The VIDEO DELETE screen will appear.
3
To delete the picture that is currently
displayed, press the
r
t
button to select
“THIS PIC.”, and then press the EXE button.
•To delete all pictures, select “ALL”, and then
press the EXE button. “ ” (deletion indicator)
appears.
Press the
r
t
button to select “END”, and
then press the EXE button.
4
Press the
r
t
button to select “DELETE”, and
then press the EXE button.
5
Select “STILL PB” with the MODE switch, and
then confirm that the deletion has been
completed. (
Z
pg. 31)
1
2,5
3,4
OFF
M
4
SET
V
Deleting Pictures
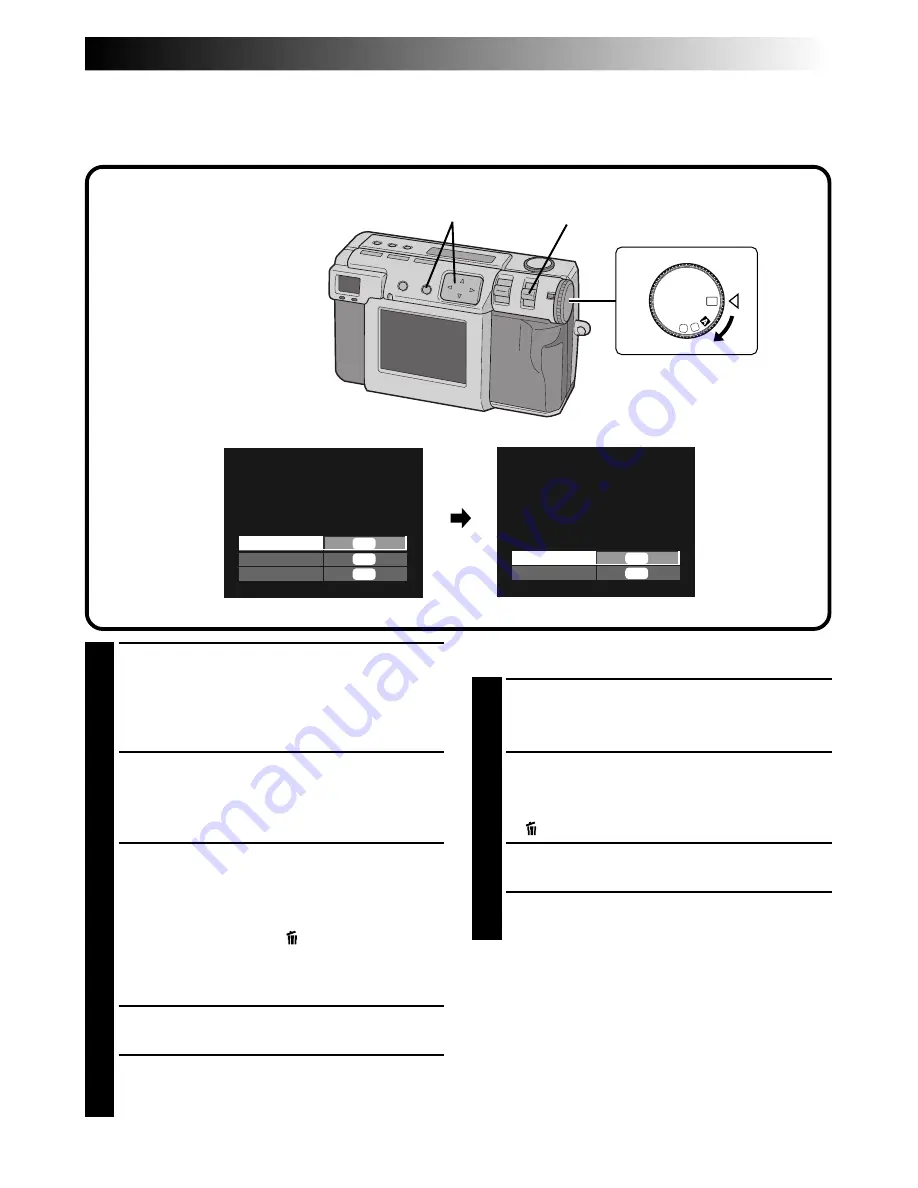
There are three methods for deleting pictures: deleting the displayed picture, deleting all pictures, and
deleting a selected picture. Video files can be deleted in the same way.
STILL DELETE
THIS PIC.
ALL
SELECT
EXE
EXE
EXE
STILL DELETE
DELETE
RETURN
EXE
EXE
Содержание GC X 1
Страница 1: ...GC X1 DIGITAL STILL CAMERA INSTRUCTIONS ENGLISH STILL CAMERA LYT0544 001C EN ...
Страница 10: ...10EN CONTROLS CONNECTORS AND INDICATORS 1 2 4 5 6 7 8 9 0 3 Front View Top View 1 4 2 3 ...
Страница 12: ...12EN 1 2 3 CONTROLS CONNECTORS AND INDICATORS cont 6 8 9 7 0 2 3 1 4 5 Rear View Bottom View ...
Страница 91: ...MEMO ...


