EN
45
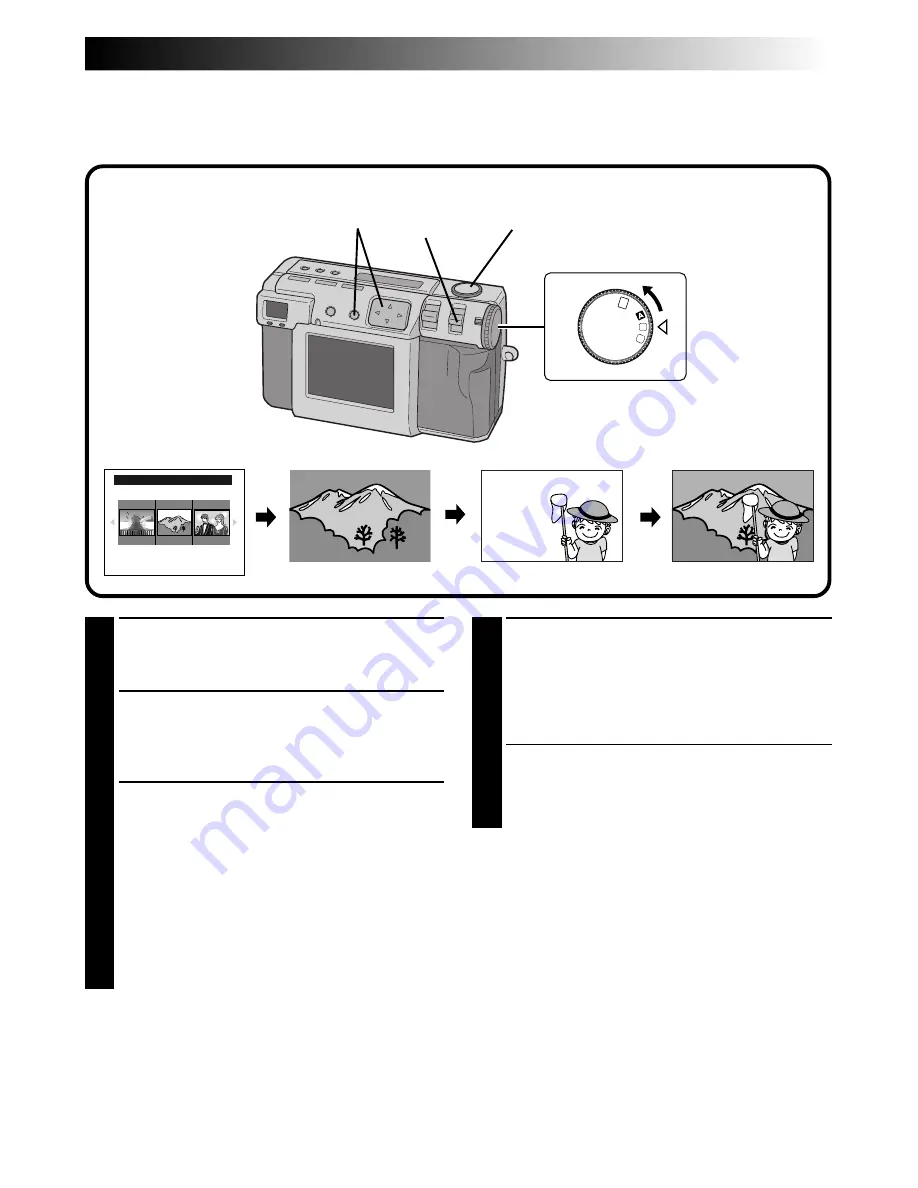
Collage Mode
This camera is able to combine images. For example, you can combine an existing picture (as background)
with a picture of a person standing in front of a white wall, etc.
1
Turn the Power dial to “
M
”.
•Hold the Lock button down while turning the
Power dial.
2
Select “COLLAGE” with the MODE switch.
•“COLLAGE” appears on the LCD panel.
•The 3 indexed photos that have been taken
previously are displayed on the LCD screen.
3
Press the
w
e
button to select a background,
and then press the EXE button.
•The frame size is automatically selected for
the background.
•You can select the frame size (2032 x 1536,
1024 x 768 or 640 x 480) for a background.
•To change the backgrounds, press the EXE
button agian.
•It is not possible to use the collage function
with pictures photographed by other models
of camera.
4
Point the lens at the subject, and then press
the
w
e
button to adjust the level of composi-
tion .
•The subject should be located in front of a
white background such as a white wall.
•You can also use the zoom function.
5
Press the Shutter button all the way to take
the picture.
•The composed image is stored in the
Memory card.
NOTES:
●
Due to large memory files created when shooting
a picture of uncompressed quality in this mode, it
is recommended to use a Memory card with the
capacity more than 16MB.
●
If any portion of the subject is white (clothing, for
example), that portion of the subject will also be
replaced with the background picture.
●
If the subject is dark, the region that is combined
with the background may appear to change when
the Shutter button is pressed. However, the actual
image that is recorded conforms with the
composition settings that were in effect before the
Shutter button was pressed.
3,4
1
OFF
M
4
SET
V
2
5
COLLAGE
Background
Subject
Composed image
Содержание GC X 1
Страница 1: ...GC X1 DIGITAL STILL CAMERA INSTRUCTIONS ENGLISH STILL CAMERA LYT0544 001C EN ...
Страница 10: ...10EN CONTROLS CONNECTORS AND INDICATORS 1 2 4 5 6 7 8 9 0 3 Front View Top View 1 4 2 3 ...
Страница 12: ...12EN 1 2 3 CONTROLS CONNECTORS AND INDICATORS cont 6 8 9 7 0 2 3 1 4 5 Rear View Bottom View ...
Страница 91: ...MEMO ...


